This post demonstrates how to create a JSF2 application with Eclipse Mars.
1. Create a Dynamic Web Project
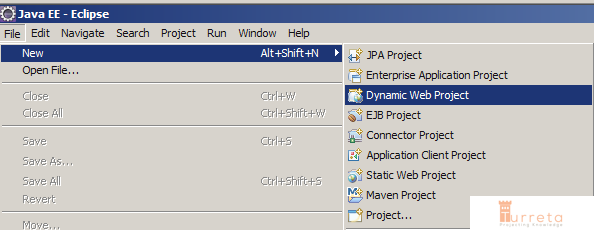
Choose File -> New -> Dynamic Web Project from the main menu.
2. Describe your Project
For this post, the project is named Jsf2SampleDemo. You may define your own project name.
[wp_ad_camp_1]
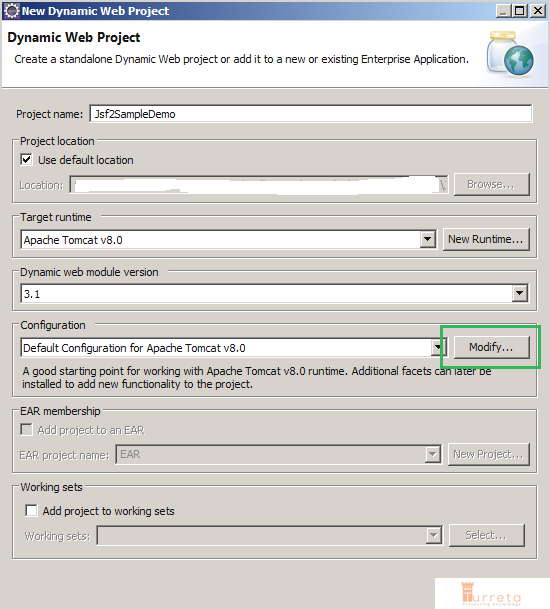
Then, click Modify....
3. Configure
Choose JavaServer Faces v2.2 Project.
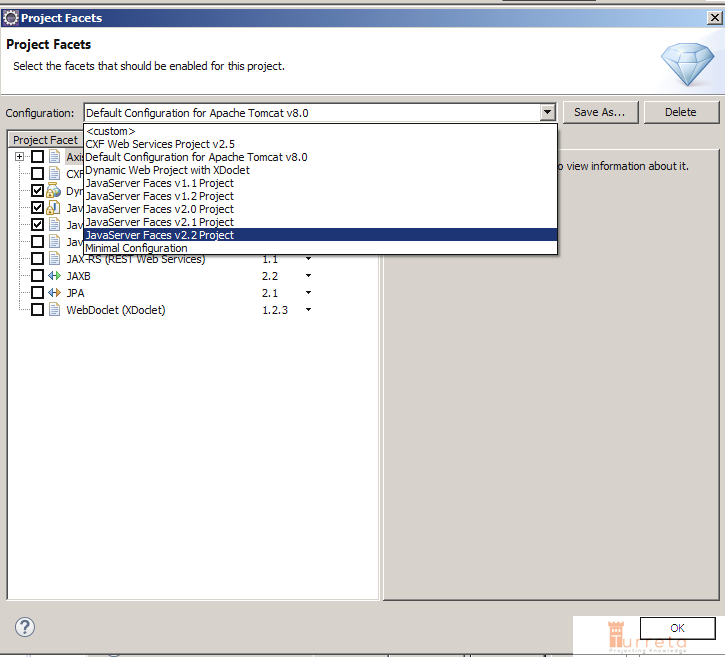
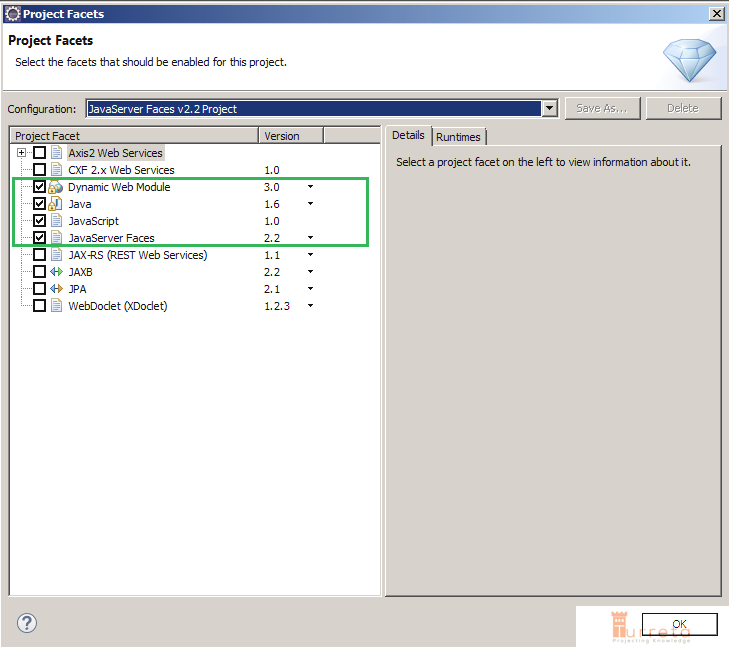
Notice it selects appropriate Facets.
[wp_ad_camp_2]
Then click Ok.
4. Additional configuration
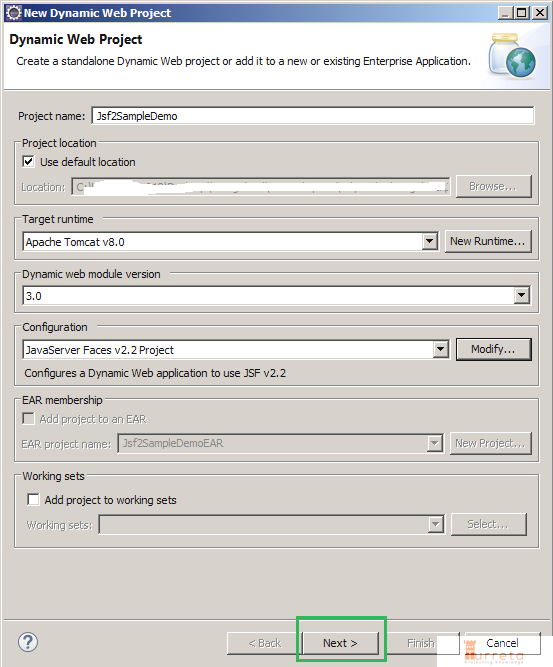
Click Next.
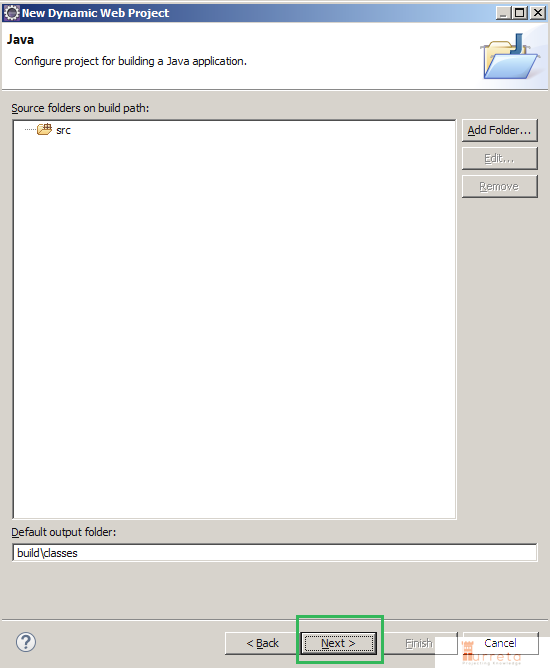
Click Next again.
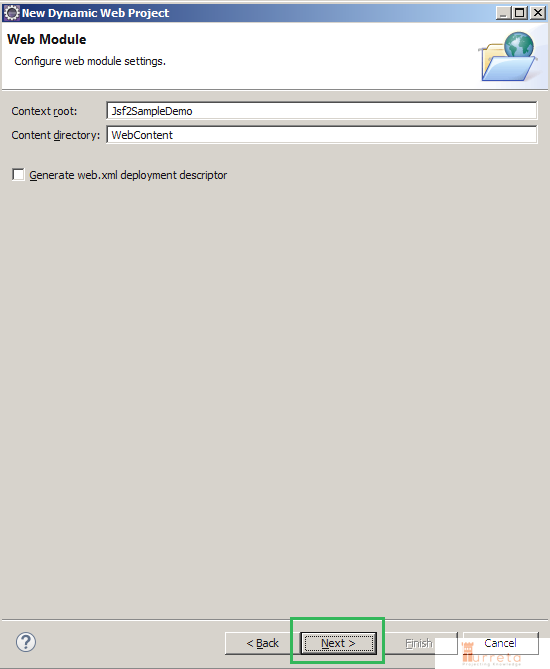
Click Next.
5. Download JSF Implementation Library
[wp_ad_camp_3]
Once you reach this page, click the download icon just on the right-side part of the screen.
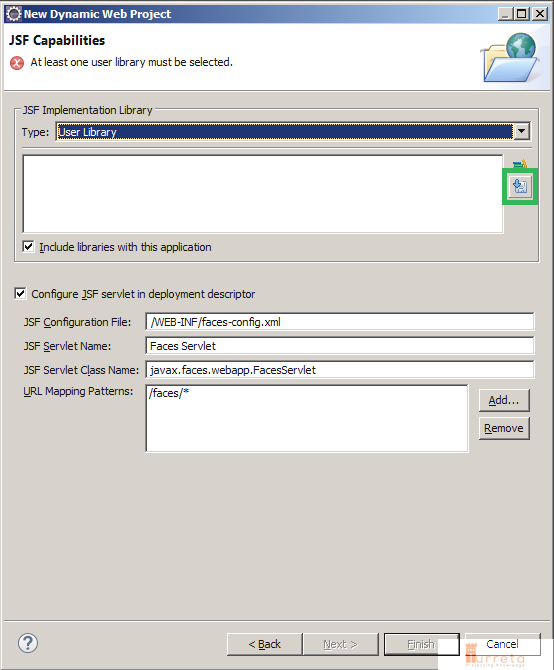
The Download Library Dialog will display. Just click Next.
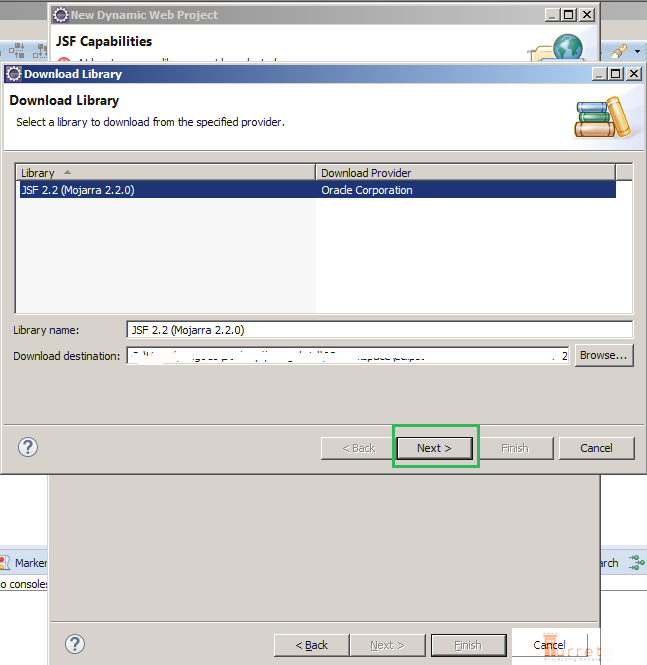
Then, the Library License Dialog is displayed.
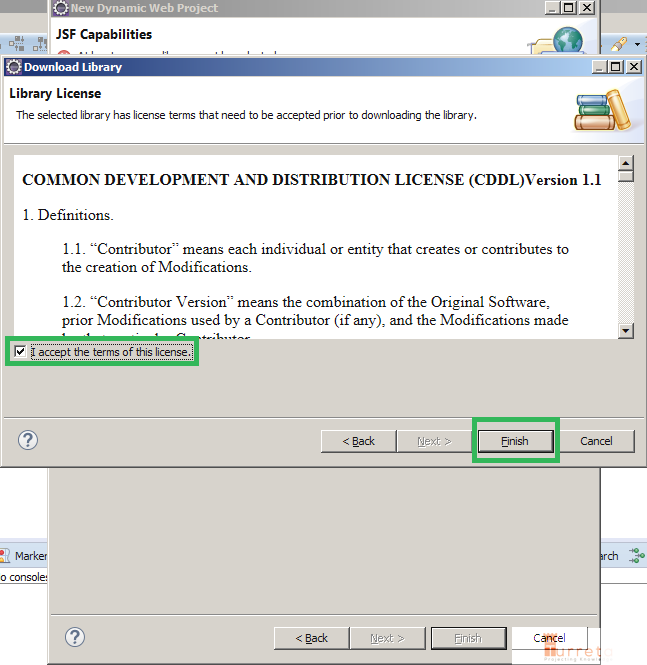
Choose I accept the terms of this license and click Finish. It will start the download process.
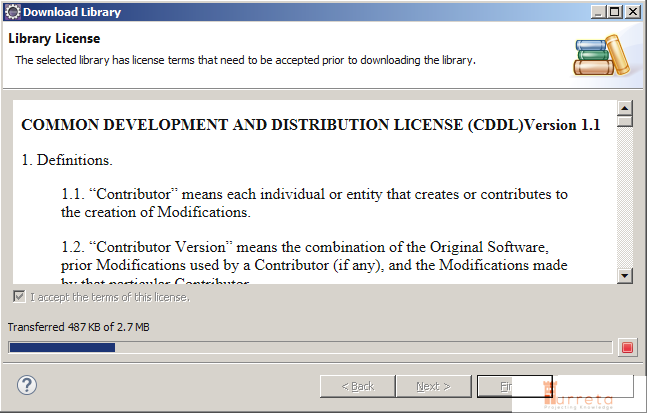
Download complete. Click Next.
[wp_ad_camp_4]
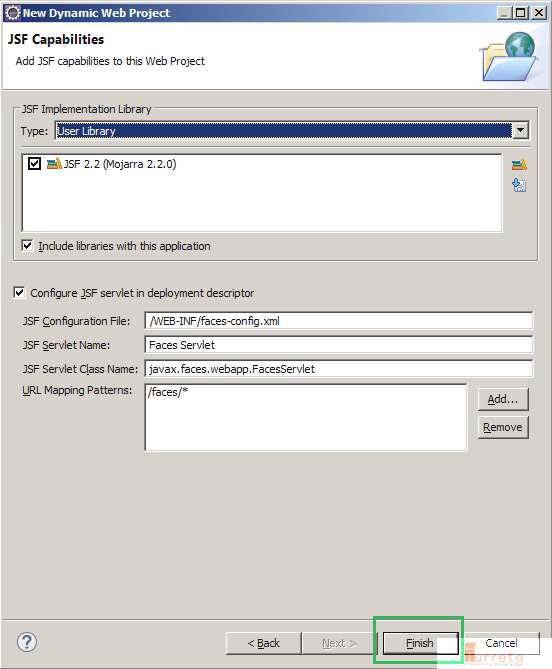
Completing the process.
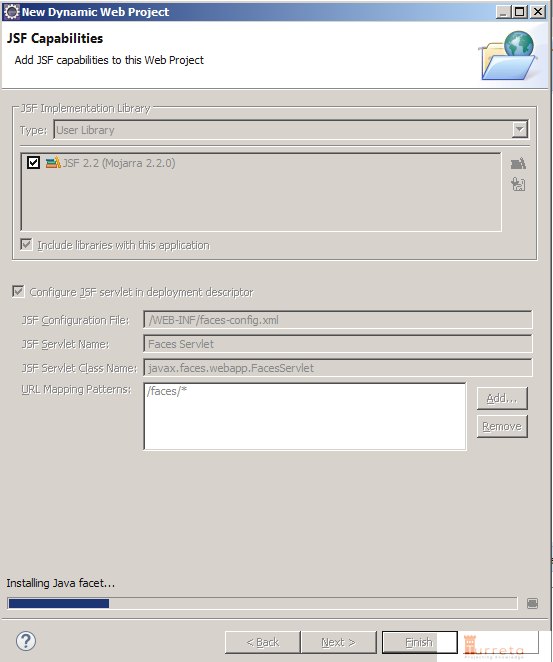
It then completes the process.
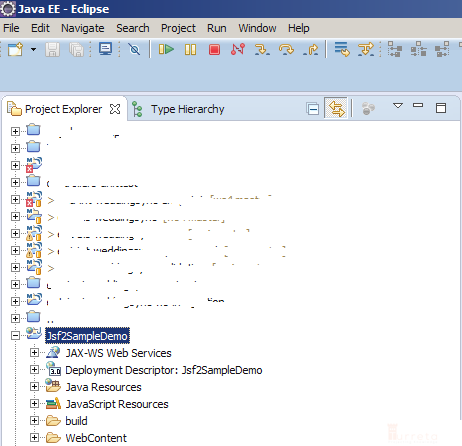
[wp_ad_camp_5]
![]()


