We can now install Rust on Windows a lot easier on Windows 11 (and probably in Windows 10 too) than before with the new Rust installer. Previously, we would go through a number steps to install Rust on Windows. The undertaking was relatively easy but not as easy as now wherein we only need to run the rustup-init.exe file and choose some options.
Requirements
To start with, we only need the following items and the installer will take care of the rest base on our input.
- rustup-init.exe
- Windows 11
Install Rust on Windows 11
When we download and run the Rust installer rustup-init.exe, we get the following screen output.
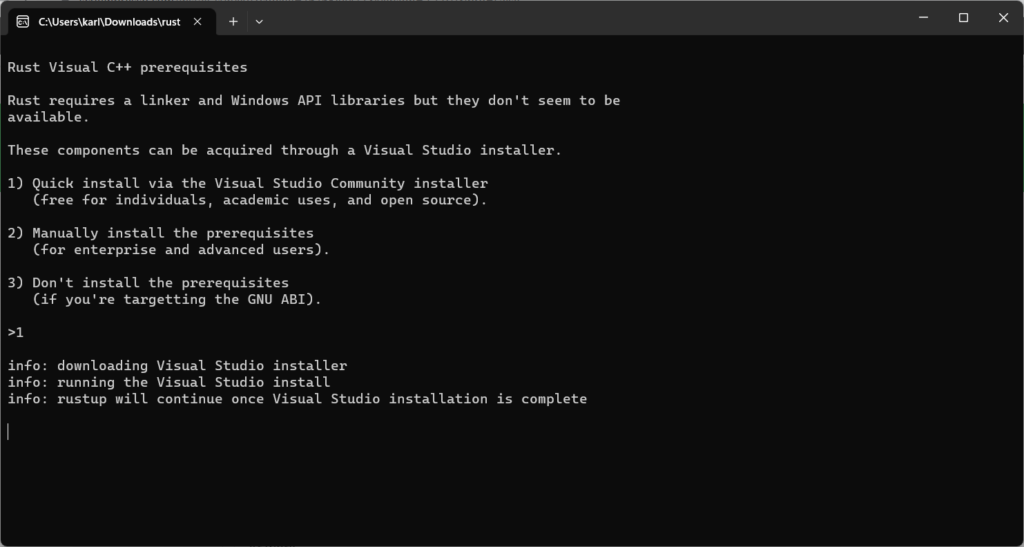
We can now choose Quick install and the Visual Studio Community and the installer will kickstart on Windows 11, as shown below.
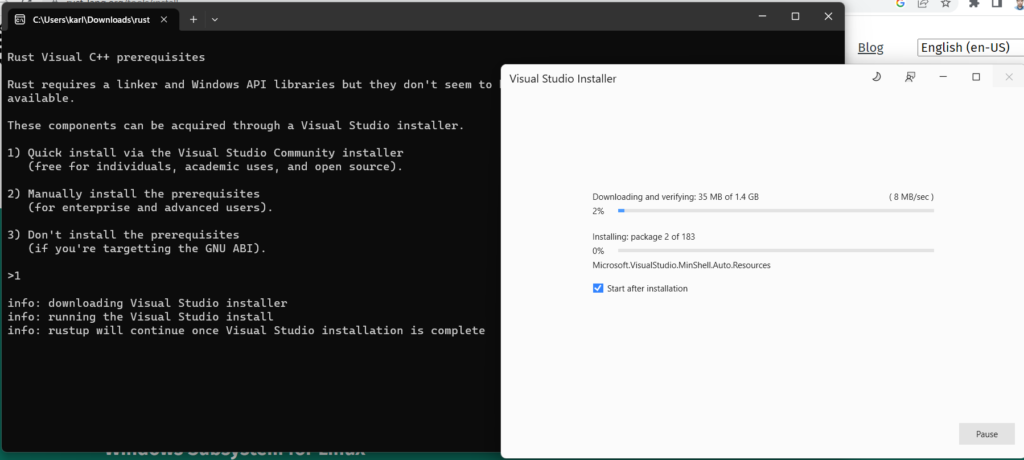
Once the installation is complete, we get the following screen.
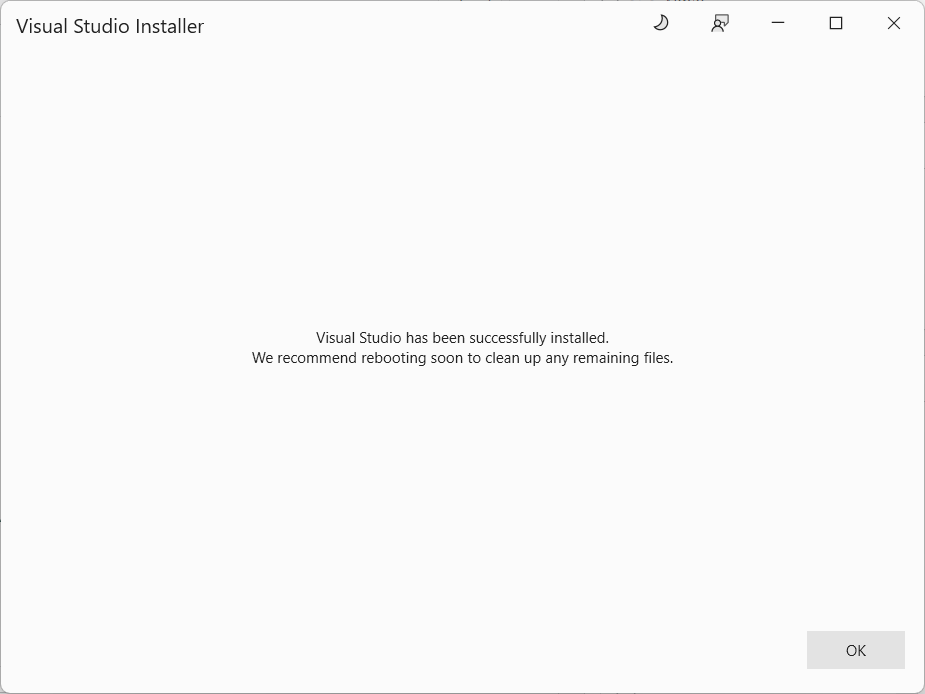
Then, we see the final screen of the installation process.

We do not need to sign in or create an account. Instead, click Skip this for now. Then, we go back to the terminal to finalize the installation.
1 2 3 4 5 6 7 8 9 10 11 12 13 14 15 16 17 18 19 20 21 22 23 24 25 26 27 28 29 30 31 32 33 34 35 36 37 38 39 40 41 42 43 44 45 46 47 48 | ... info: downloading Visual Studio installer info: running the Visual Studio install info: rustup will continue once Visual Studio installation is complete warning: operation completed successfully, but install requires reboot before it can be used (exit code 3010) Welcome to Rust! This will download and install the official compiler for the Rust programming language, and its package manager, Cargo. Rustup metadata and toolchains will be installed into the Rustup home directory, located at: C:\Users\karl\.rustup This can be modified with the RUSTUP_HOME environment variable. The Cargo home directory is located at: C:\Users\karl\.cargo This can be modified with the CARGO_HOME environment variable. The cargo, rustc, rustup and other commands will be added to Cargo's bin directory, located at: C:\Users\karl\.cargo\bin This path will then be added to your PATH environment variable by modifying the HKEY_CURRENT_USER/Environment/PATH registry key. You can uninstall at any time with rustup self uninstall and these changes will be reverted. Current installation options: default host triple: x86_64-pc-windows-msvc default toolchain: stable (default) profile: default modify PATH variable: yes 1) Proceed with installation (default) 2) Customize installation 3) Cancel installation > |
Next, choose option 1 to Proceed with installation (default). The option will download and install Rust.
1 2 3 4 5 6 7 8 9 10 11 12 13 14 15 16 17 18 19 20 21 22 23 24 25 26 27 28 29 30 31 32 33 34 35 36 37 38 39 | ... 2) Customize installation 3) Cancel installation >1 info: profile set to 'default' info: default host triple is x86_64-pc-windows-msvc info: syncing channel updates for 'stable-x86_64-pc-windows-msvc' info: latest update on 2023-03-09, rust version 1.68.0 (2c8cc3432 2023-03-06) info: downloading component 'cargo' info: downloading component 'clippy' info: downloading component 'rust-docs' 19.4 MiB / 19.4 MiB (100 %) 7.0 MiB/s in 2s ETA: 0s info: downloading component 'rust-std' 27.6 MiB / 27.6 MiB (100 %) 9.0 MiB/s in 3s ETA: 0s info: downloading component 'rustc' 63.9 MiB / 63.9 MiB (100 %) 13.1 MiB/s in 4s ETA: 0s info: downloading component 'rustfmt' info: installing component 'cargo' info: installing component 'clippy' info: installing component 'rust-docs' 19.4 MiB / 19.4 MiB (100 %) 2.4 MiB/s in 11s ETA: 0s info: installing component 'rust-std' 27.6 MiB / 27.6 MiB (100 %) 8.1 MiB/s in 3s ETA: 0s info: installing component 'rustc' 63.9 MiB / 63.9 MiB (100 %) 9.5 MiB/s in 7s ETA: 0s info: installing component 'rustfmt' info: default toolchain set to 'stable-x86_64-pc-windows-msvc' stable-x86_64-pc-windows-msvc installed - rustc 1.68.0 (2c8cc3432 2023-03-06) Rust is installed now. Great! To get started you may need to restart your current shell. This would reload its PATH environment variable to include Cargo's bin directory (%USERPROFILE%\.cargo\bin). Press the Enter key to continue. |
Then, we can work with Rust after we completely install it on Windows 11.
Rust still has a very steep learning curve, but the ease with which we can install Rust now on our machines brings the language to more people.
![]()