This post demonstrates how to use the @Conditional annotation which is the workhorse of Spring Boot’s automatic configuration. You may also use this technique in your own codes.
First, there was @Profile
@Profile annotation allows for the registration of multiple beans of the same type and associate them to one or more profiles. When you run your application, you make one or more profiles active by
- Listing them as comma-delimited string value in applications.properties file, e.g.,1spring.profiles.active=Profile1,PH,CN,MY
- Listing them as comma-delimited string value in web.xml (for web applications), e.g.,123456<!-- Lines above omitted for brevity --><context-param><param-name>spring.profiles.active</param-name><param-value>Profile1,PH</param-value></context-param><!-- Lines below omitted for brevity -->
- Listing them as a System property1-Dspring.profiles.active=MY,CN
As you can see, there is no “intelligence” applied with @Profile.
Then came @Conditional
Spring introduced the @Conditional annotation in Spring 4 which allows for registration of beans conditionally based on any arbitrary condition.
Yes, in any arbitrary condition like whether or not Today is a public holiday!
Typical conditions to check
[wp_ad_camp_1]
These are typically the conditions you want to base your bean creation on
- whether or not a specific class is present in the classpath
- whether or not a specific file exists on a location
- whether or not a specific property value is configured in a configuration file
- whether or not a system property value is available
The Condition Interface
Using @Conditional starts with the Condition interface:
1 | org.springframework.context.annotation.Condition |
It is an interface with a single method.
Sample Condition
[wp_ad_camp_2]
1 2 3 4 5 6 7 8 9 10 11 12 13 14 15 16 17 18 19 20 21 | package com.turreta.springboot.conditional; import org.springframework.context.annotation.Condition; import org.springframework.context.annotation.ConditionContext; import org.springframework.core.type.AnnotatedTypeMetadata; import java.time.DayOfWeek; import java.time.LocalDate; public class IsTodayFridayCondition implements Condition { @Override public boolean matches(ConditionContext context, AnnotatedTypeMetadata metadata) { /** * Is Today Friday? */ LocalDate ld = LocalDate.now(); DayOfWeek dow = ld.getDayOfWeek(); return DayOfWeek.FRIDAY == dow; } } |
Let’s create a Spring Boot Application
Let’s create a new Spring Boot Application using IntelliJ (optional) and Spring Initialzr (or http://start.spring.io/).
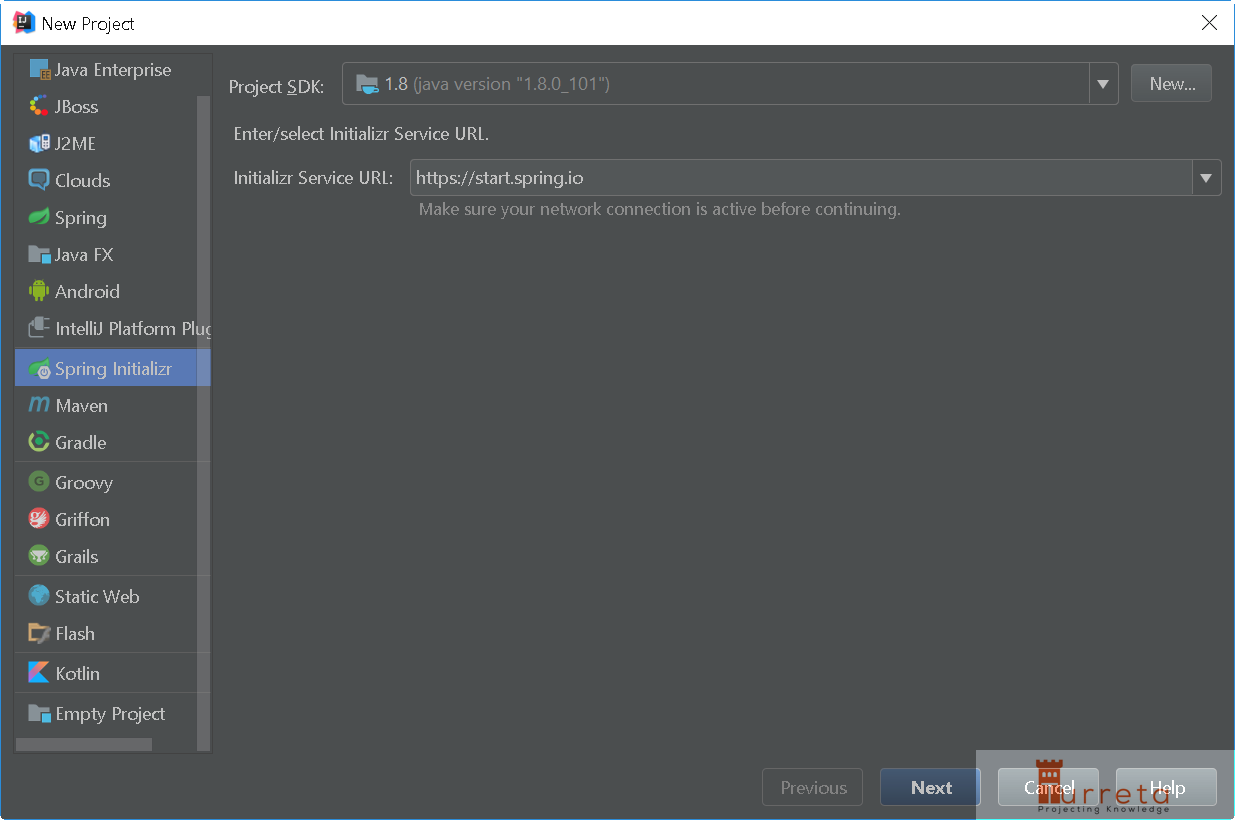
Step 1: Create a new project
Choose Spring Initialzr. Then click Next.
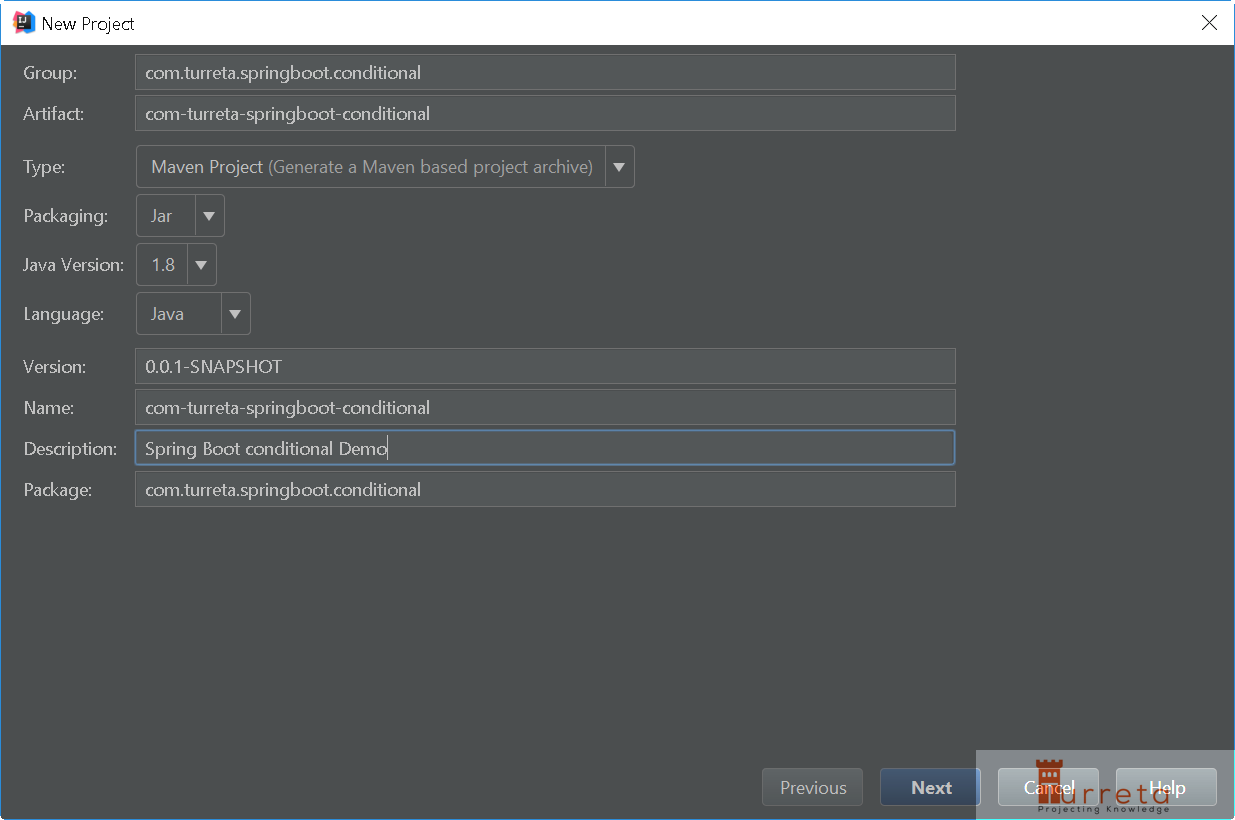
Step 2: Provide project information
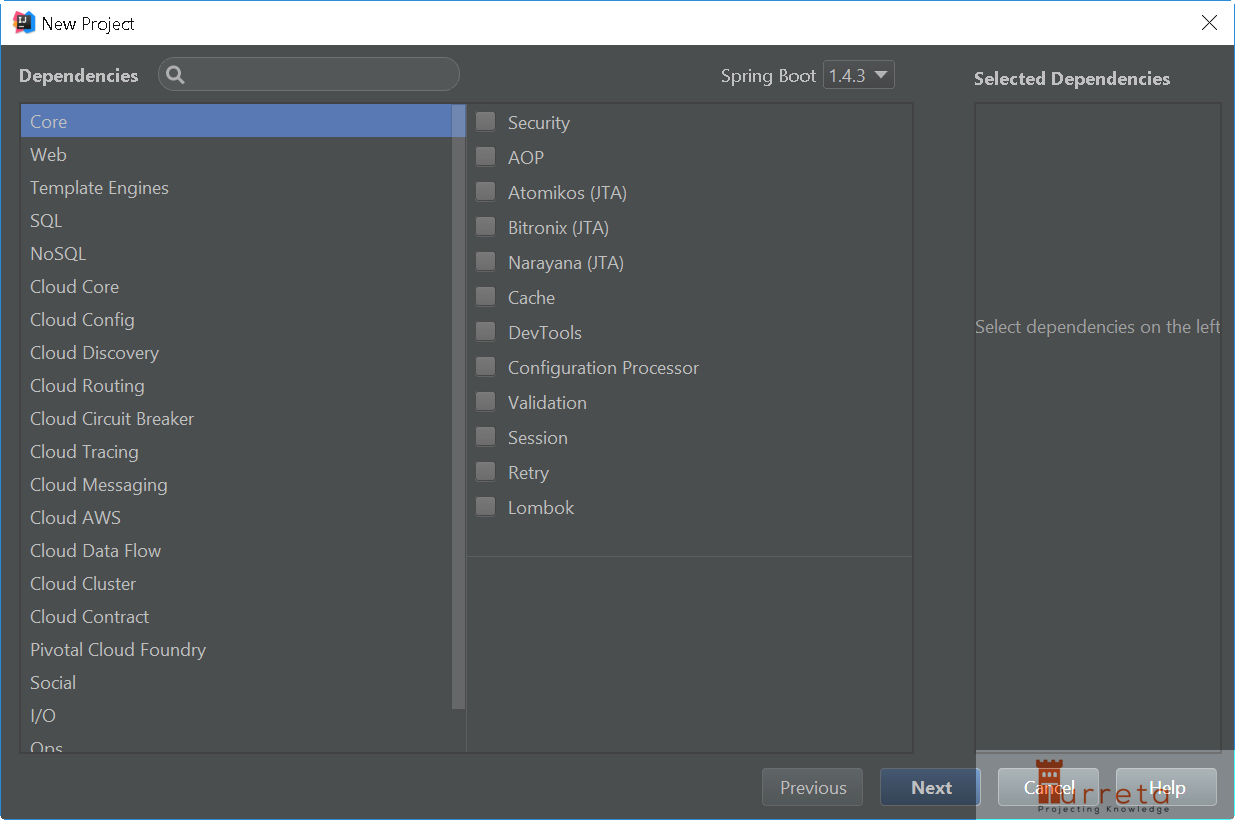
Step 3: Choose nothing
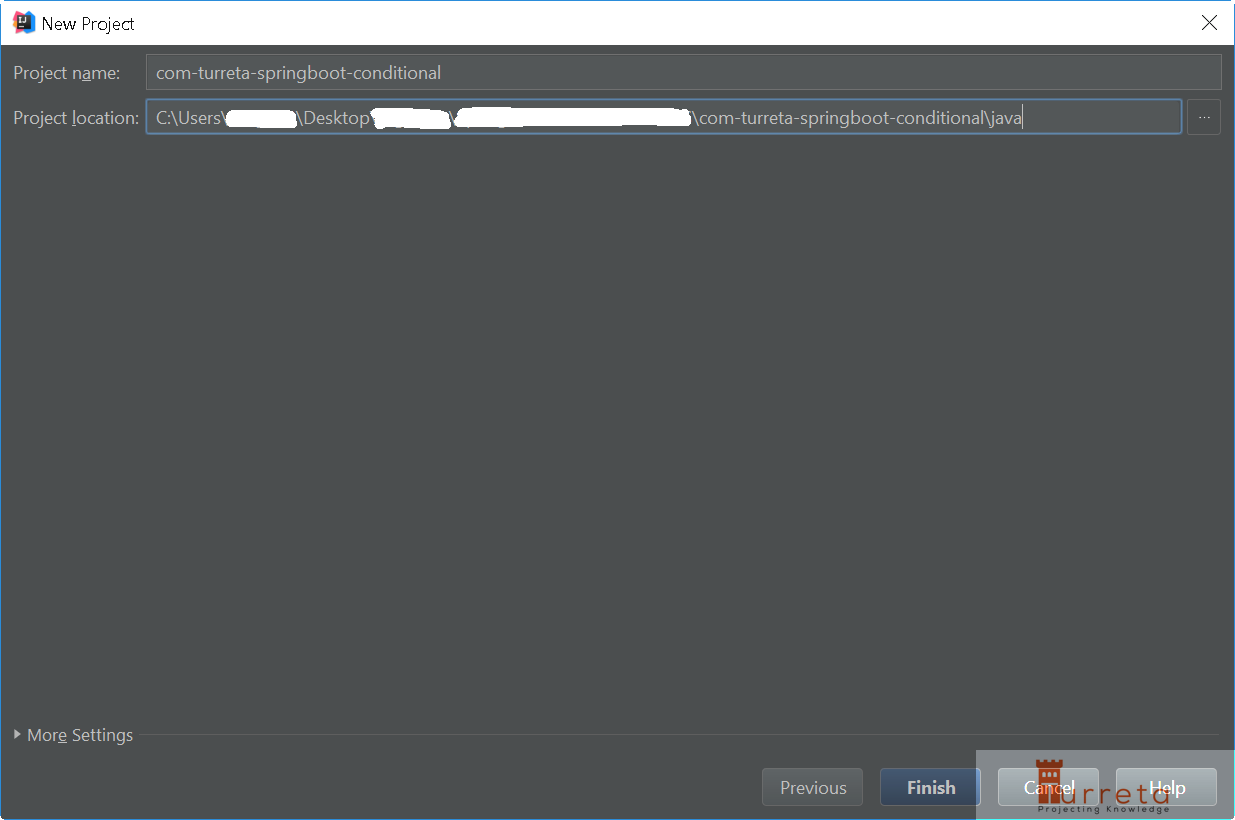
Step 4: Save the new project
Step 5: Create our conditions
IsTodayFridayCondition class
This class checks whether or not Today is Friday.
[wp_ad_camp_3]
1 2 3 4 5 6 7 8 9 10 11 12 13 14 15 16 17 18 19 20 21 | package com.turreta.springboot.conditional; import org.springframework.context.annotation.Condition; import org.springframework.context.annotation.ConditionContext; import org.springframework.core.type.AnnotatedTypeMetadata; import java.time.DayOfWeek; import java.time.LocalDate; public class IsTodayFridayCondition implements Condition { @Override public boolean matches(ConditionContext context, AnnotatedTypeMetadata metadata) { /** * Is Today Friday? */ LocalDate ld = LocalDate.now(); DayOfWeek dow = ld.getDayOfWeek(); return DayOfWeek.FRIDAY == dow; } } |
ActiveEveryDayCondition class
This just makes the associated beans active everyday.
1 2 3 4 5 6 7 8 9 10 11 12 | package com.turreta.springboot.conditional; import org.springframework.context.annotation.Condition; import org.springframework.context.annotation.ConditionContext; import org.springframework.core.type.AnnotatedTypeMetadata; public class ActiveEveryDayCondition implements Condition { @Override public boolean matches(ConditionContext context, AnnotatedTypeMetadata metadata) { return true; } } |
Step 6: Create our configuration class
POJOs needed
These are the classes needed for our configuration class.
EveryDayBean class
1 2 3 4 | package com.turreta.springboot.conditional; public class EveryDayBean { } |
FridayOnlyBean class
1 2 3 4 | package com.turreta.springboot.conditional; public class FridayOnlyBean { } |
MyConfig class
Here we used the @Conditional annotation for each @Bean
[wp_ad_camp_4]
1 2 3 4 5 6 7 8 9 10 11 12 13 14 15 16 17 18 19 20 21 | package com.turreta.springboot.conditional; import org.springframework.context.annotation.Bean; import org.springframework.context.annotation.Conditional; import org.springframework.context.annotation.Configuration; @Configuration public class MyConfig { @Bean @Conditional(IsTodayFridayCondition.class) public FridayOnlyBean createFridayOnlyBean() { return new FridayOnlyBean(); } @Bean @Conditional(ActiveEveryDayCondition.class) public EveryDayBean createEveryDayBean() { return new EveryDayBean(); } } |
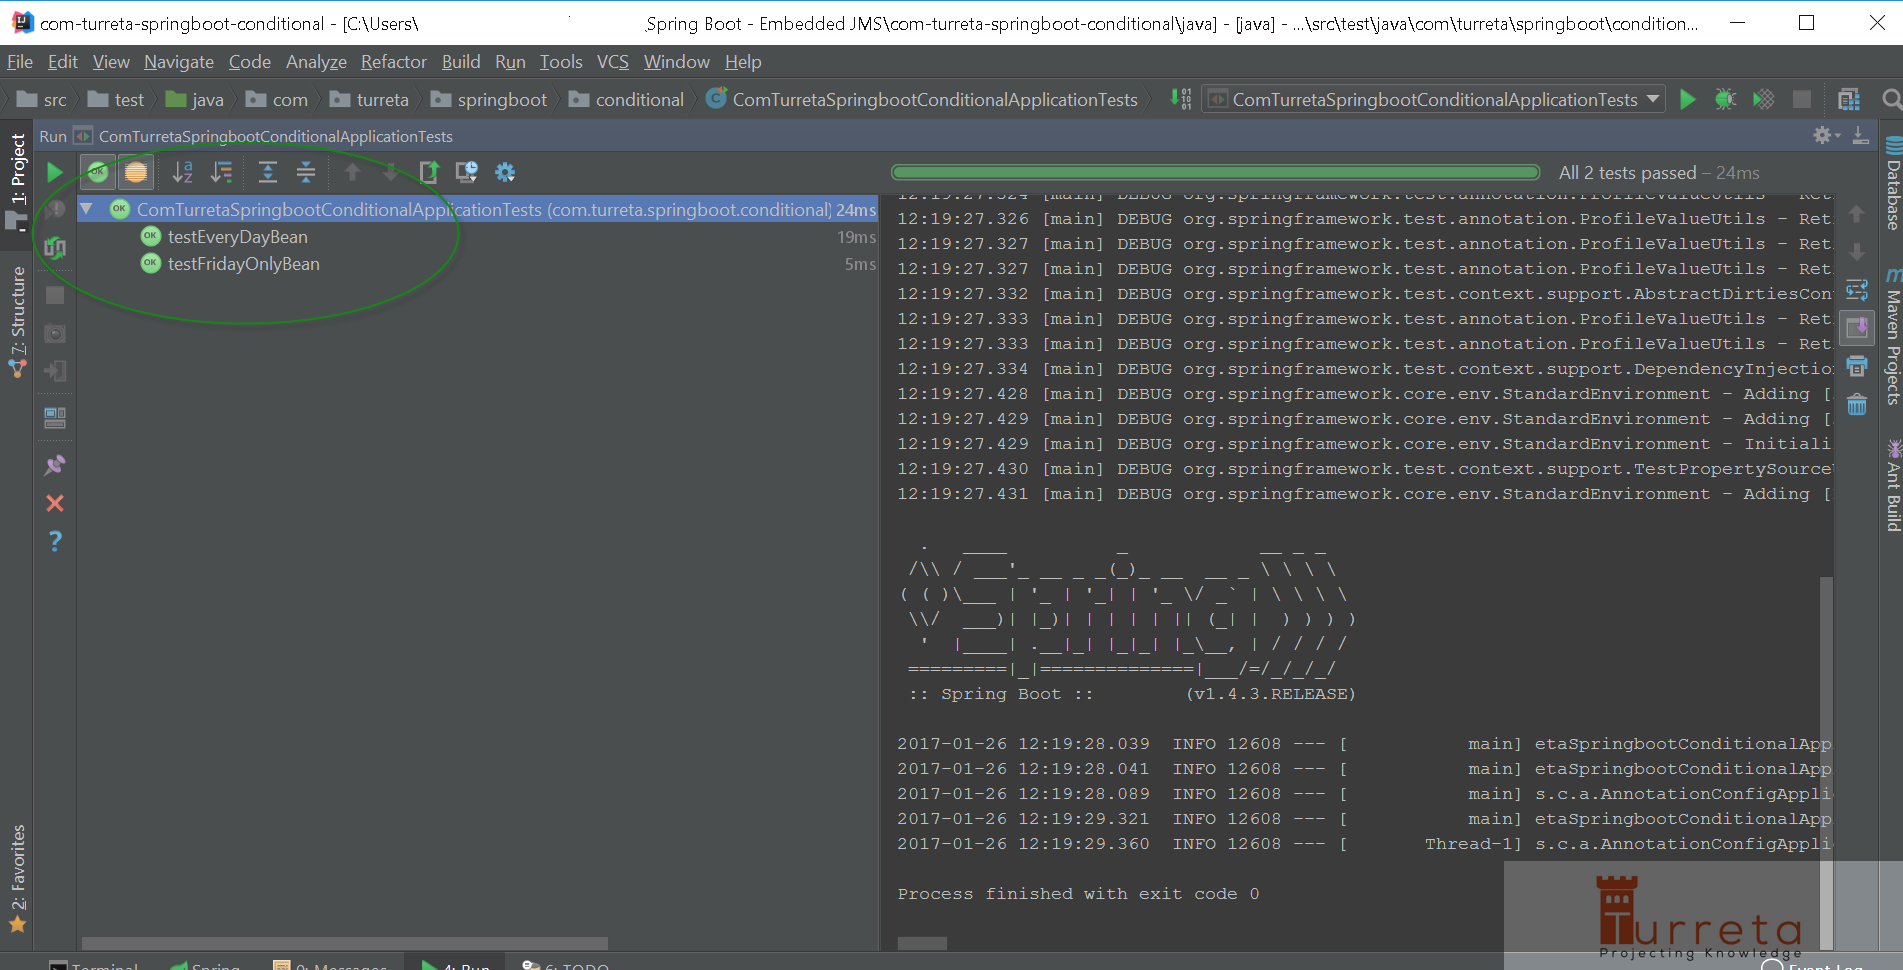
Step 7: Test our codes
You may download all the codes from the link provided at the very bottom section.
Unit Test Output
Download the Codes
https://github.com/Turreta/Spring-Boot-How-to-use-Conditional-in-your-own-codes
[wp_ad_camp_5]
![]()