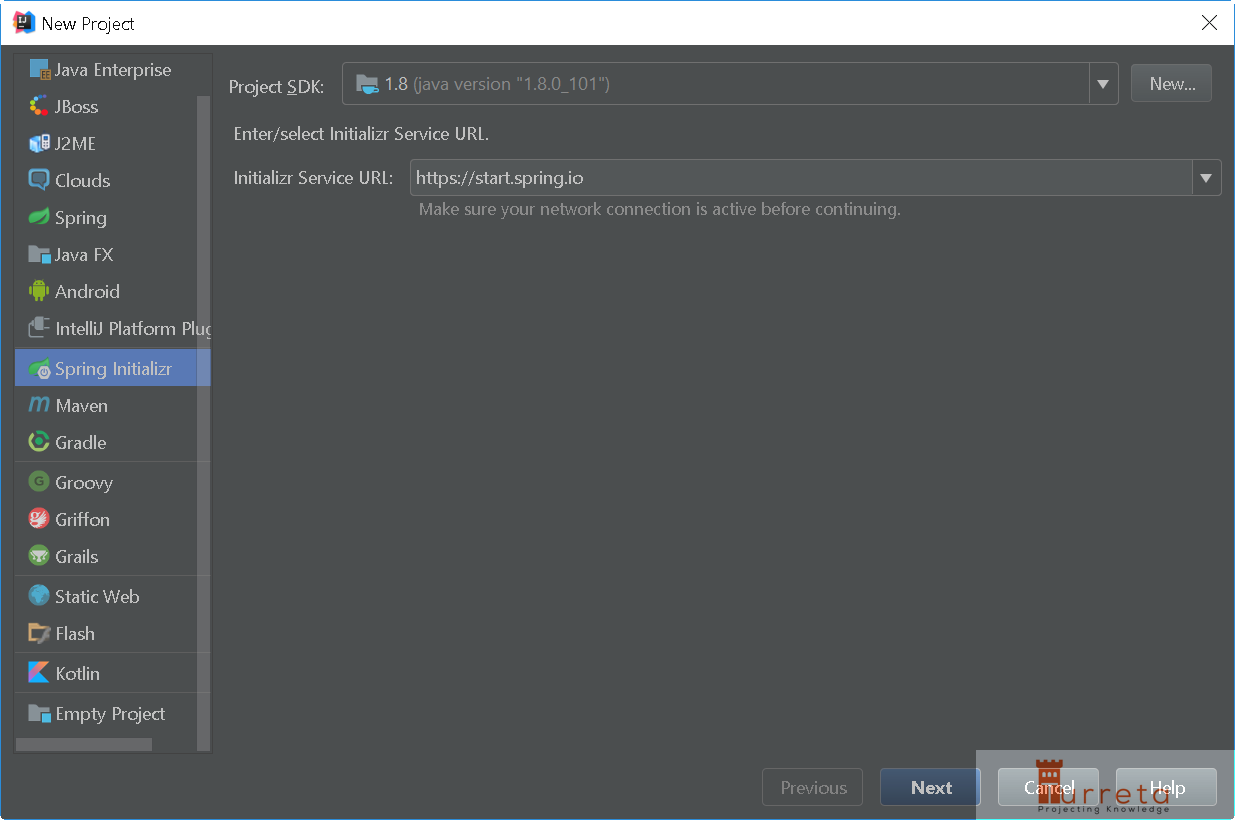
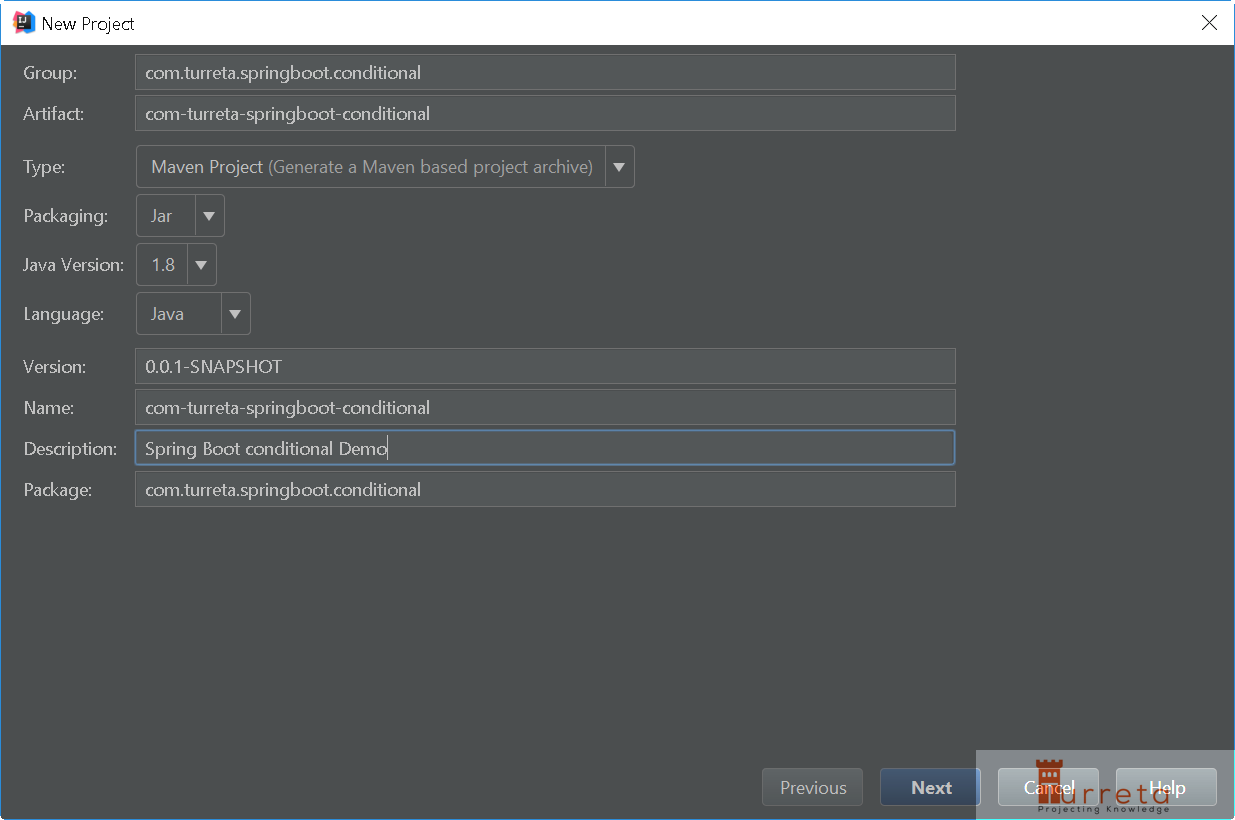
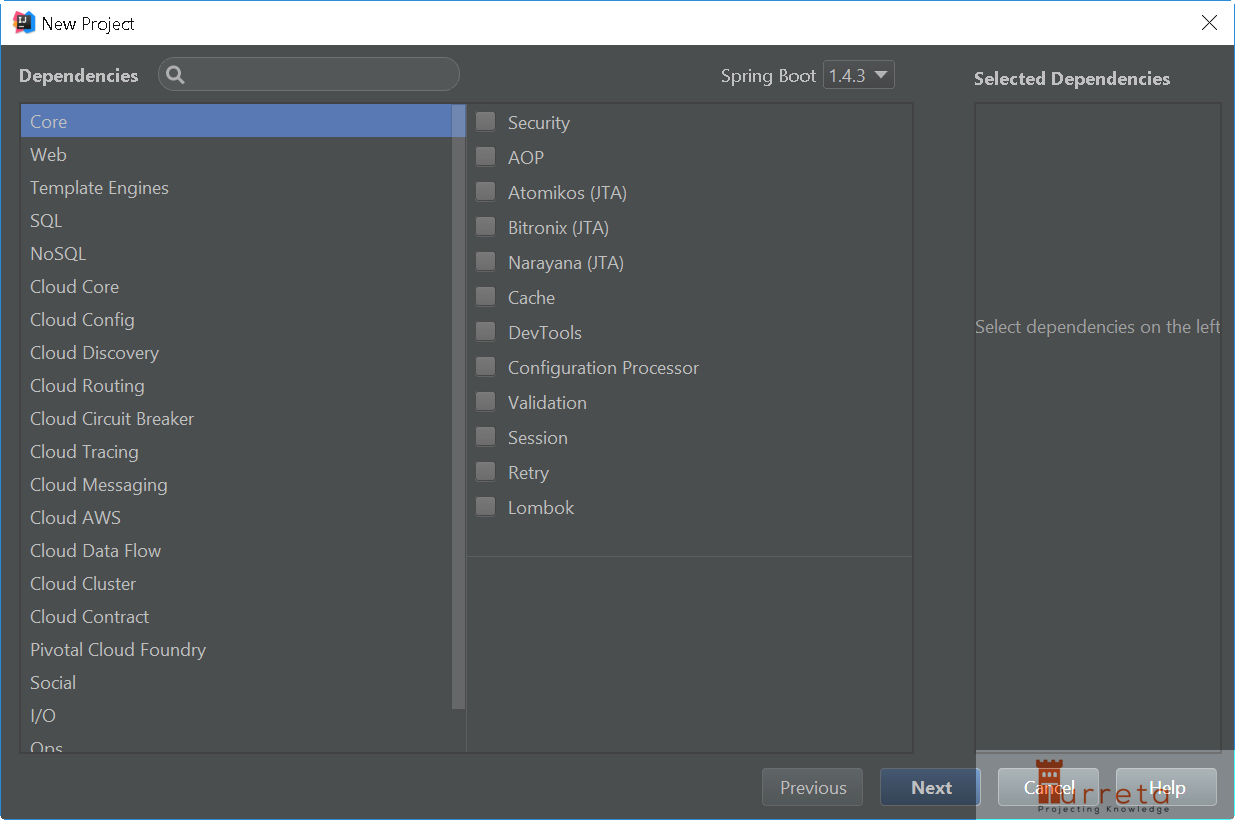
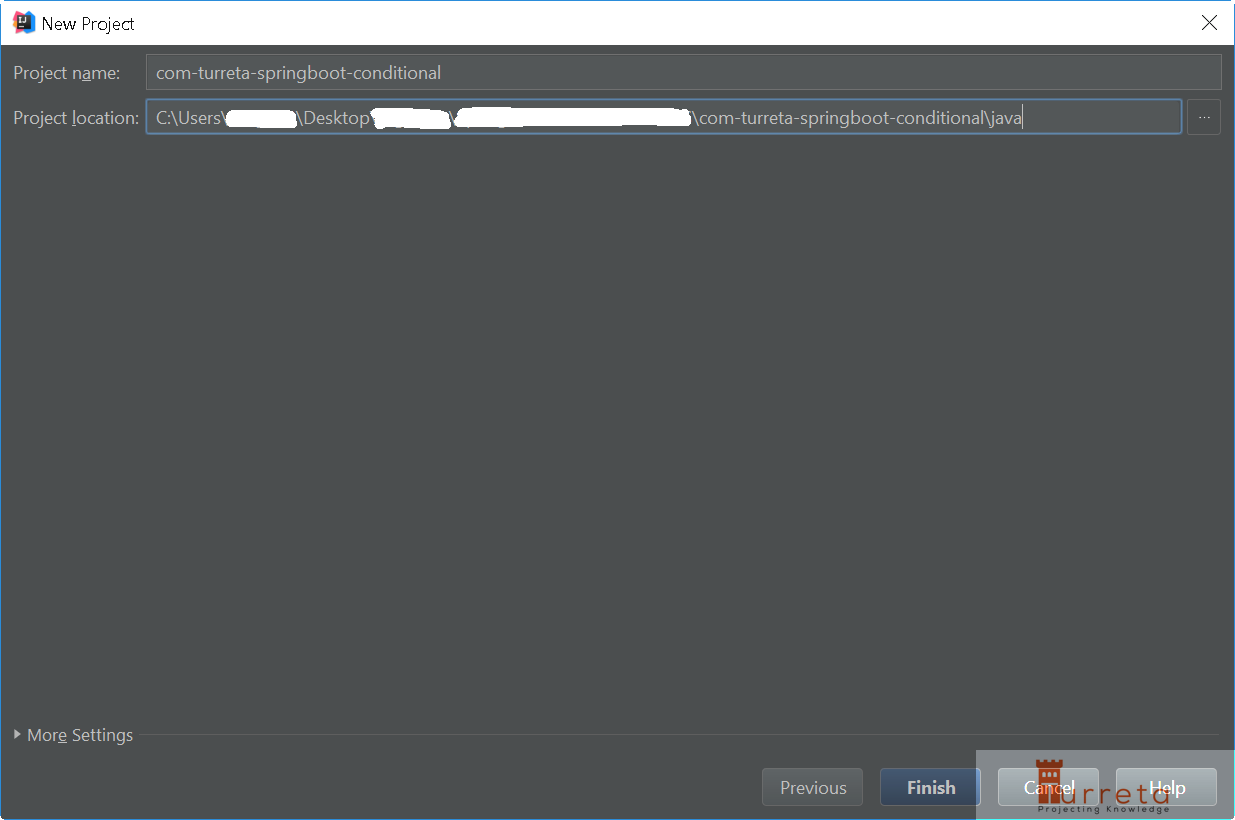
Spring Boot – How to use @Conditional in your own codes
This post demonstrates how to use the @Conditional annotation which is the workhorse of Spring Boot’s automatic configuration. You may also use this technique in your own codes.
First, there was @Profile
@Profile annotation allows for the registration of multiple beans of the same type and associate them to one or more profiles. When you run your application, you make one or more profiles active by
Listing them as comma-delimited string value in applications.properties file, e.g.,
1
spring.profiles.active=Profile1,PH,CN,MY
Listing them as comma-delimited string value in web.xml (for web applications), e.g.,
XHTML
1
2
3
4
5
6
<!-- Lines above omitted for brevity -->
<context-param>
<param-name>spring.profiles.active</param-name>
<param-value>Profile1,PH</param-value>
</context-param>
<!-- Lines below omitted for brevity -->
Listing them as a System property
1
-Dspring.profiles.active=MY,CN
As you can see, there is no “intelligence” applied with @Profile.
Then came @Conditional
Spring introduced the @Conditional annotation in Spring 4 which allows for registration of beans conditionally based on any arbitrary condition.
Yes, in any arbitrary condition like whether or not Today is a public holiday!
Typical conditions to check
[wp_ad_camp_1]
These are typically the conditions you want to base your bean creation on
whether or not a specific class is present in the classpath
whether or not a specific file exists on a location
whether or not a specific property value is configured in a configuration file
whether or not a system property value is available
The Condition Interface
Using @Conditional starts with the Condition interface: