This article demonstrates how to use Apache XML-RPC in Java command-line applications. We will create programs both for the XML-RPC server and client. NOTE: This post is old and may not work with JDK 9 and beyond.
Software Environment
- Windows 7 Professional SP1
- Eclipse – Kepler Release
- Java 1.7 (1.7.0_67 – Windows x86)
- Apache Commons Codec 1.7
- Download from http://archive.apache.org/dist/commons/codec/. Choose file name with *current* substring.
- Used by the XML-RPC client
- Apache Commons HttpClient 3.0
- Download from http://archive.apache.org/dist/httpcomponents/commons-httpclient/3.0/binary/
- Used by the XML-RPC client
- Apache XML-RPC 3.1.3
- Download from https://archive.apache.org/dist/ws/xmlrpc/binaries/
- Apache Tomcat 7.0.56
- We’ll reference and use only the servlet-api.jar file from Tomcat.
- Used by the XML-RPC server only
Create an XML-RPC Project in Eclipse
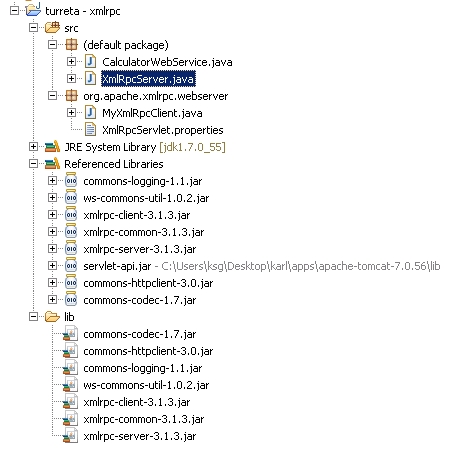
XML-RPC is the precursor of SOAP. Before writing the codes, you need to create a Java project in Eclipse. Then, download the files and manually put them in a folder (in this case, the “lib” folder) within the project. Lastly, reference all these jar files.

The Apache XML-RPC Web Service: Server-Side
When creating a server, we need three (3) things:
- Our service class.
It is a POJO whose methods can be invoked by remote clients, of course, via XML-RPC and through the XML-RPC server. - XmlRpcServlet.properties
This is where we register our service class so that the XML-RPC server can route RPC calls to the appropriate object and method. If we have worked on Servlets, the file is like our web.xml for this command-line application.IMPORTANT: This file needs to be in org.apache.xmlrpc. Webserver package. Create this package in our project and move or save the .properties file there. - A reference to servlet-api.jar
The ServletWebServer class uses this.
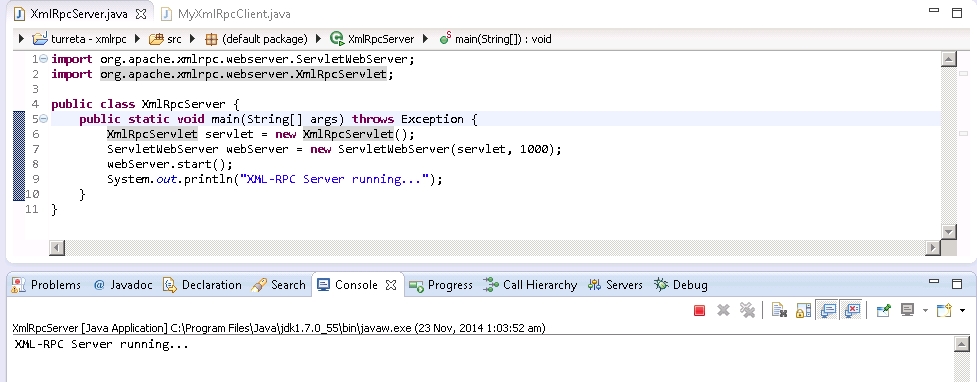
The XML-RPC server codes are written as follows:
1 2 3 4 5 6 7 8 9 10 11 | import org.apache.xmlrpc.webserver.ServletWebServer; import org.apache.xmlrpc.webserver.XmlRpcServlet; public class XmlRpcServer { public static void main(String[] args) throws Exception { XmlRpcServlet servlet = new XmlRpcServlet(); ServletWebServer webServer = new ServletWebServer(servlet, 1000); webServer.start(); System.out.println("XML-RPC Server running..."); } } |
Modify XmlRpcServlet.properties
Next, register our service class on this file. Note that we need a fully qualified name of the class. In this article, my CalculartorWebService class resides in the default package.
1 | Calculator=CalculatorWebService |
The Apache XML-RPC Web Service Client
We can run both the server and client applications in Eclipse.
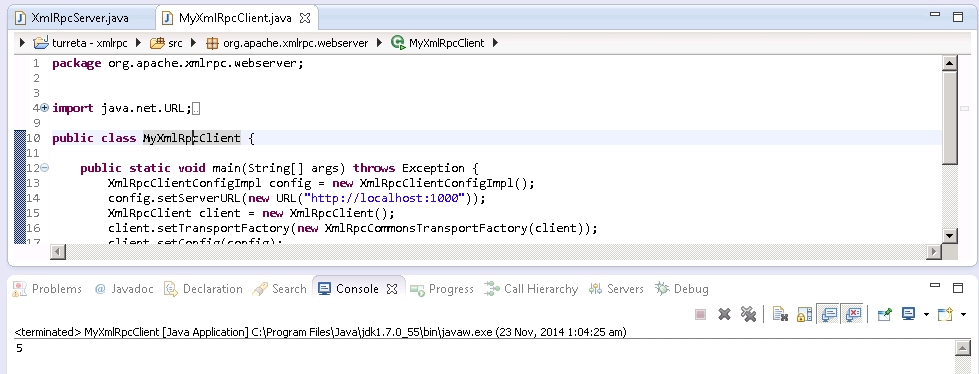
1 2 3 4 5 6 7 8 9 10 11 12 13 14 15 16 17 18 19 | package org.apache.xmlrpc.webserver; import java.net.URL; import org.apache.xmlrpc.client.XmlRpcClient; import org.apache.xmlrpc.client.XmlRpcClientConfigImpl; import org.apache.xmlrpc.client.XmlRpcCommonsTransportFactory; public class MyXmlRpcClient { public static void main(String[] args) throws Exception { XmlRpcClientConfigImpl config = new XmlRpcClientConfigImpl(); config.setServerURL(new URL("http://localhost:1000")); XmlRpcClient client = new XmlRpcClient(); client.setTransportFactory(new XmlRpcCommonsTransportFactory(client)); client.setConfig(config); Object[] params = new Object[]{new Integer(2), new Integer(3)}; Integer result = (Integer) client.e xecute("Calculator.add", params); System.out.println(result); } } |
Sample Output: Both Apache XML-RPC Web Service Server and Client-Side
Finally, test both server and client in Eclipse. Open XmlRpcServer.java and run it first.


Next, once the server is up and running, go to the MyXmlRpcClient.java file and run it.

Download the Project
https://www.dropbox.com/s/4l5bkzdnoi4ixuc/turreta%20-%20xmlrpc.zip?dl=0
![]()


