Background
[wp_ad_camp_1]
Software Environment
- Windows 7 Professional SP1
- Visual COBOL for Eclipse Personal Edition 2.2 by Micro Focus
- Java 1.7 (1.7.0_67 – Windows x86)
Download Visual COBOL
Download Visual COBOL for Eclipse Personal Edition from www.microfocus.com. You need to register to get free 1-year license. Once registered, Microfocus sends you an email that contains the link where to download the IDE from. Just click the green arrow icon for “Visual COBOL for Eclipse for Windows”.
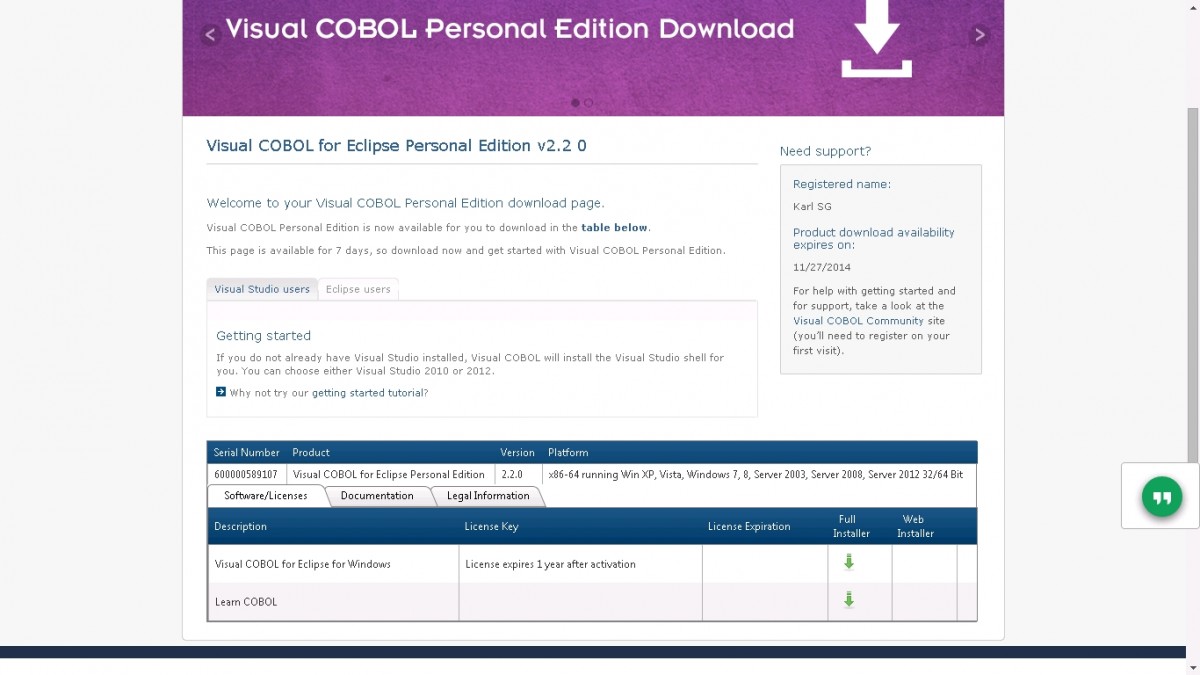
The installation process is straightforward. It is like updating a JDK, actually.
[wp_ad_camp_2]
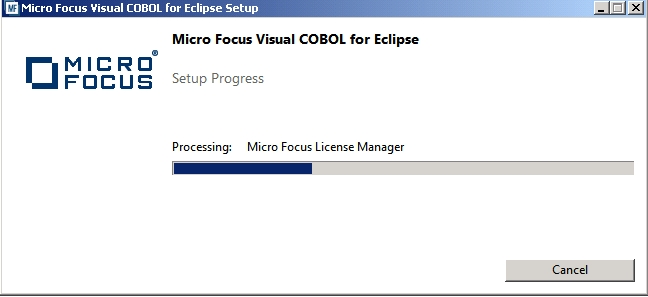
Depending on your machine, the installation process should not take more than 20 minutes.
First Run
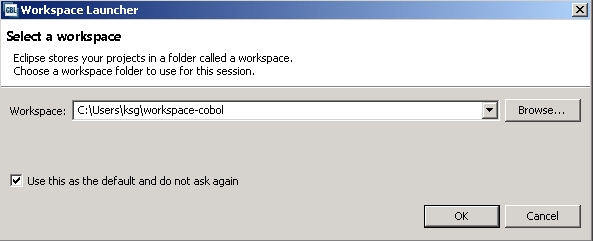
The IDE is Eclipse and will ask you to set a path for workspace upon first run.
To avoid reusing your other Eclipse workspace, use a different path for COBOL. Here, I set the IDE to use “workspace-cobol” directory.
Product Activation
To activate your license, choose “I want to activate the free product” option, supply the email address you used during the online registration, and select “Automatic (requires an Internet connection)”.
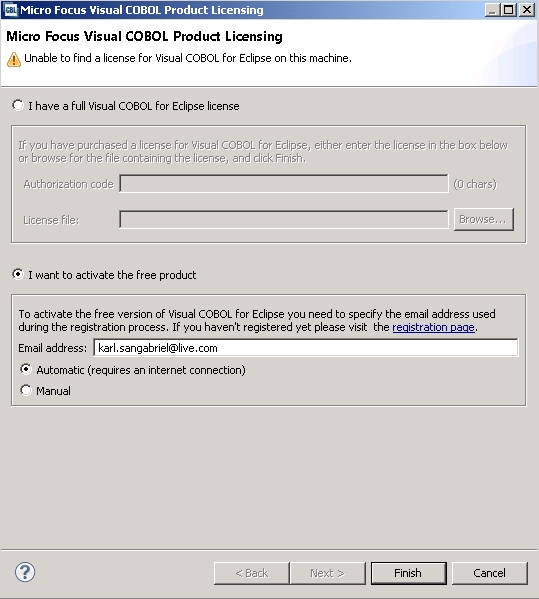
Then, just click Finish.
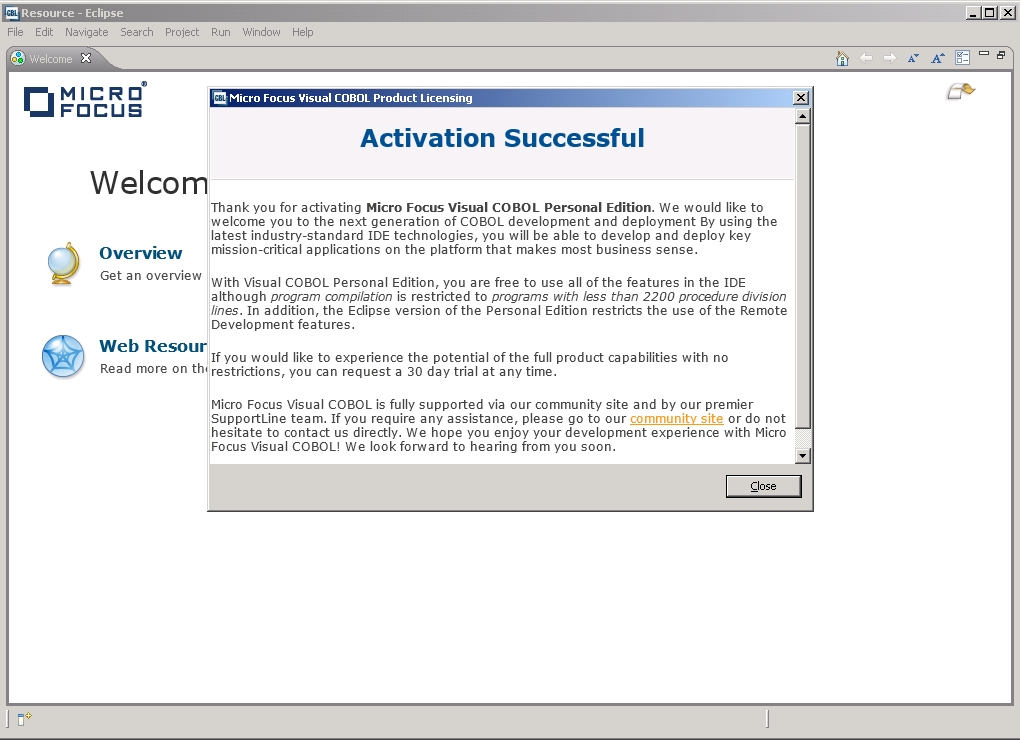
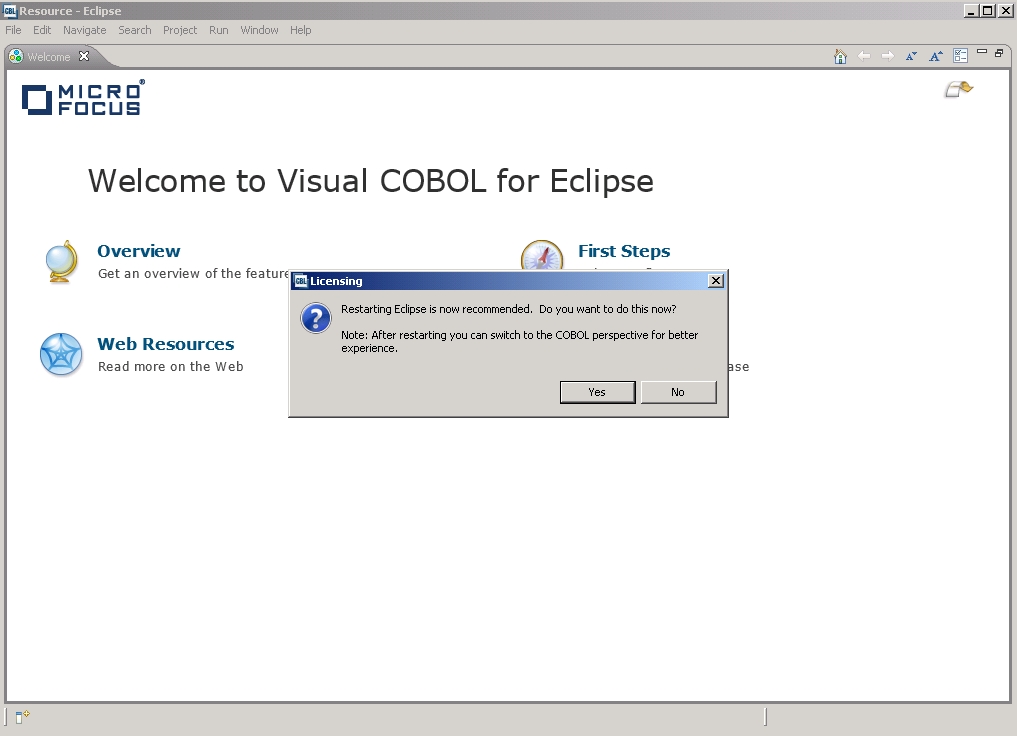
The “Activation Successful” window or screen is displayed. Just clock Close and Eclipse ask whether or not you want to restart it.
Choose Yes. [wp_ad_camp_3]
Create a COBOL Project
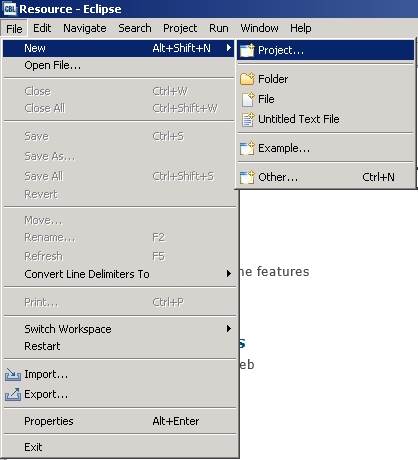
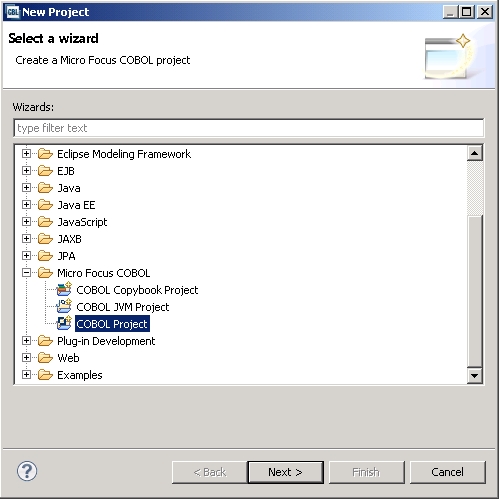
Once restarted, create a COBOL Project by going to New->Project… and COBOL Project under the “Micro Focus COBOL” folder.
I have not tried the other wizards.
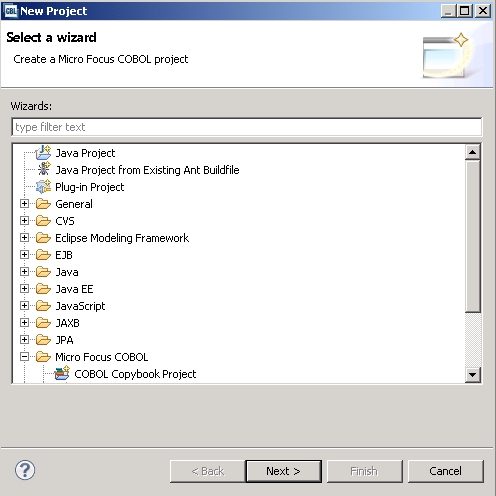
Scroll down a bit to see that COBOL Project wizard.
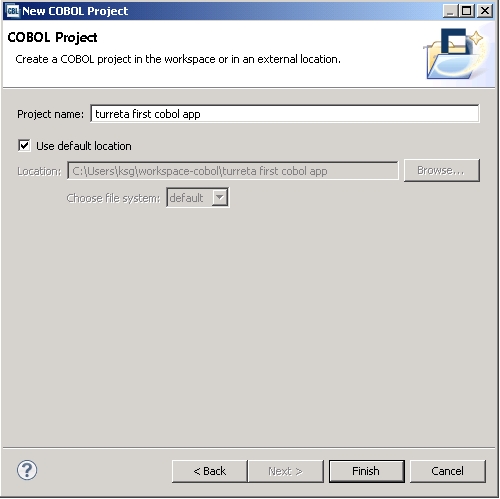
Click Next. Then, give name to the project.
Click Yes
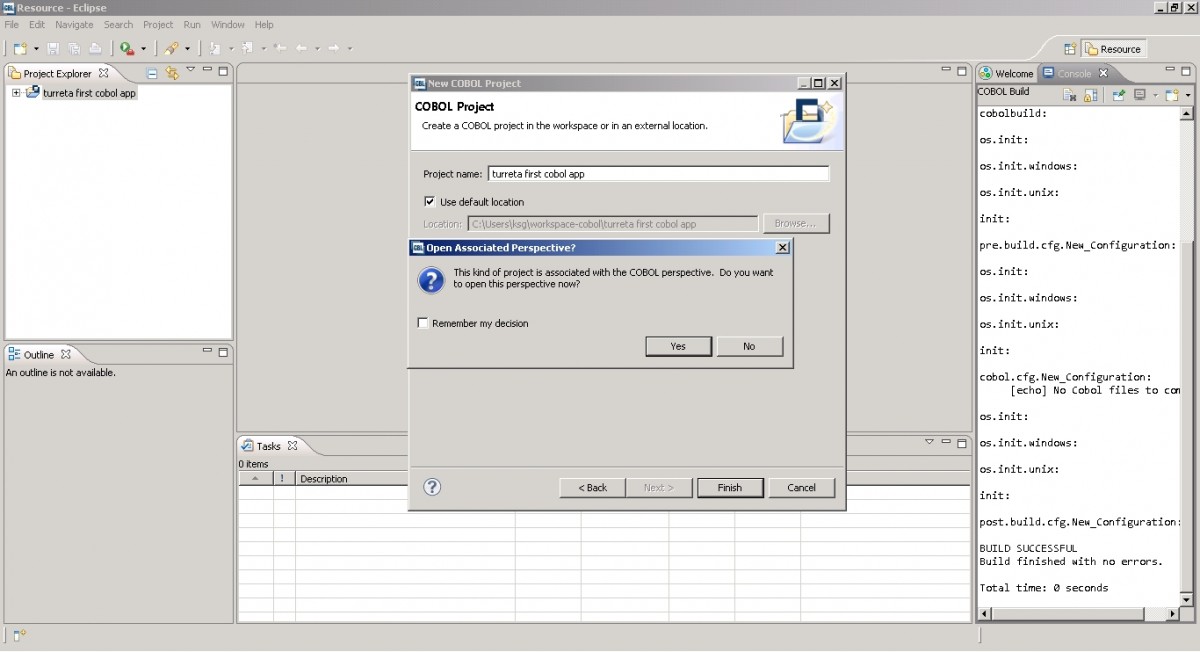
Successfully created a COBOL Project
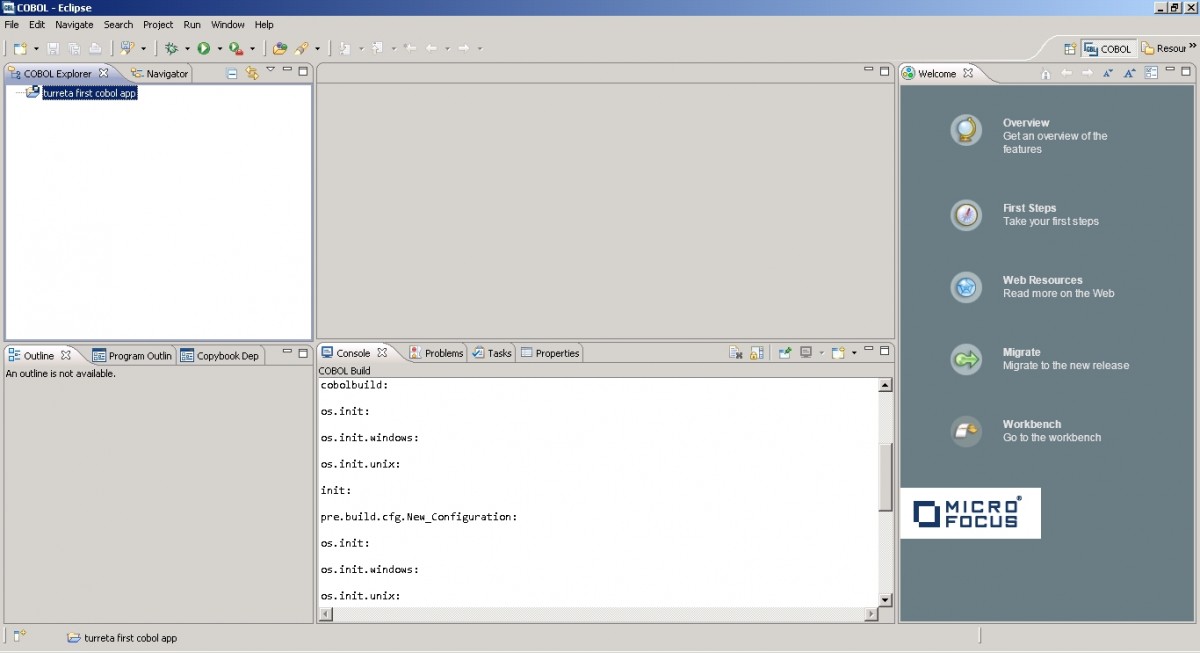
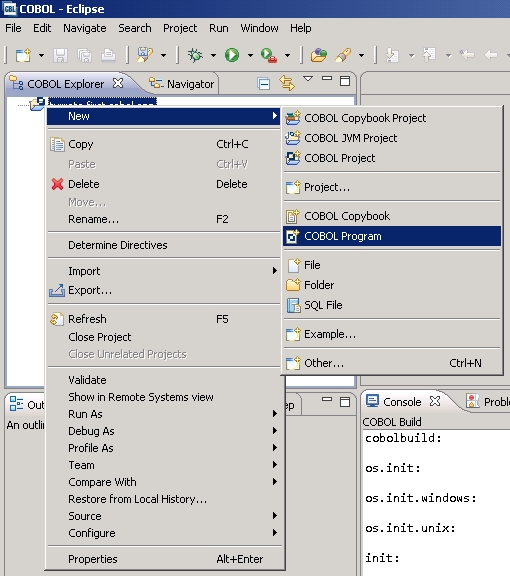
Create a COBOL Program
Choose File->New->COBOL Program
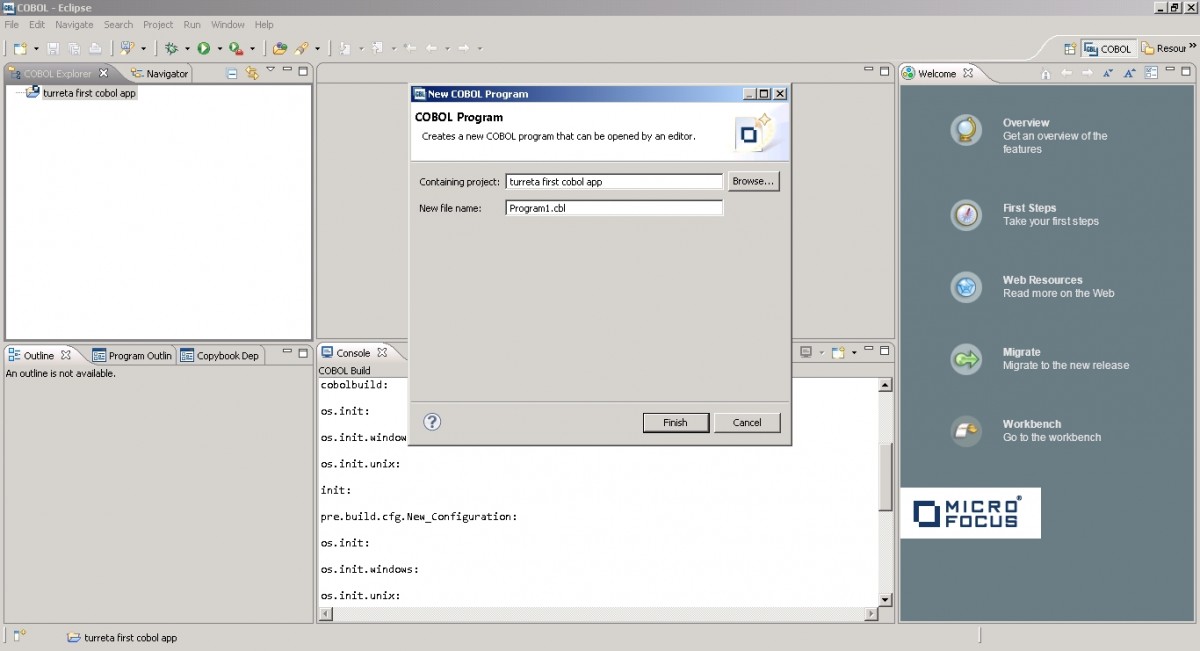
Provide name for the program.
Your First COBOL Codes
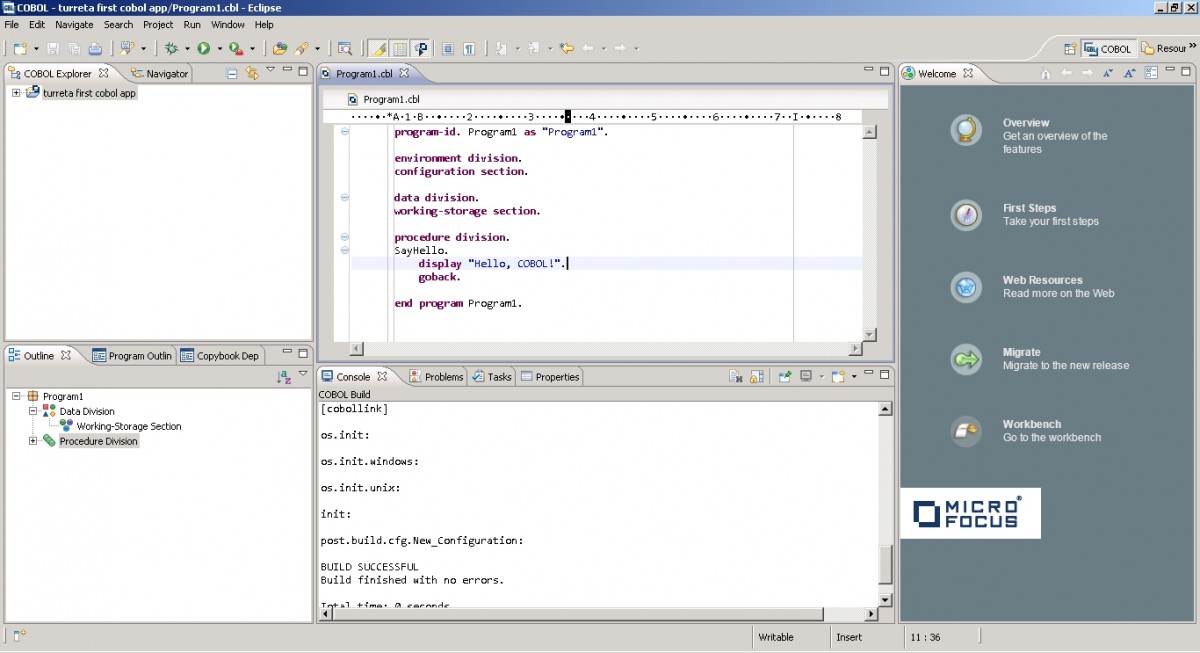
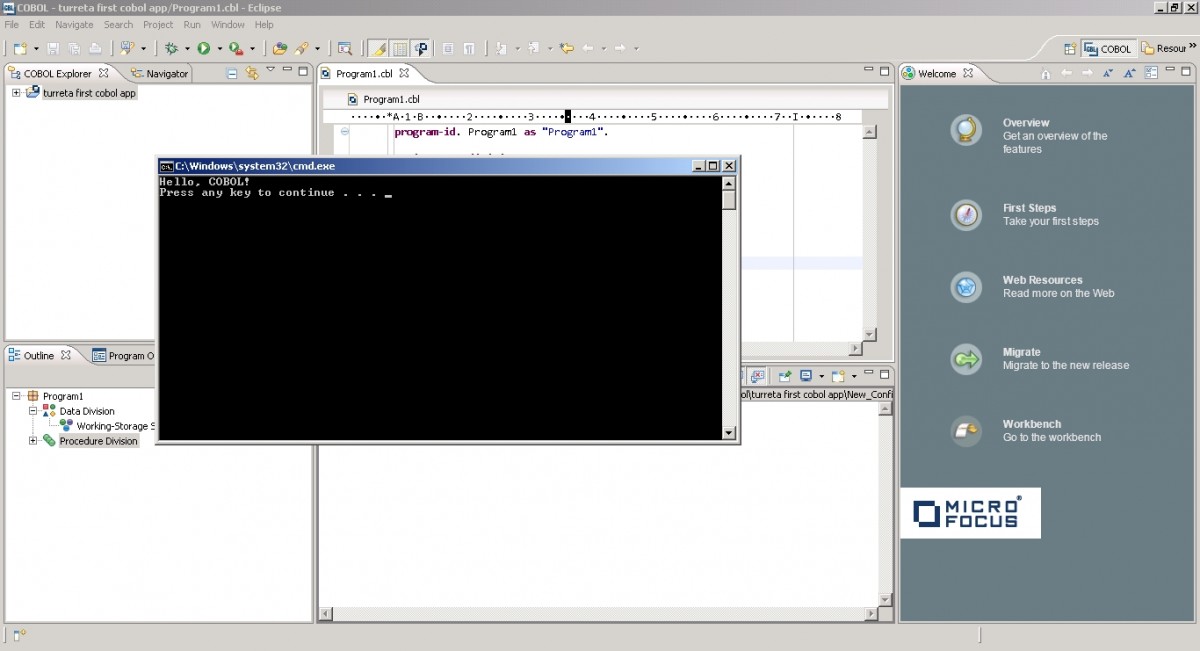
Sample Output
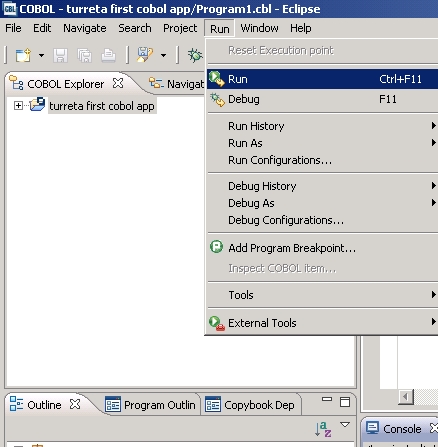
Again this is Eclipse! Run the program as you would with programs written in Java.
Sample output.
Download the Project
https://www.dropbox.com/s/6j86hc87ltzzf3f/turreta%20first%20cobol%20app.zip?dl=0
![]()


