This post shows how to install Rust on Windows 10. There are two ways to do this – through rustup-init.exe and curl within the Windows Subsystem for Linux. This post does that former.
Requirements
To start with, we use the following items for this post.
- Rust 1.37.0
- Windows 10
- Microsoft Visual C++ Build Tools 2019
Install MS Visual C++ Build Tools 2019 For Windows Before Rust
The first step to take is to download MS Visual C++ Build Tools. Click the Download button for Build Tools for Visual Studio 2019 as shown below.

Next, we install the MS Visual C++ Build Tools 2019, which requires administrator privilege. Head to the folder where the installer is and double-click it.

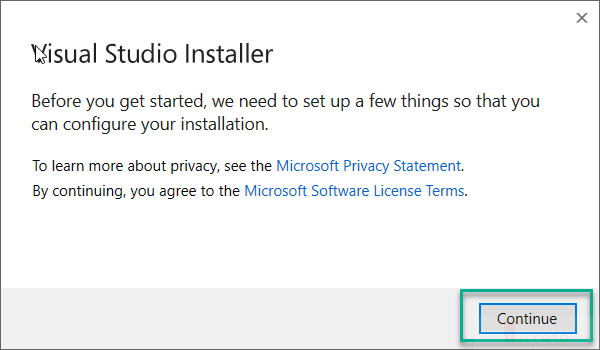
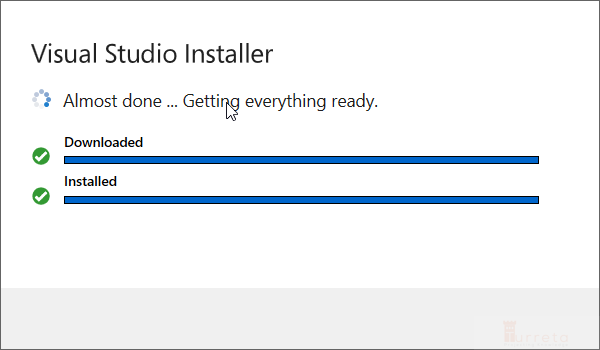
From here on, click the Continue button. Then, the installer starts downloading installation files to the local machine. Note that this operation goes before we install Rust on Windows 10.

The process may take a while to complete. We could wait until the download completes and choose the option to install only the build tools.

After the installation, Windows may require a restart.
Install Rust Using rust-init.exe
Rust has an installer for Windows 10. We can download it from its website by clicking the RUST-INIT.EXE button, as shown below.

Then, we run the installer rust-init.exe on the command line window to install Rust on Windows 10. Double-click the file to start the installation process.

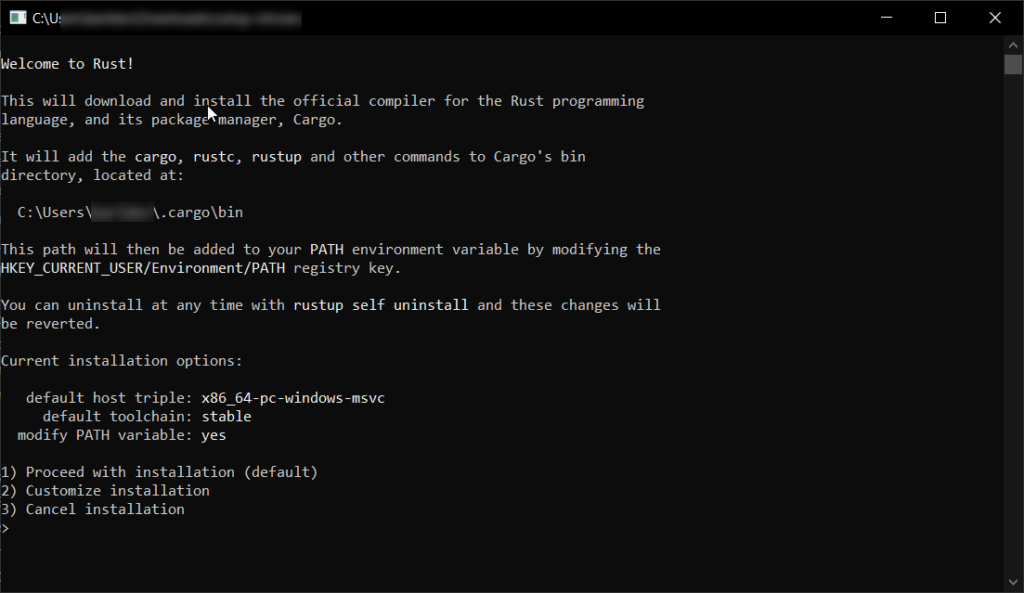
Next, the installer displays a welcome screen. The display should be something similar to the image below. If we get that same display, then we are good to proceed with the installation.

Then, choose option 1 and hit Enter. Option 1 is the default, anyway. The installer then starts to download the installation files.

When we complete the operation, Rust will have installed on Windows 10.

Verify Rust Installation on Windows 10
Once we successfully installed Rust, we can verify it on a separate command line window by running the following command.
1 | rustc --version |
The command generates an output similar to the following screenshot.

![]()


