Hello there! Did you not know that there is a Rust plugin for IntelliJ IDEA? We can use it to start programming in Rust. This post shows how to install and use the Rust plugin. By default, IntelliJ IDEA does not support Rust and there is no IDE specifically created for Rust.
Requirements
We used the following items for this post.
- Rust 1.44.0
- Rust Plugin 0.2.125.3191-201
- Toml 0.2.124.40-201
- IntelliJ IDEA Ultimate 2020.1.2
- Windows 10
IntelliJ Rust
Meet IntelliJ Rust – a plugin for IntelliJ-based IDEs! Okay, we can download the plugin from their website or from the IntelliJ Marketplace for plugins.
For more information, please visit https://intellij-rust.github.io/.
Install Plugin
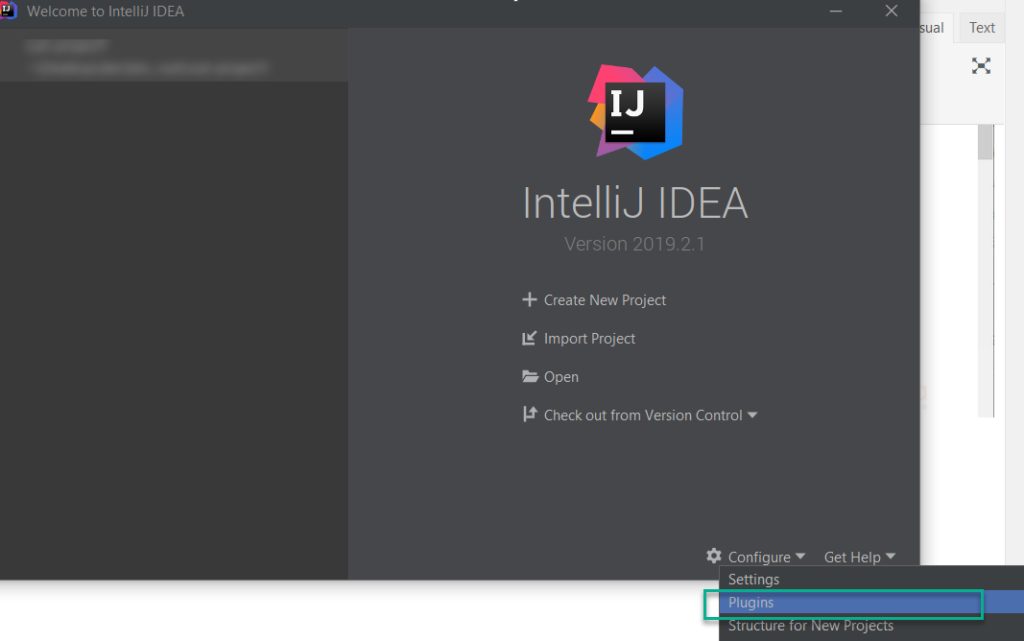
Let’s assume we haven’t opened any projects in the IDE, go to Configure->Plugins.
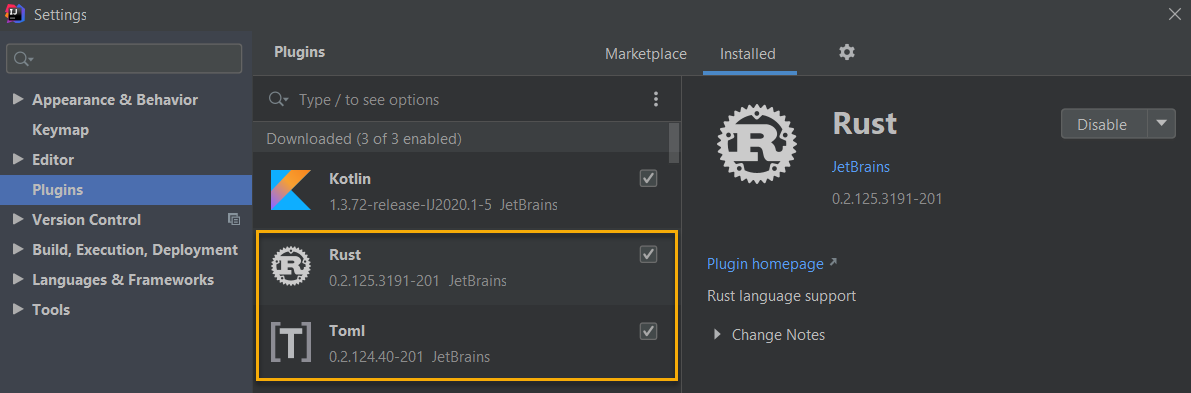
Then, we use the “Rust” string keyword to search for the Rust plugin. Choose the appropriate plugin, as shown below, and click Install. Please do the same for Toml.
After installing the plugins, IntelliJ IDEA may require a restart for the Rust and Toml plugins.
Create And Run a Rust Project
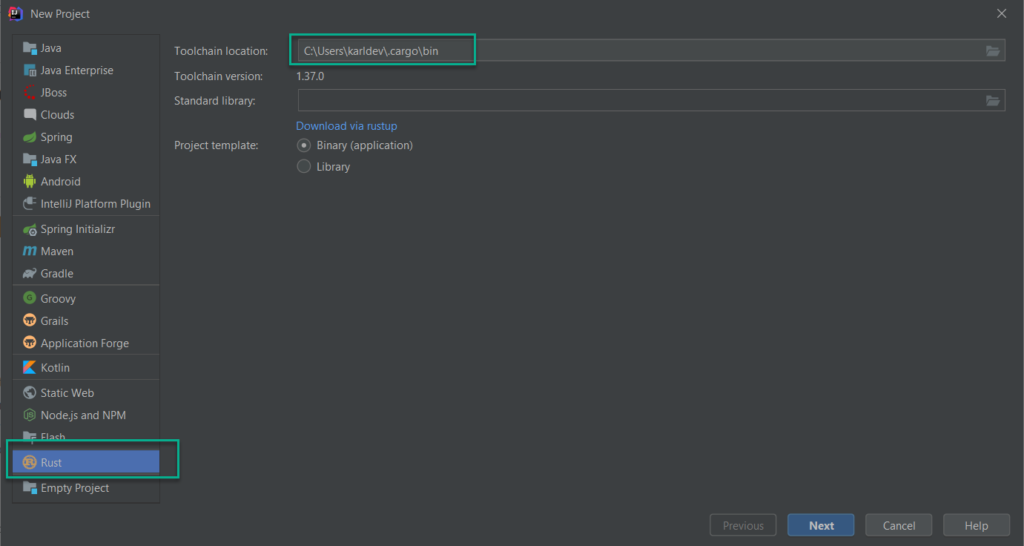
All Rust project must point to the correct Toolchain location installed in the local system. Please see How to install Rust on Windows 10. Click Next to proceed.
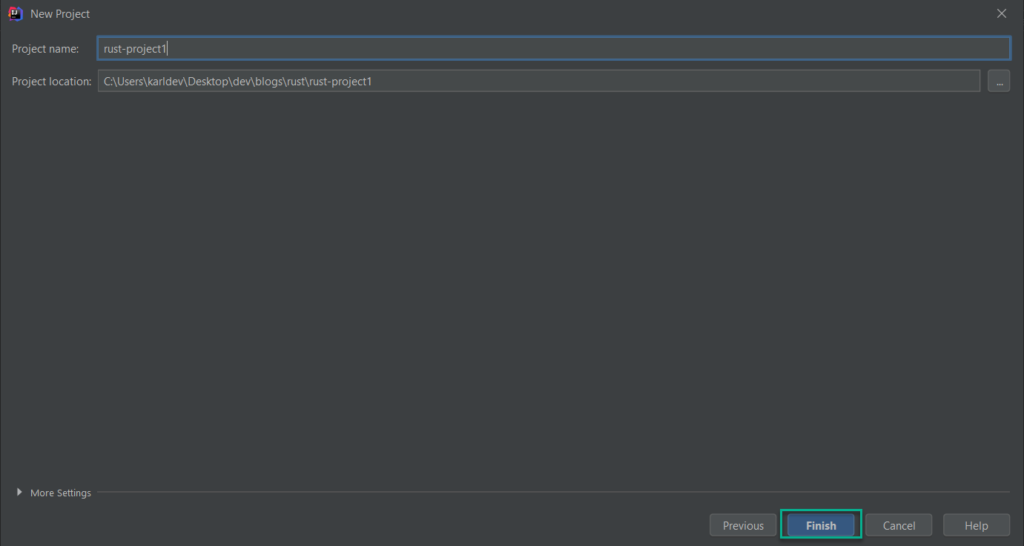
Choose a directory for the new project. Then, click Finish.
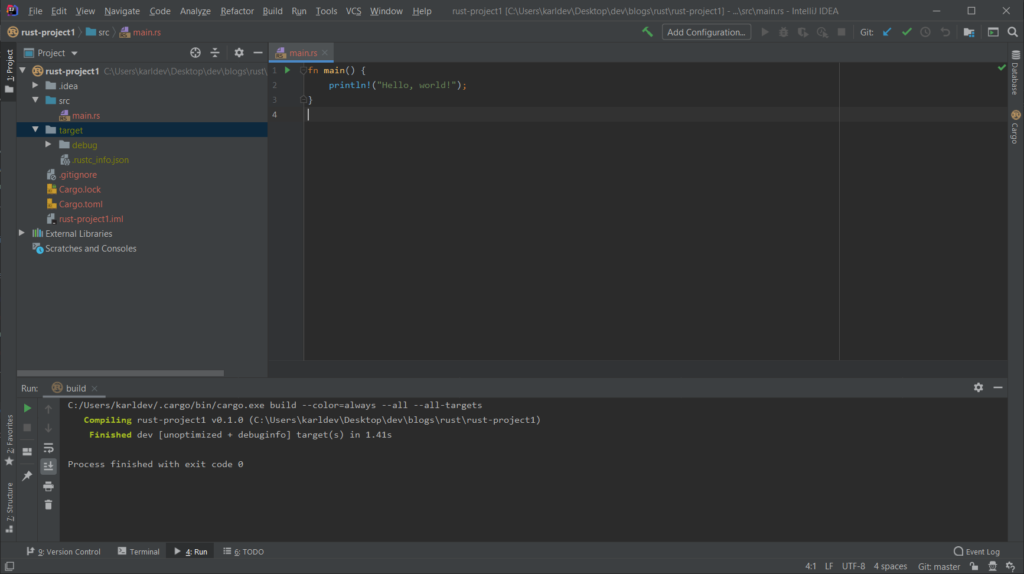
Building a Rust Project
Choose Build -> Build Project or press Ctrl+F9.
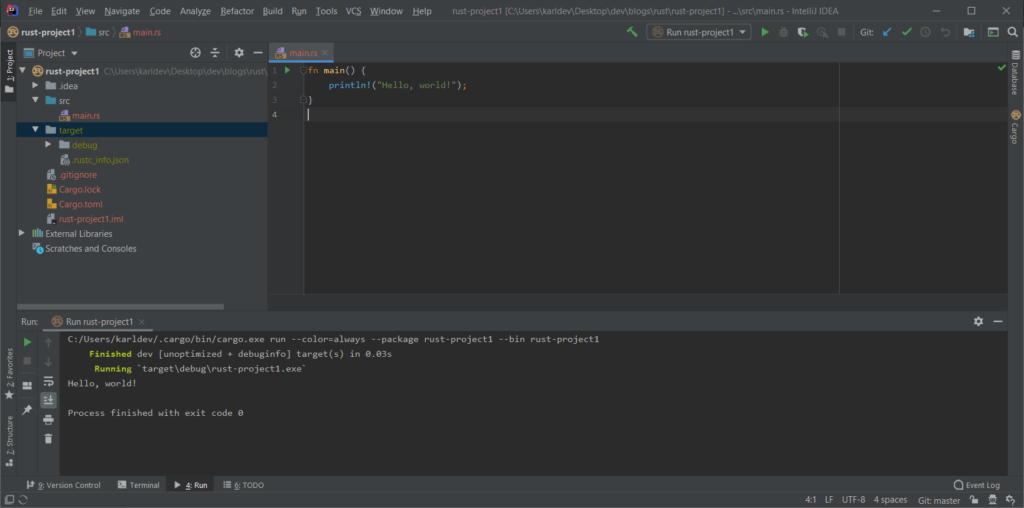
Running a Rust Project
Choose Run -> Run [Project Name] or press Shift+F10 .
So, that is how we install and use the Rust plugin for IntelliJ IDEA!
This post is now part of Rust Programming Language For Beginners Tutorial.
![]()