This post shows how to install Docker in Red Hat Enterprise Linux AWS EC2. Installing Docker in an AWS EC2 requires an AWS account and some familiarity with AWS Machine Images (AMIs) and provisioning EC2 instances.
Requirements To Install Docker
- An AWS Account
- An EC2 instance with Red Hat Enterprise Linux AMI
- Putty
Provision an EC2 Instance With Red Hat Enterprise Linux AMI
We require an EC2 instance. The instance has a Red Hat Enterprise Linux as its operating system. To provision an EC2 instance, please read Provision a Server (EC2) on AWS.
Convert .pem files to.pkk for putty
We may reuse an existing key-pair we created for other EC2 instances. By doing this, we avoid converting .pem files to .pkk files over and over. In case we require a new key pair, we need to convert the PEM file to a PPK file using PuttyGen.
Install Docker on Red Hat Enterprise Linux AWS EC2
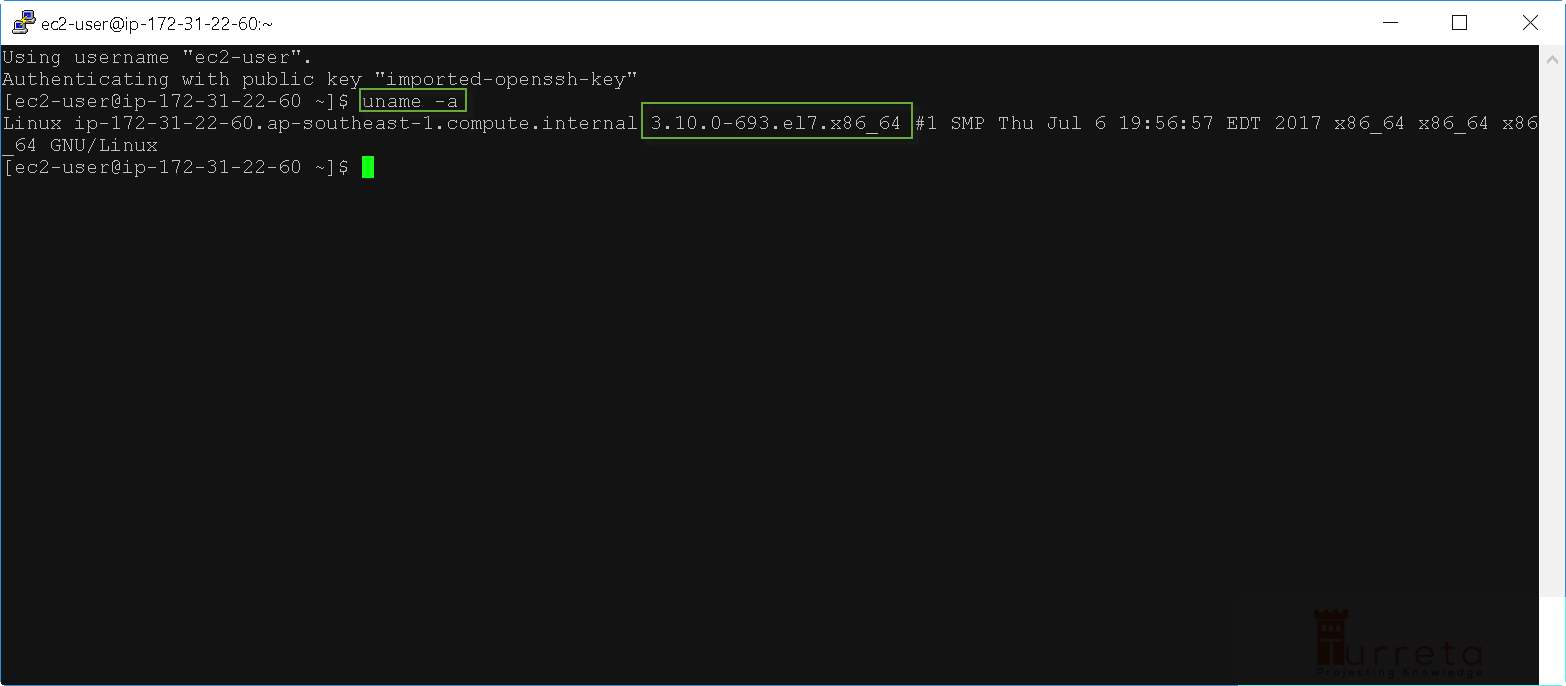
Step 1 – Check Linux version
There is a minimum kernel requirement for Docker. It must be at least version 3.10. To find out the kernel version, please use:
1 | uname -a |
or
1 | uname -r |
Our EC2 instance has the appropriate OS kernel version to allow us to install Docker.
Step 2 – Update yum
We should always update the operating system in an EC2 instance. To update the Red Hat Enterprise Linux, please use the following command.
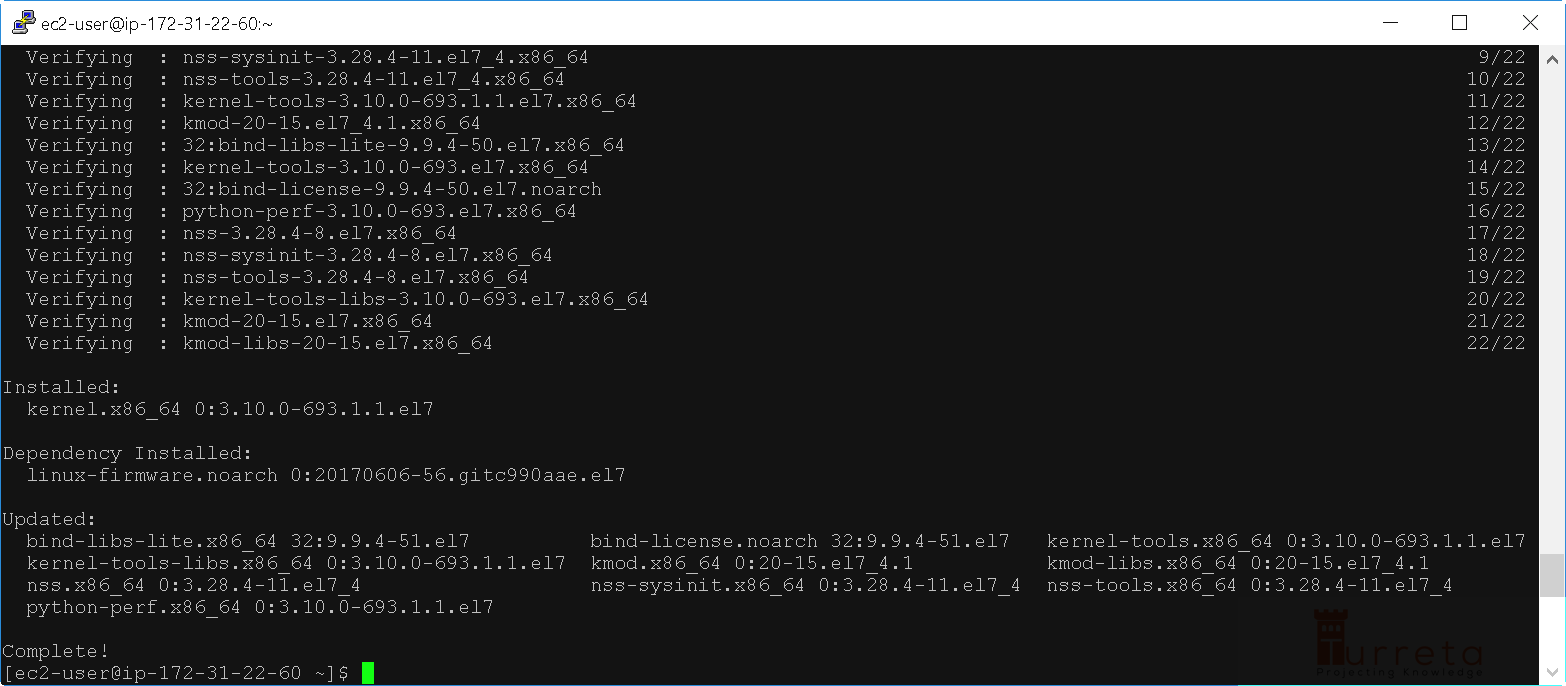
1 | sudo yum update |
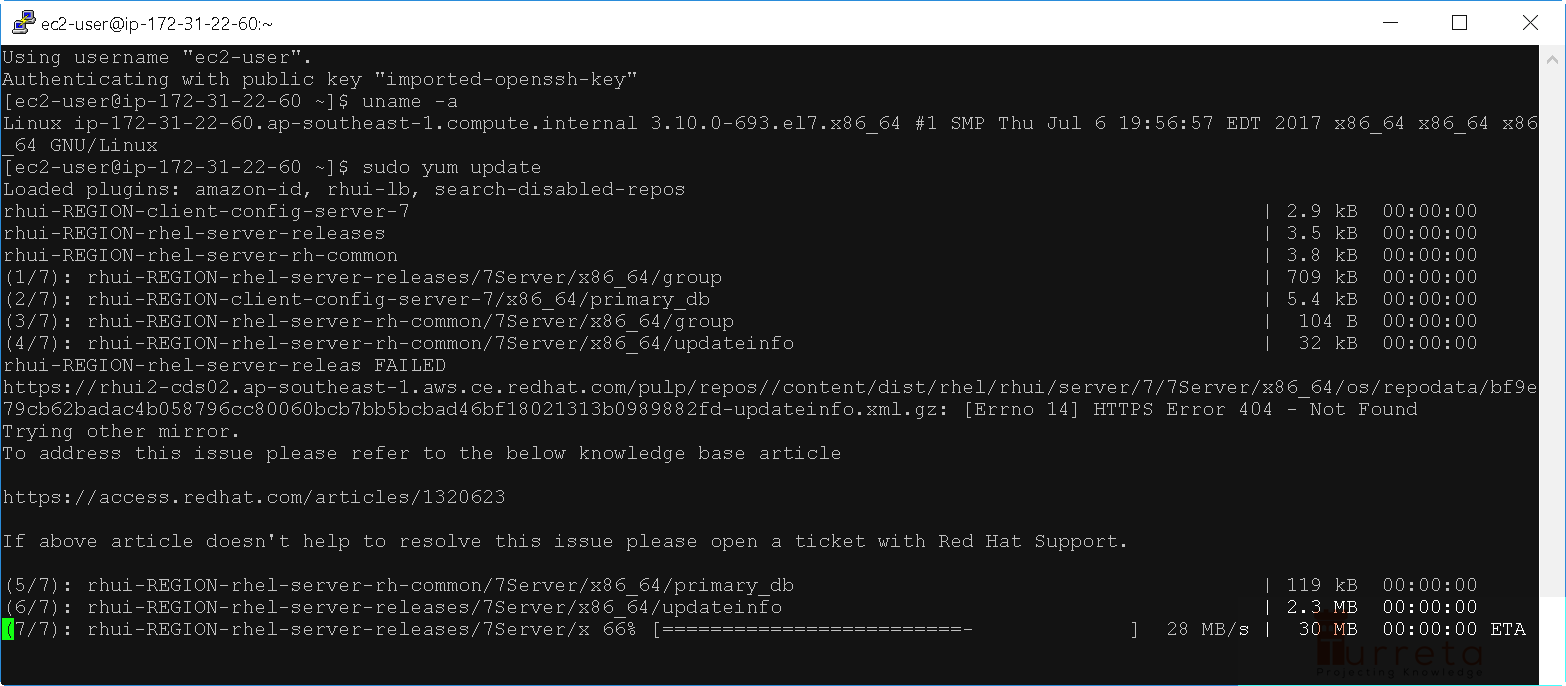
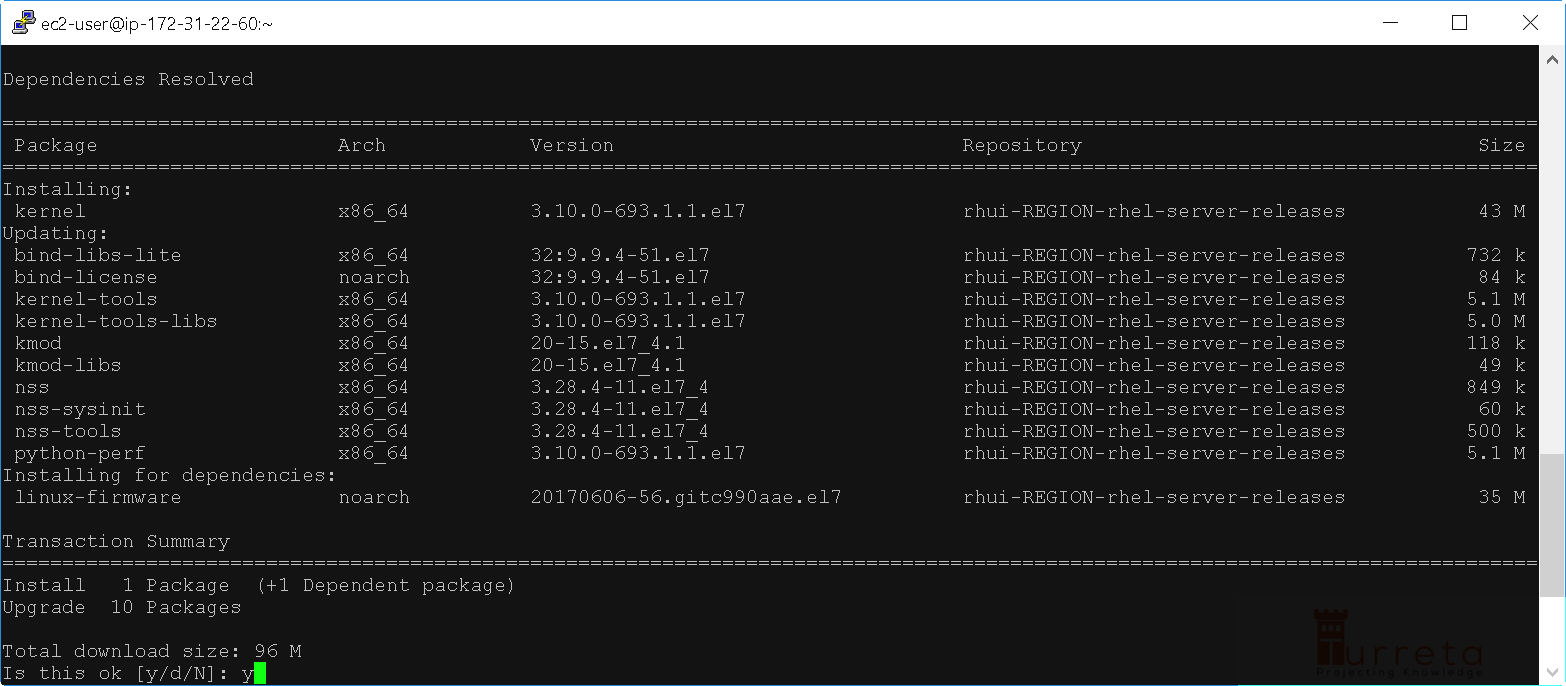
When yum asks us for some confirmation about the total size of binaries to download, just type “y” and press the Enter key to proceed.
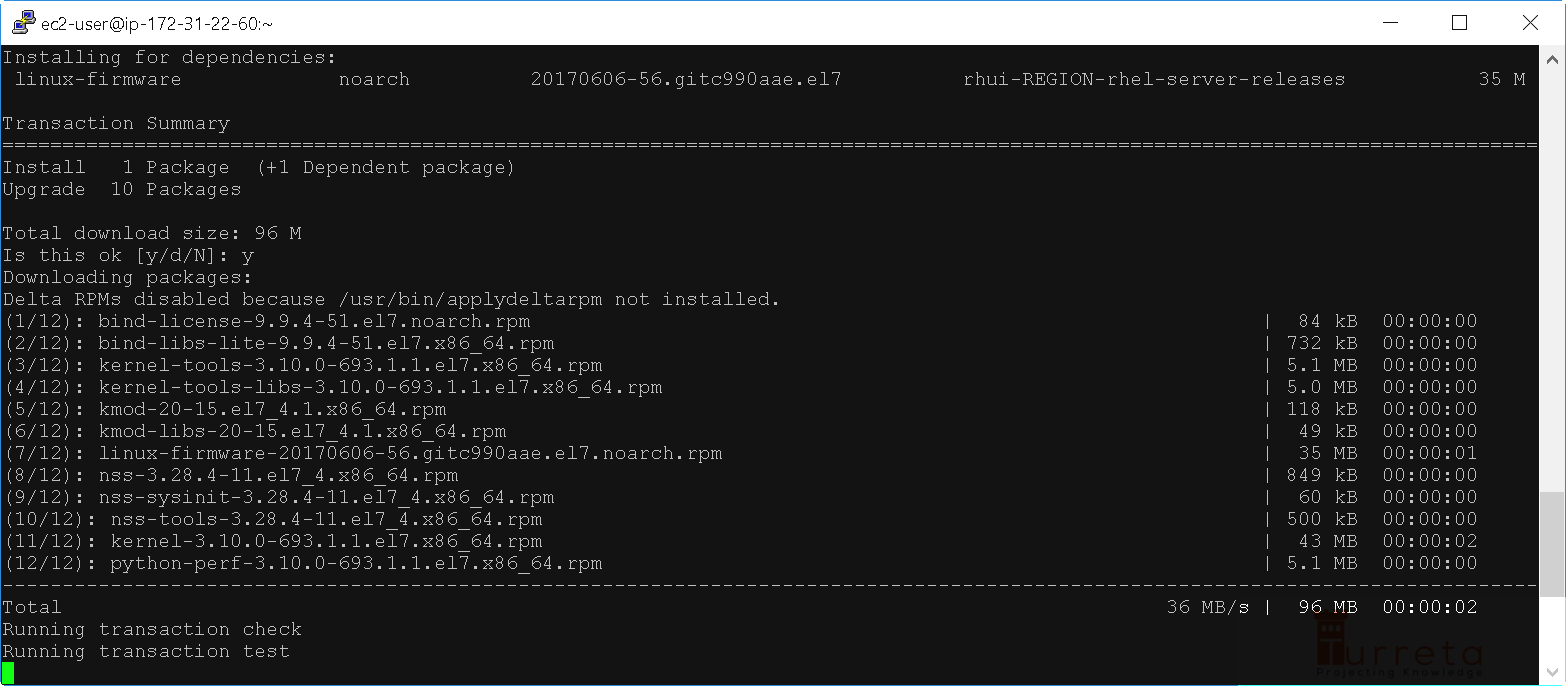
Installation completes!
Step 3 – Add Docker Repository
We need to point a Docker repository for our operating system. Please run the following command.
1 2 3 4 5 6 7 8 | sudo tee /etc/yum.repos.d/docker.repo <<-'EOF' [dockerrepo] name=Docker Repository baseurl=https://yum.dockerproject.org/repo/main/centos/7/ enabled=1 gpgcheck=1 gpgkey=https://yum.dockerproject.org/gpg EOF |
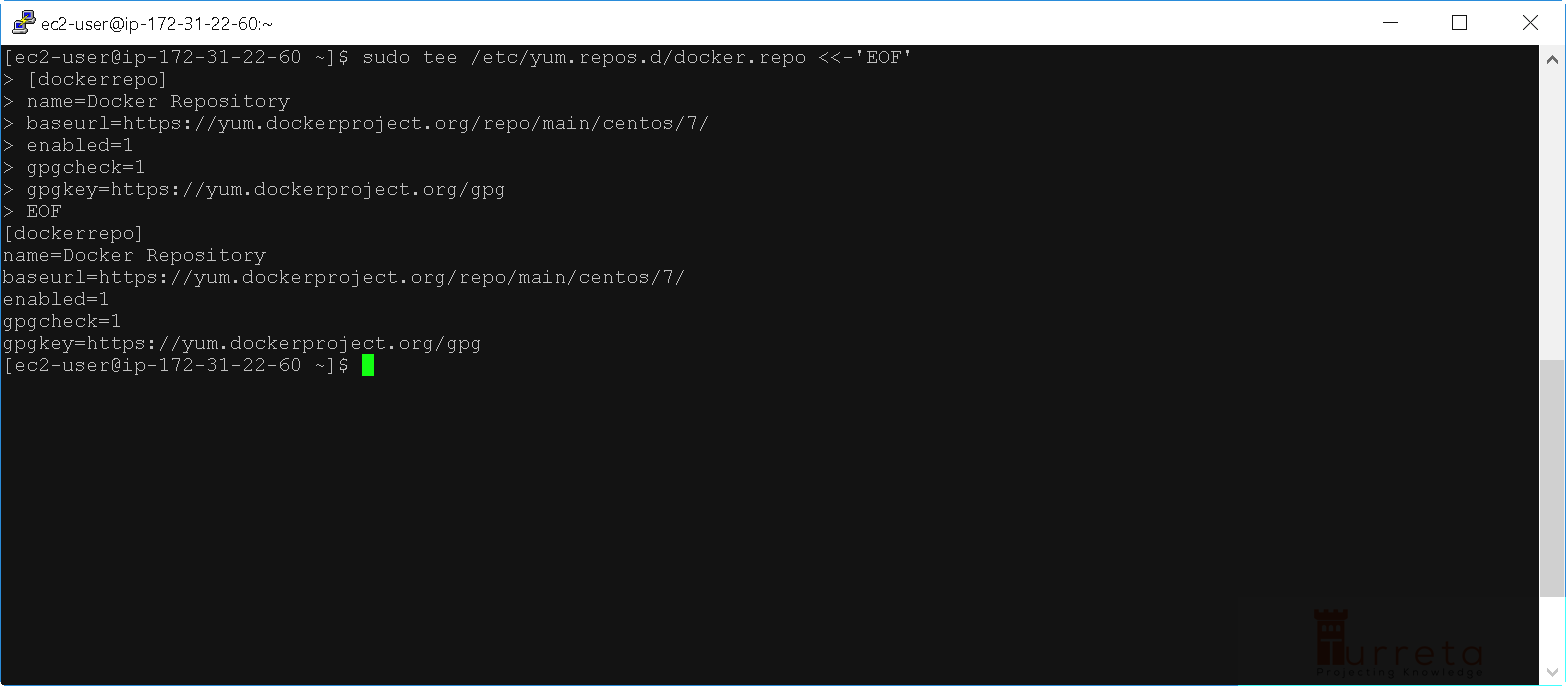
Notice the baseurl points to https://yum.dockerproject.org/repo/main/centos/7/
If we access the https://yum.dockerproject.org/repo/main/centos/, we get this page. Depending on our requirement, we may need to choose Docker binaries for either version of CentOS. For our case, we use version 7.

Step 4 – Install Docker Engine
Then, we install docker-engine. Please run the following command.
1 | sudo yum install docker-engine |
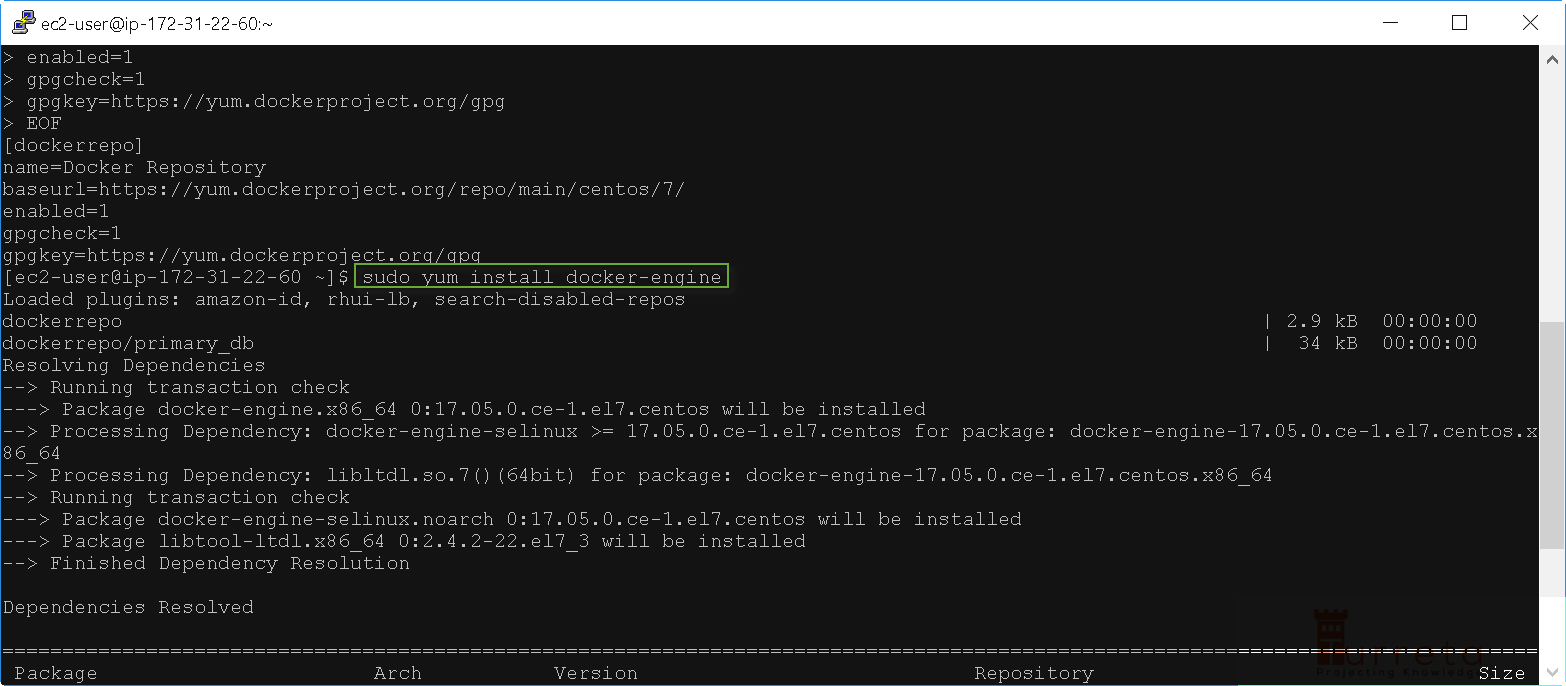
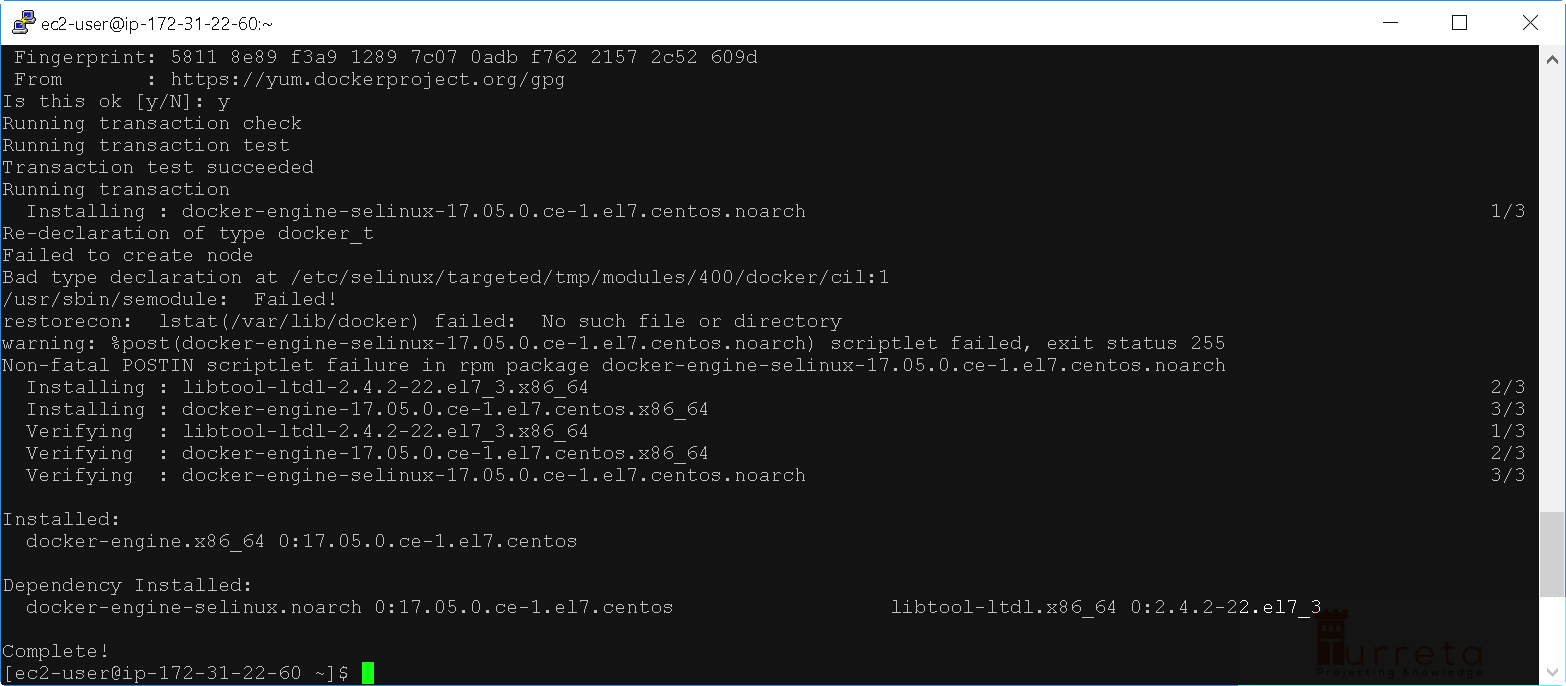
Type y and press the Enter key to proceed.

Type y and press the Enter key to proceed again.

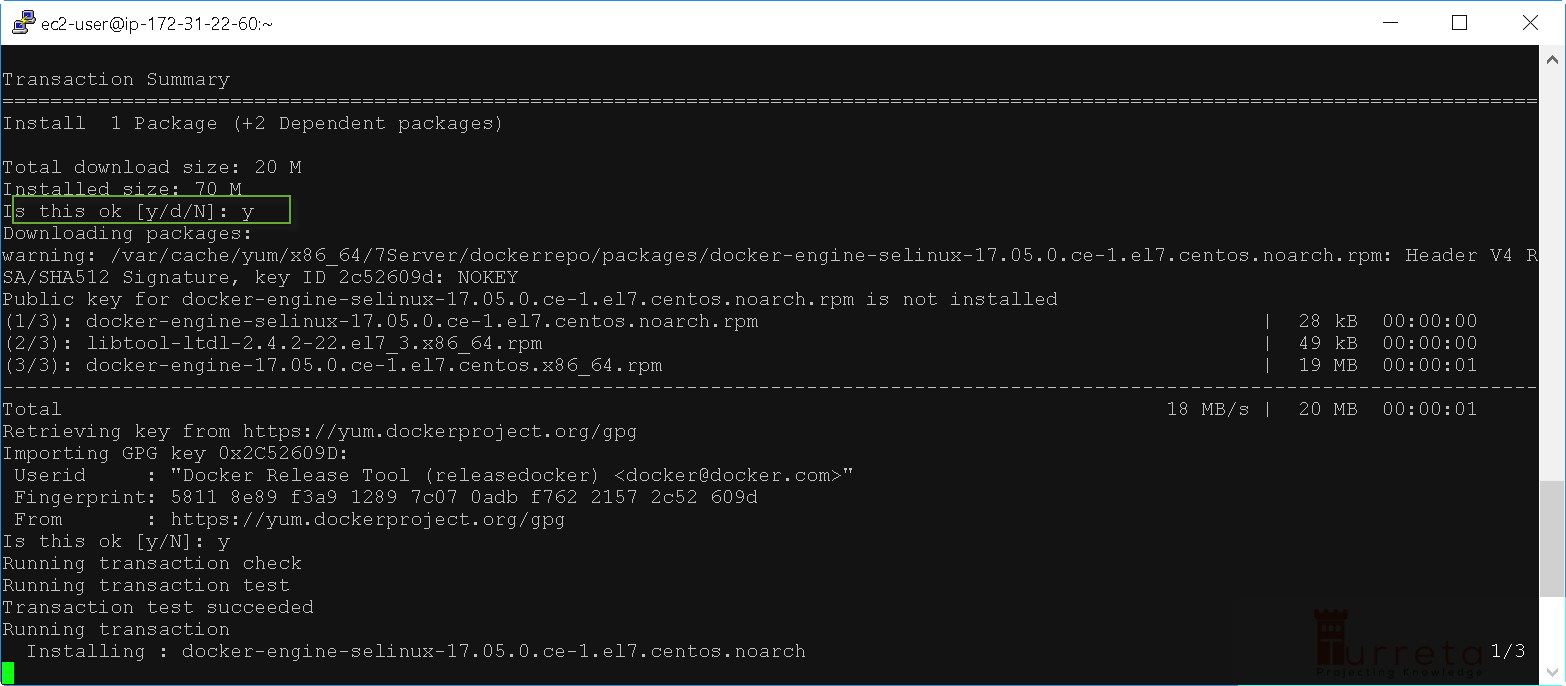
At this point, the docker-engine installation is complete.
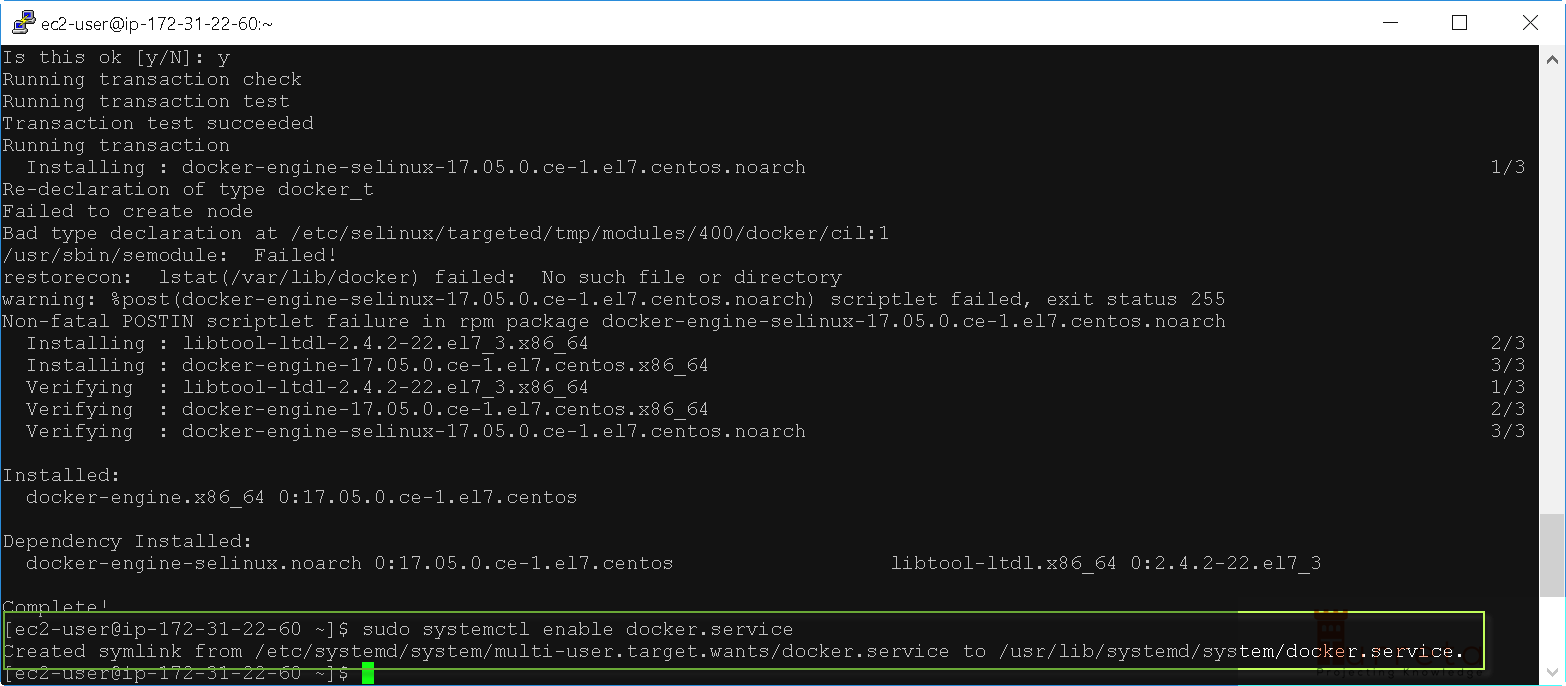
Step 5 – Enable Docker Service
Then, we need to enable to Docker service. At this point, Docker is installed but disabled. Please run the following command to allow the Docker service to run.
1 | sudo systemctl enable docker.service |
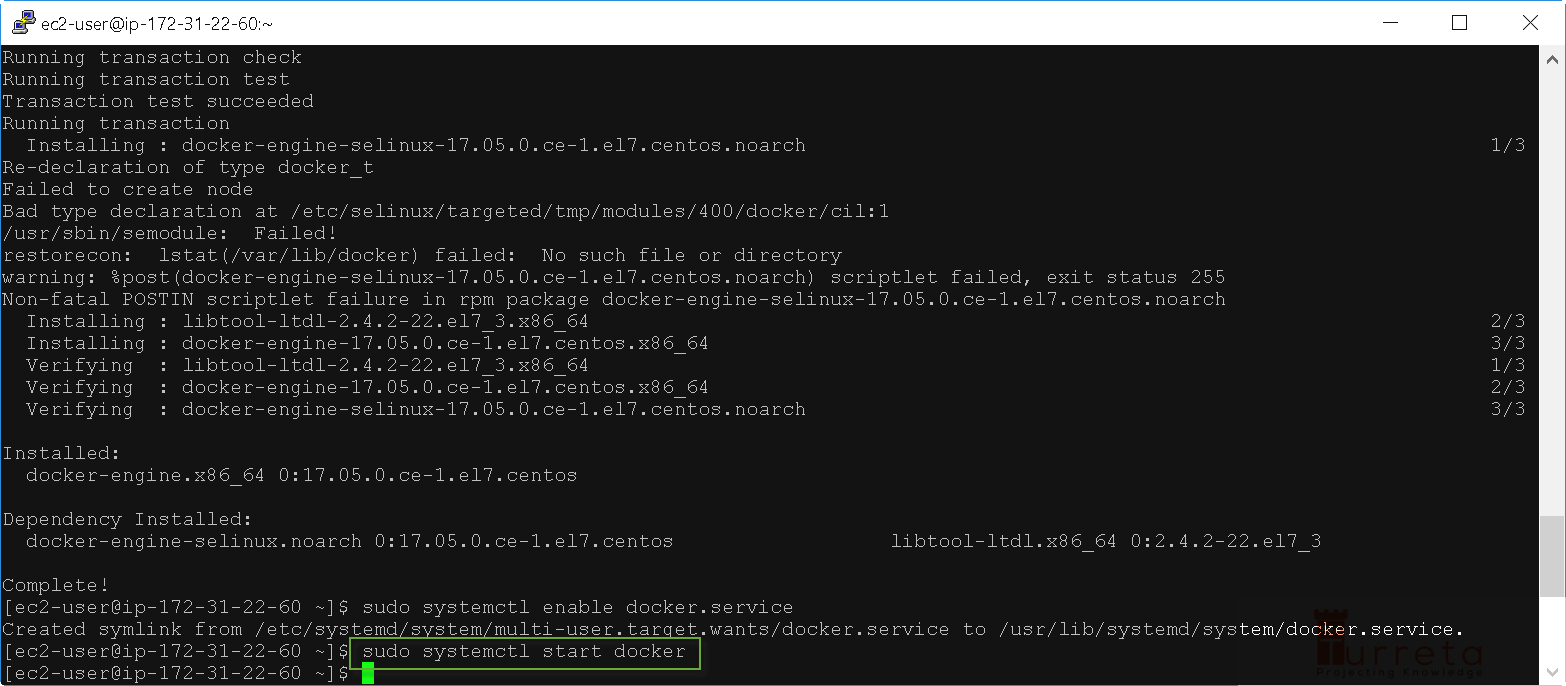
Step 6 – Start Docker
Finally, we need to start the Docker server. Please use the following command.
1 | sudo systemctl start docker |
Step 7- Verify Docker is Running
Once we started the Docker server, we can check to see if it is up and running. Please use the following command.
1 | ps -ef | grep docker |
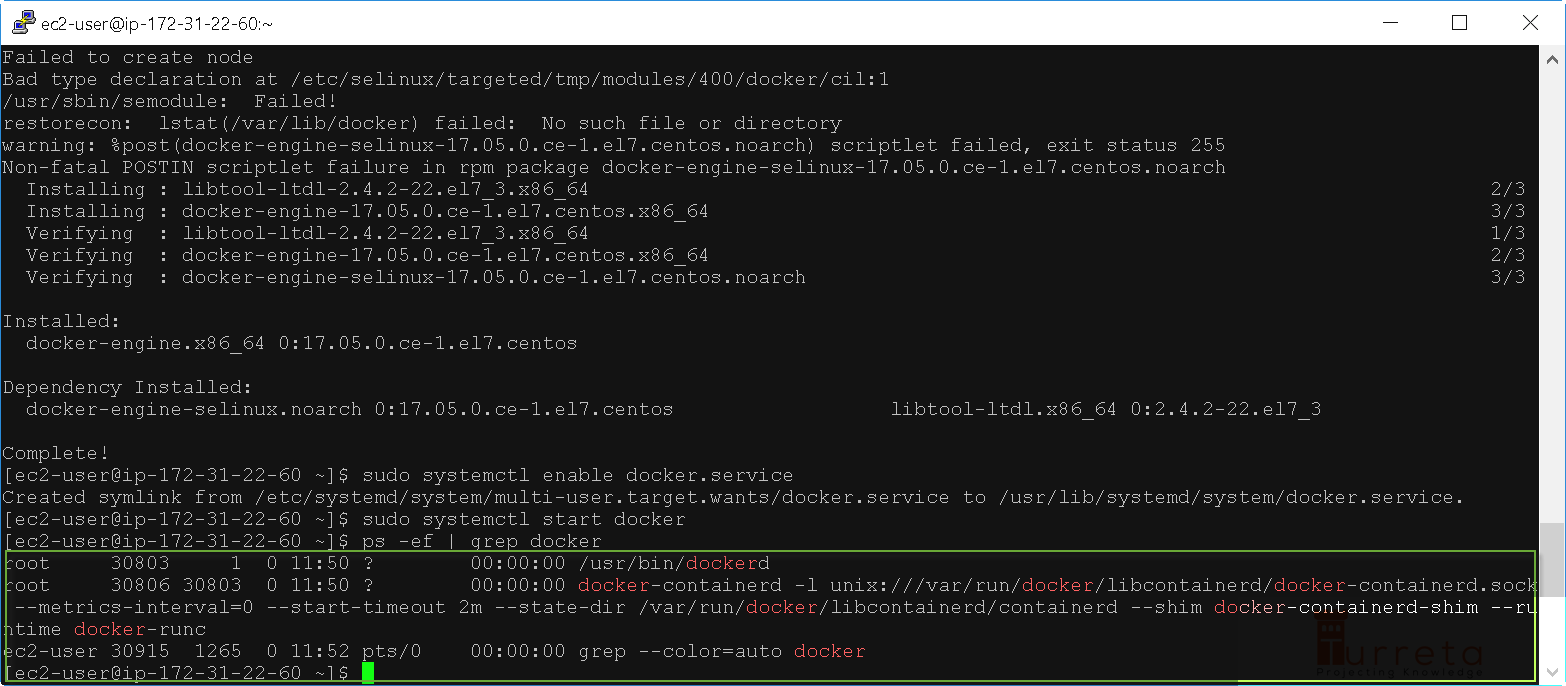
Then, we successfully installed Docker in a Red Hat Enterprise Linux AWS EC2.
This post is part of the Docker For Developers tutorial.
![]()