Background
[wp_ad_camp_5]
Maven allows you to break down your application into multiple modules. The presentation, service, and integration layers will each be in separate module. This article demonstrates how to create just that.
Software Environment
- Windows 7 Professional SP1
- Java 1.7 (1.7.0_67 – Windows x86)
- Eclipse Luna
First, create the parent project
The parent project is of pom type. As you can see later, there are three types (package types) in Maven – jar, war, and pom.
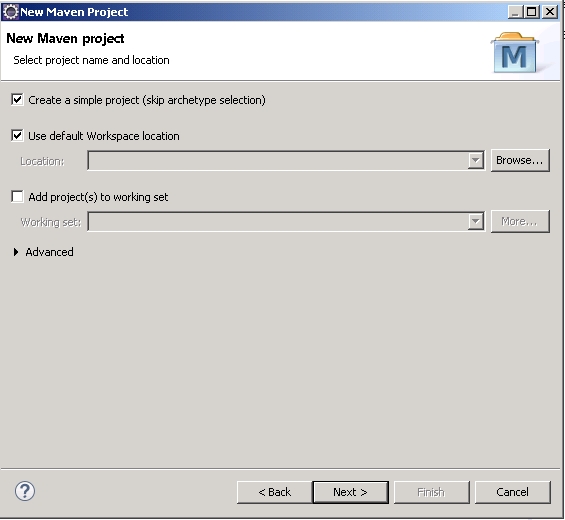
1. Go to New -> Others… and choose Maven Project under Maven
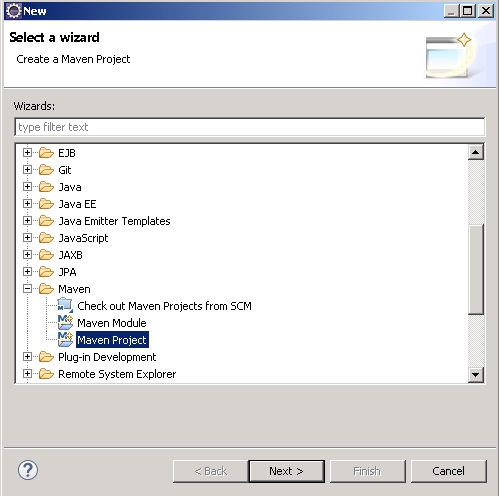
Then, click Next.
2. Create a simple project
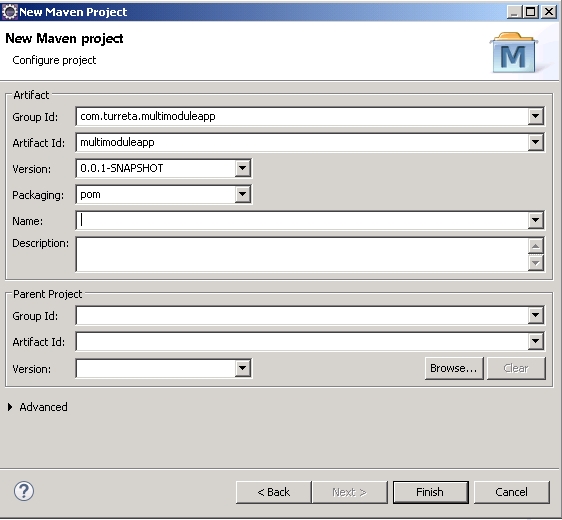
3. Configure the project
[wp_ad_camp_4]
Click Finish and the parent project will be created.
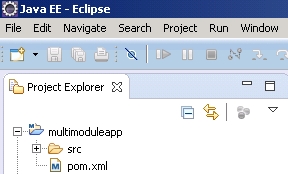
4. The parent project
Second, create the service module
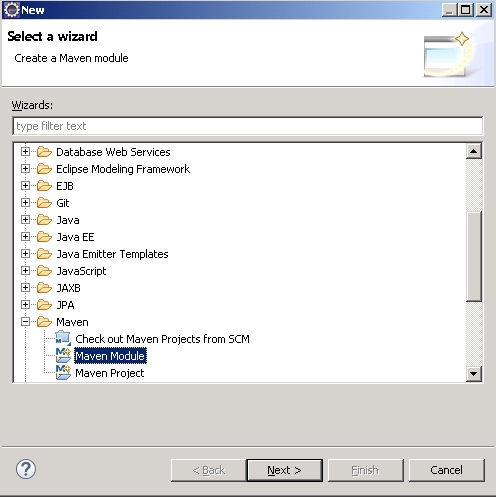
Here, you create a Maven module. First, you created a Maven Project. Now, you are creating a Maven Module.
1. Go to New -> Others… and choose Maven Module under Maven
2. Create a simple project
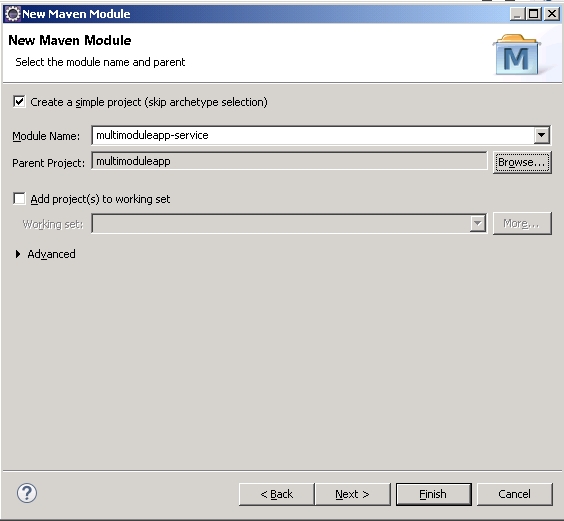
Please note that although it say “Create a simple project (skip archetype select)” , we are still creating a Maven Module. You may need to browse and select an available parent project. On the screenshot above, Parent Project is set to multimoduleapp.
[wp_ad_camp_3]
Tick the checkbox and hit the Finish button.
3. Configure the module
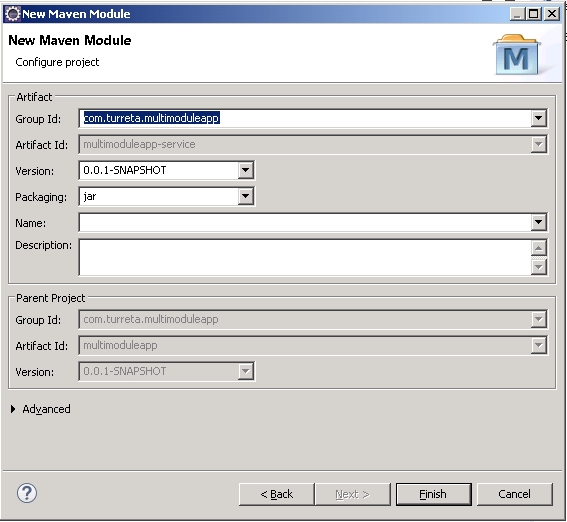
Hit Finish to complete the process.
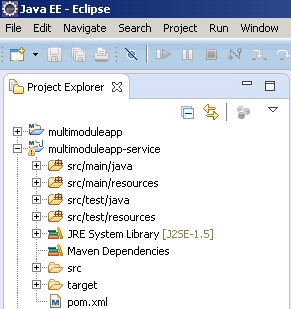
4. The module
There you go! We have successfully created a multimodule (somewhat) project. You may create another module, e.g., multimoduleapp-integration, using the same steps for Maven Modules.
Third, create the presentation layer
The presentation layer is just another Maven Module with a slight difference. Instead of ticking the “Create a simple project (skip archetype select)” option, simply hit Next.
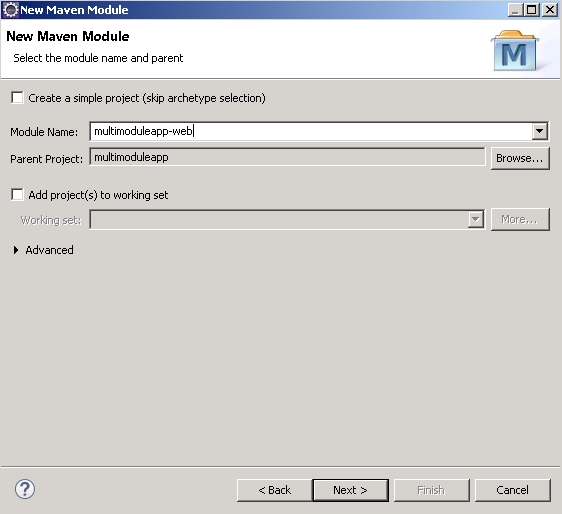
Then, choose an archetype. Select maven-archetype-webapp. With this, Maven will generate a web (war) module.
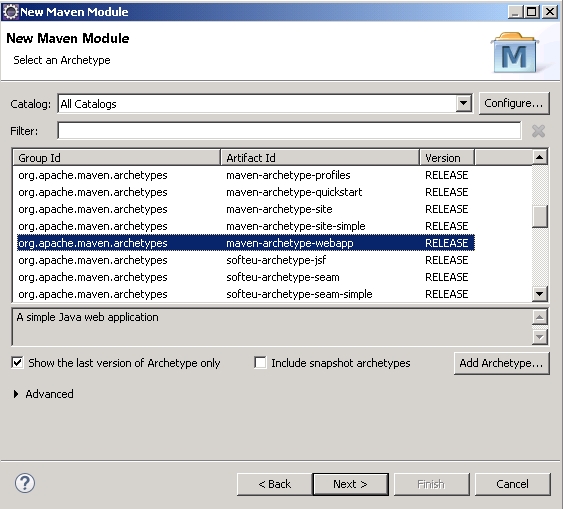
Simply click Next to proceed.
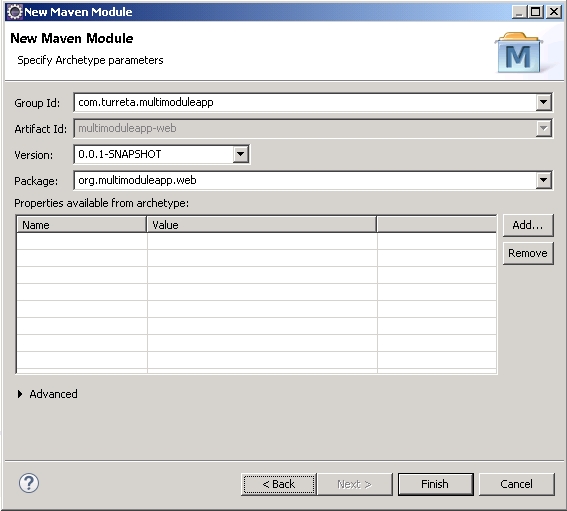
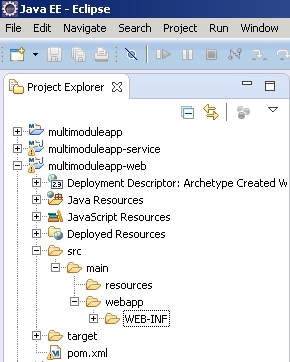
Simply click Finish to complete the process.
![]()

