This post demonstrates how to install Jenkins in Red Hat Enterprise Linux in AWS EC2.
Requirements
- AWS Account
- Email address
- Provisioned EC2 instance with Red Hat Enterprise Linux AMI
- Putty
Install Jenkins
Step 1: Download Jenkins
Login to our EC2 instance via putty. Then change to super user:
1 | sudo su |

Use the following command to download Jenkins:
1 | sudo wget -O /etc/yum.repos.d/jenkins.repo http://pkg.jenkins-ci.org/redhat/jenkins.repo |
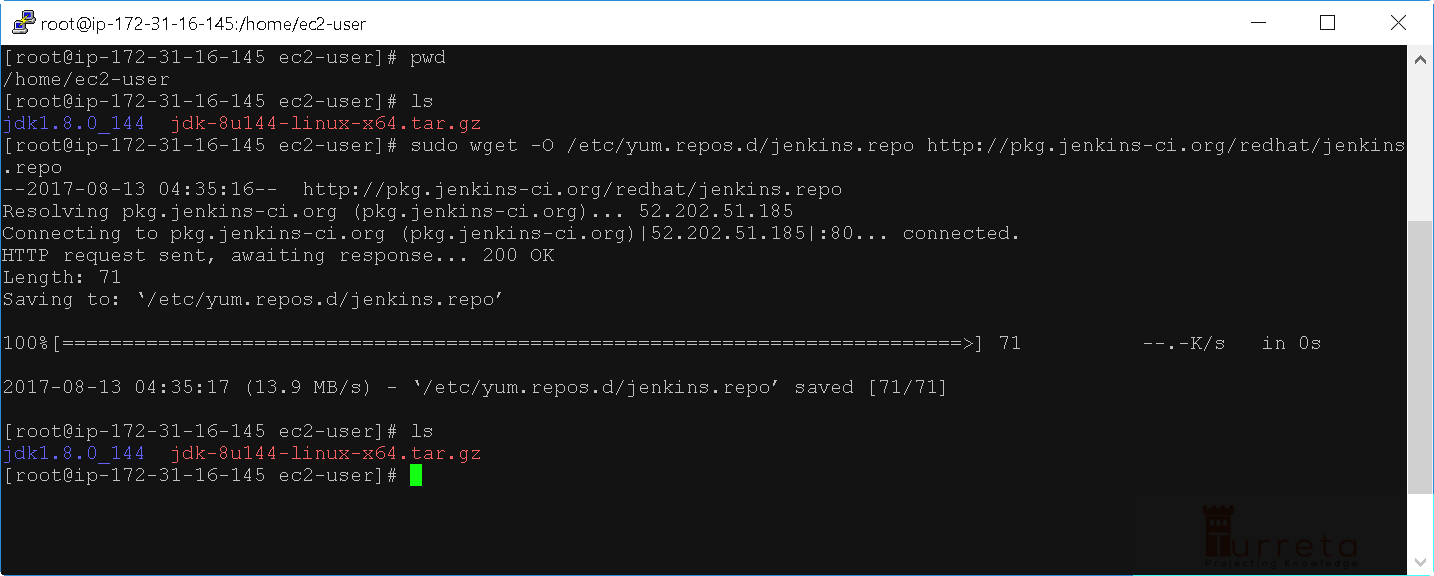
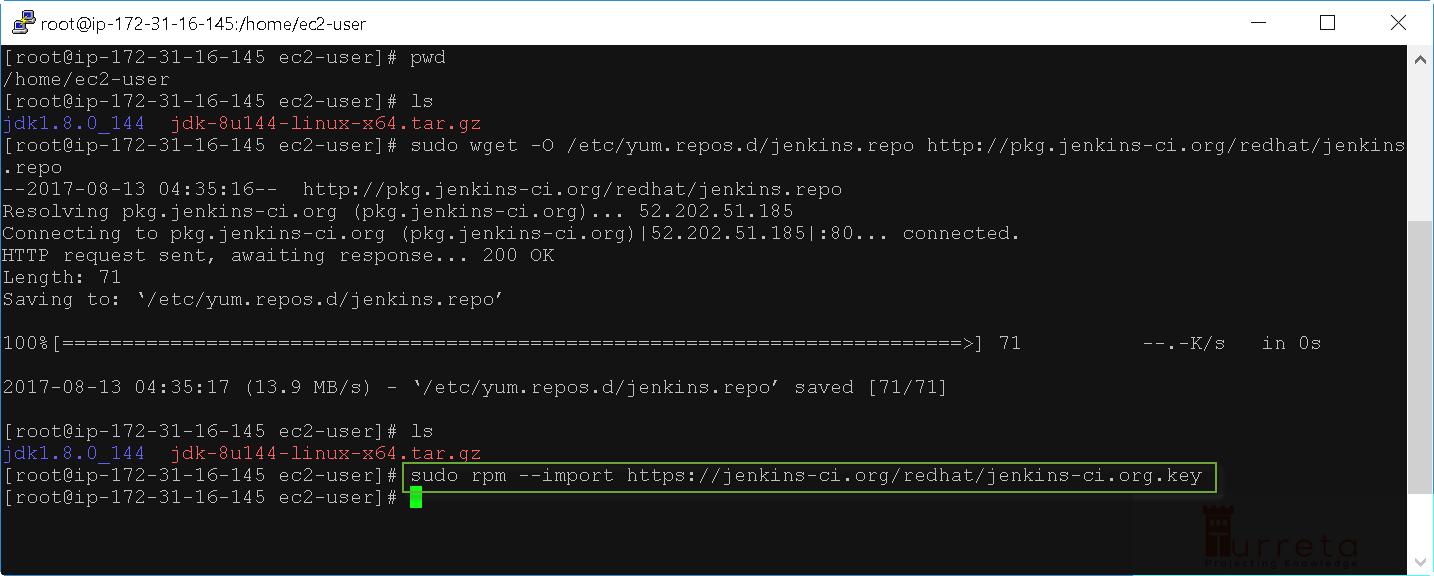
Then invoke the following command:
[wp_ad_camp_1]
1 | sudo rpm --import https://jenkins-ci.org/redhat/jenkins-ci.org.key |
Step 2: Install Jenkins
Invoke the following command:
1 | yum install jenkins |
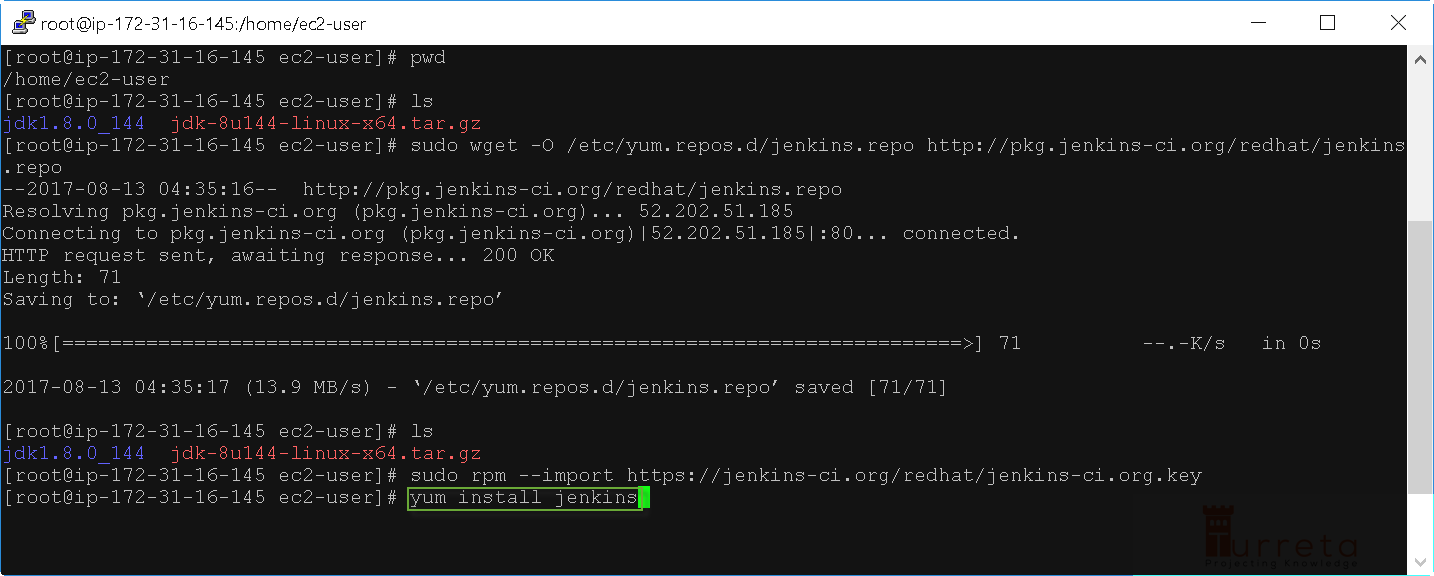
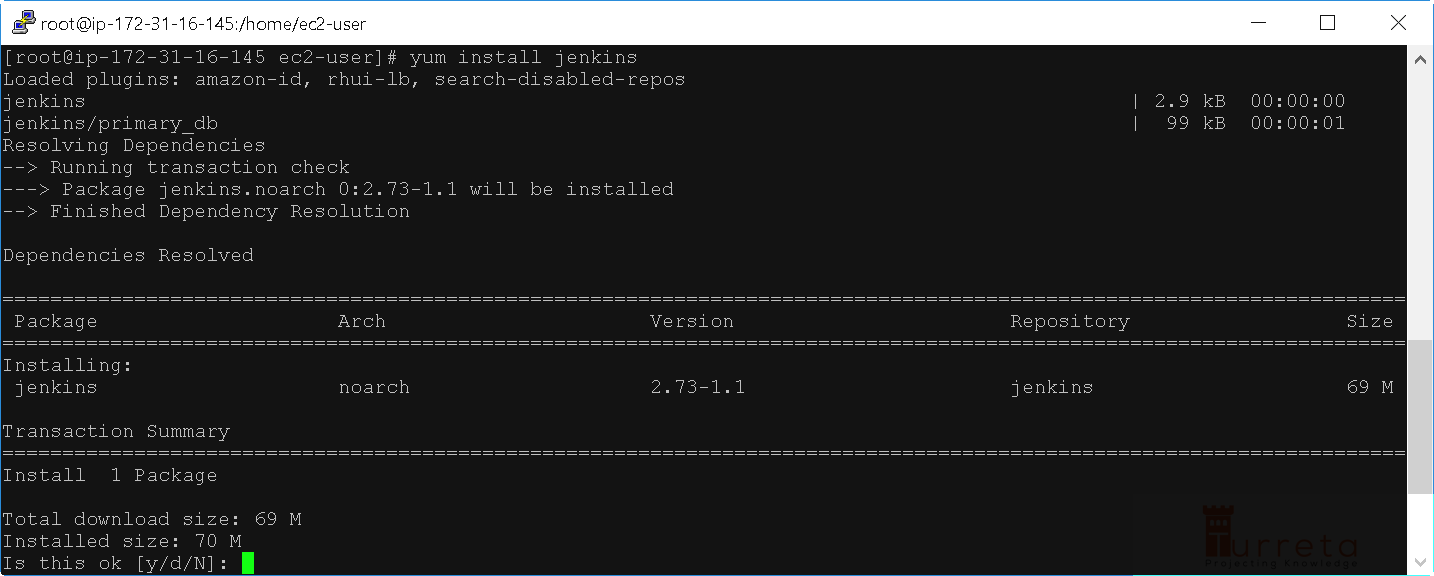
Type y and press enter to proceed.
[wp_ad_camp_2]
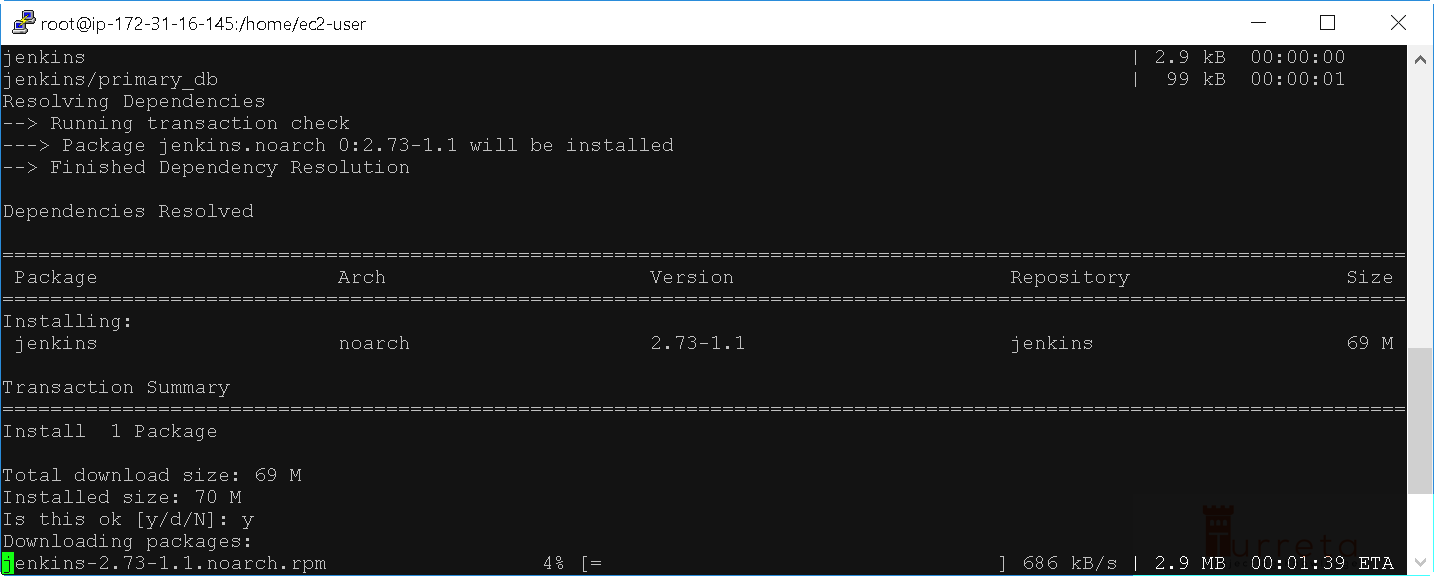
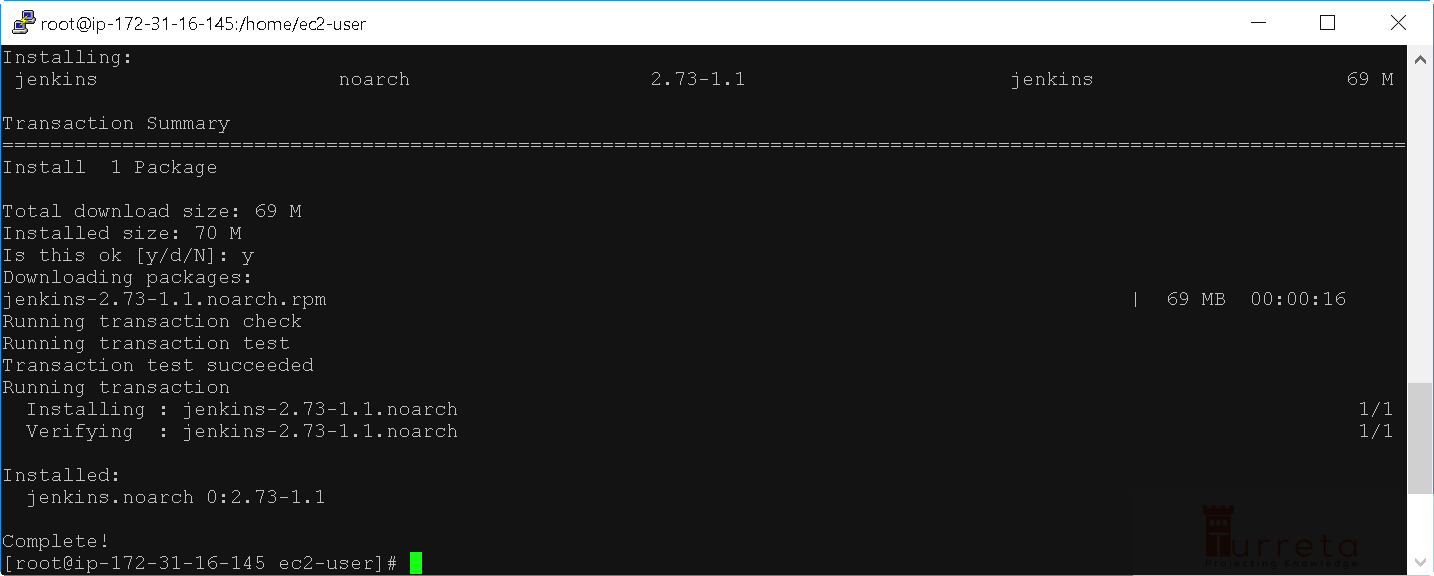
Step 3: Start Jenkins
[wp_ad_camp_3]
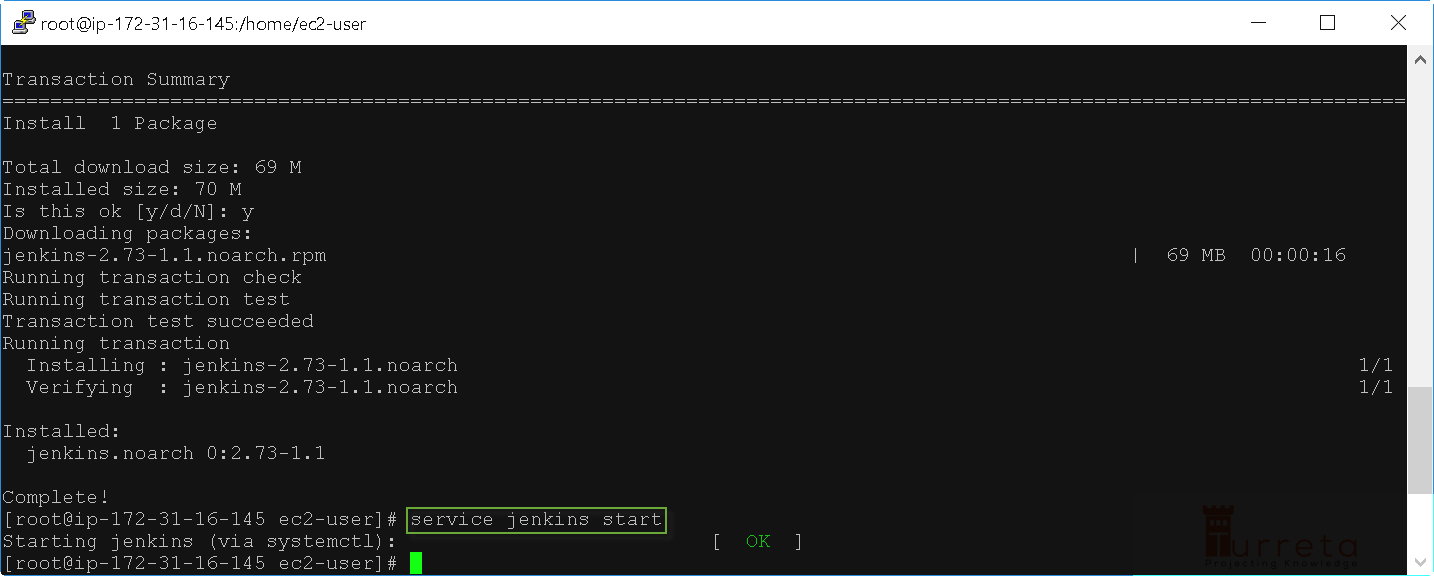
Step 4: Access Jenkins via Web Browser
First, we need the IP address assigned to our EC2 instance. 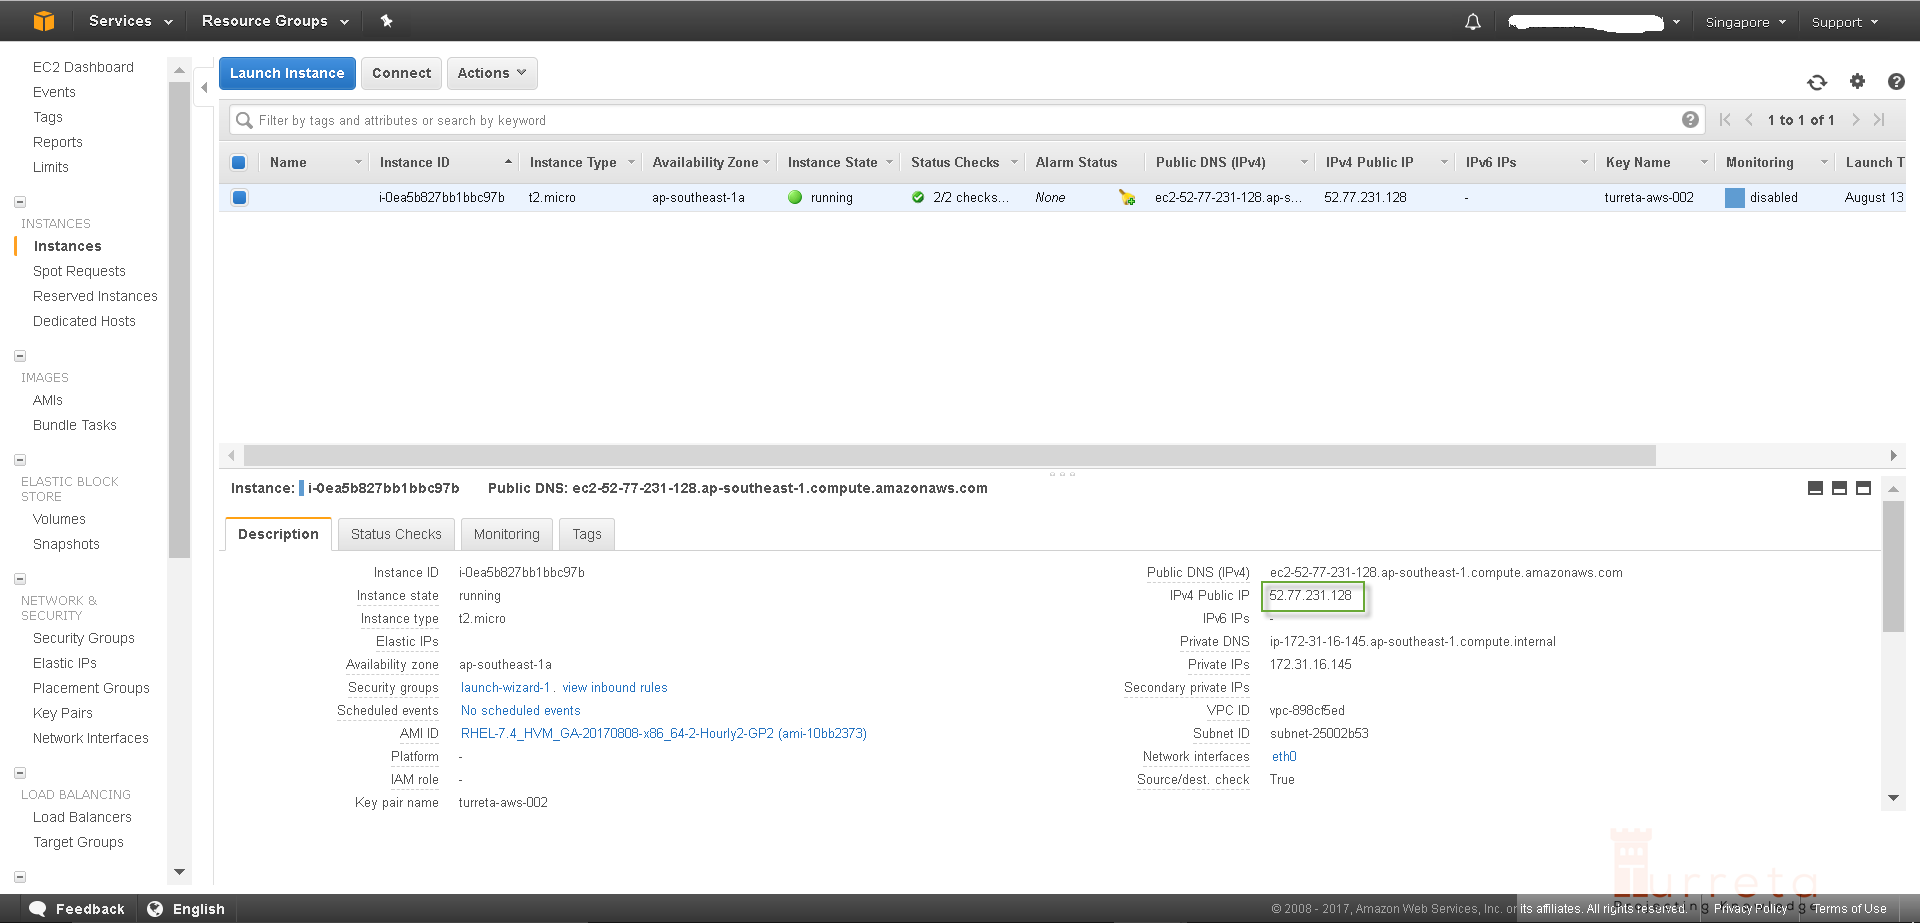
Access Jenkins via the 8080 port.
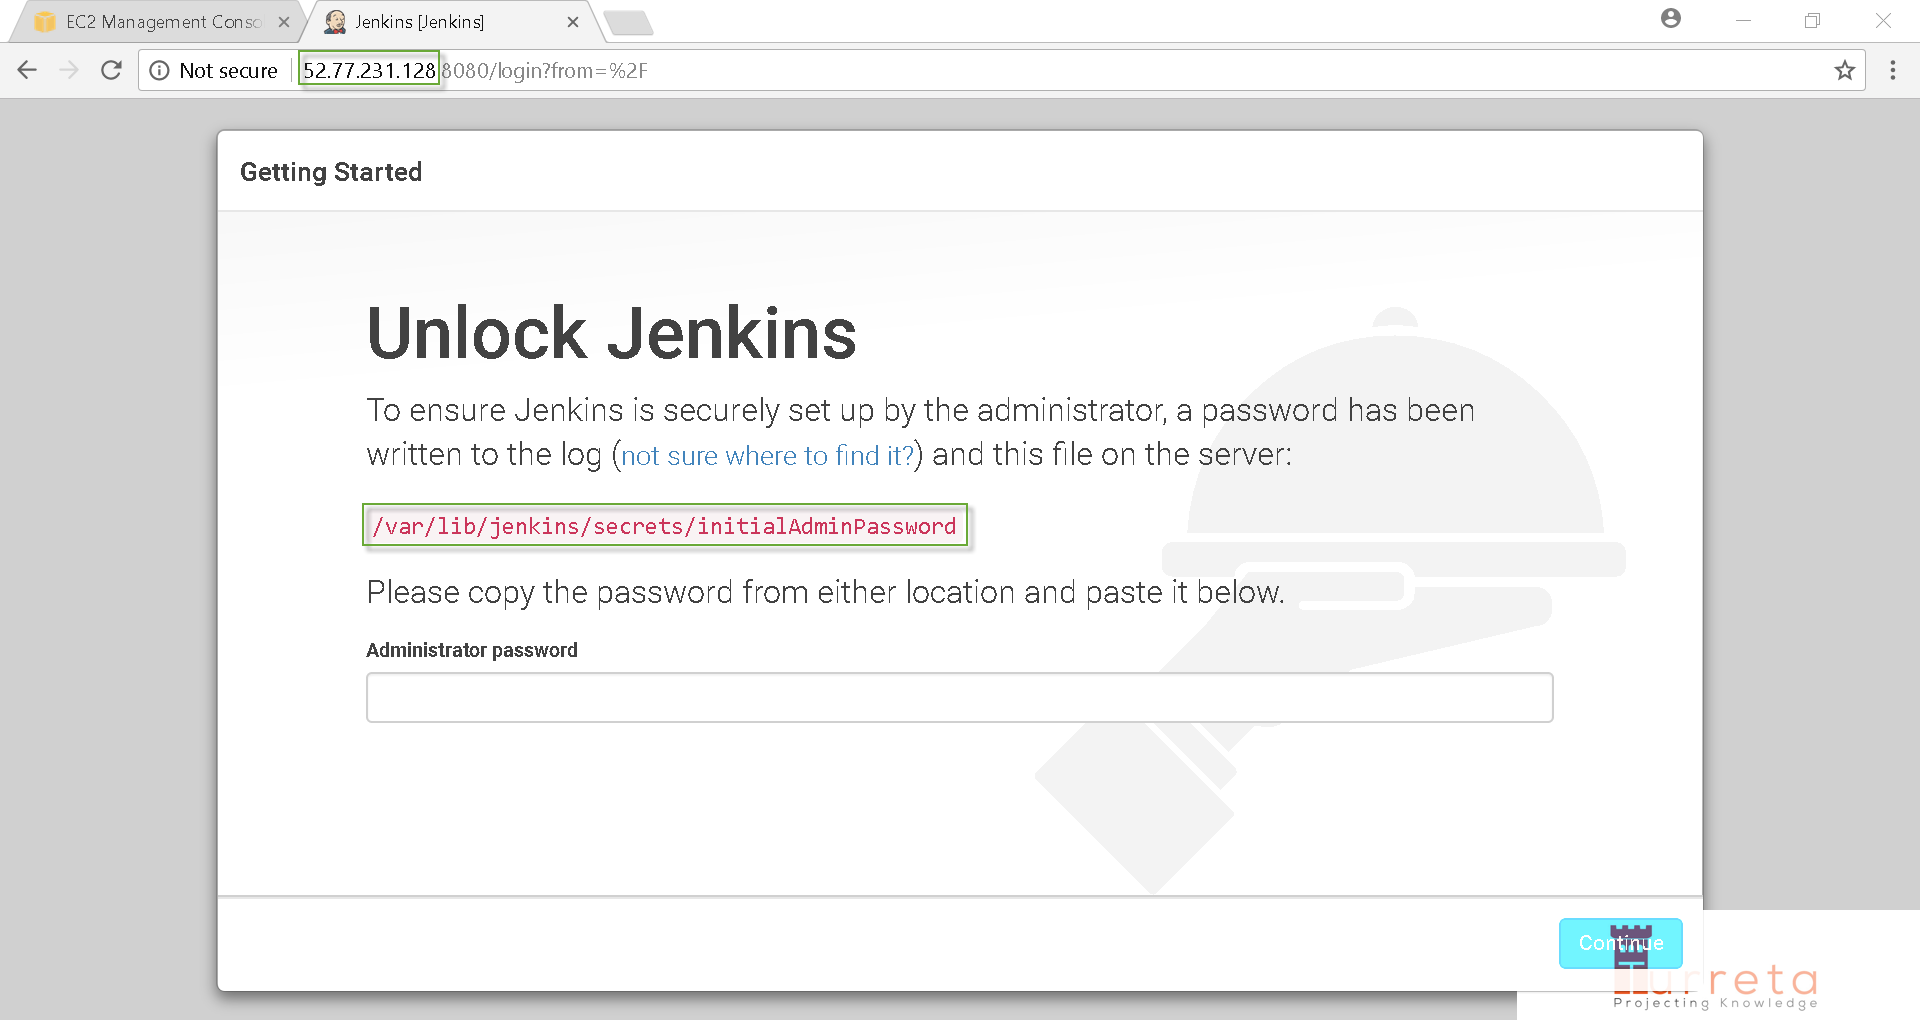
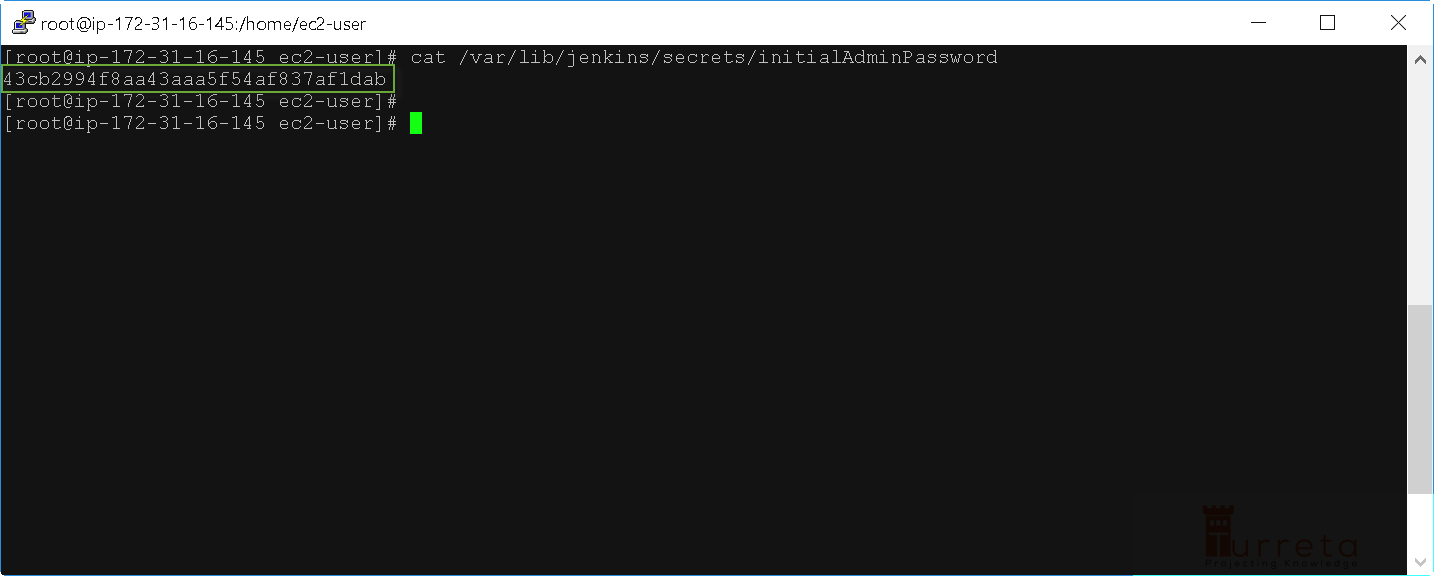
Next, we need to administrator password to unlock our Jenkins. Invoke the following command in Linux:
1 | cat /var/lib/jenkins/secrets/initialAdminPassword |
[wp_ad_camp_4]
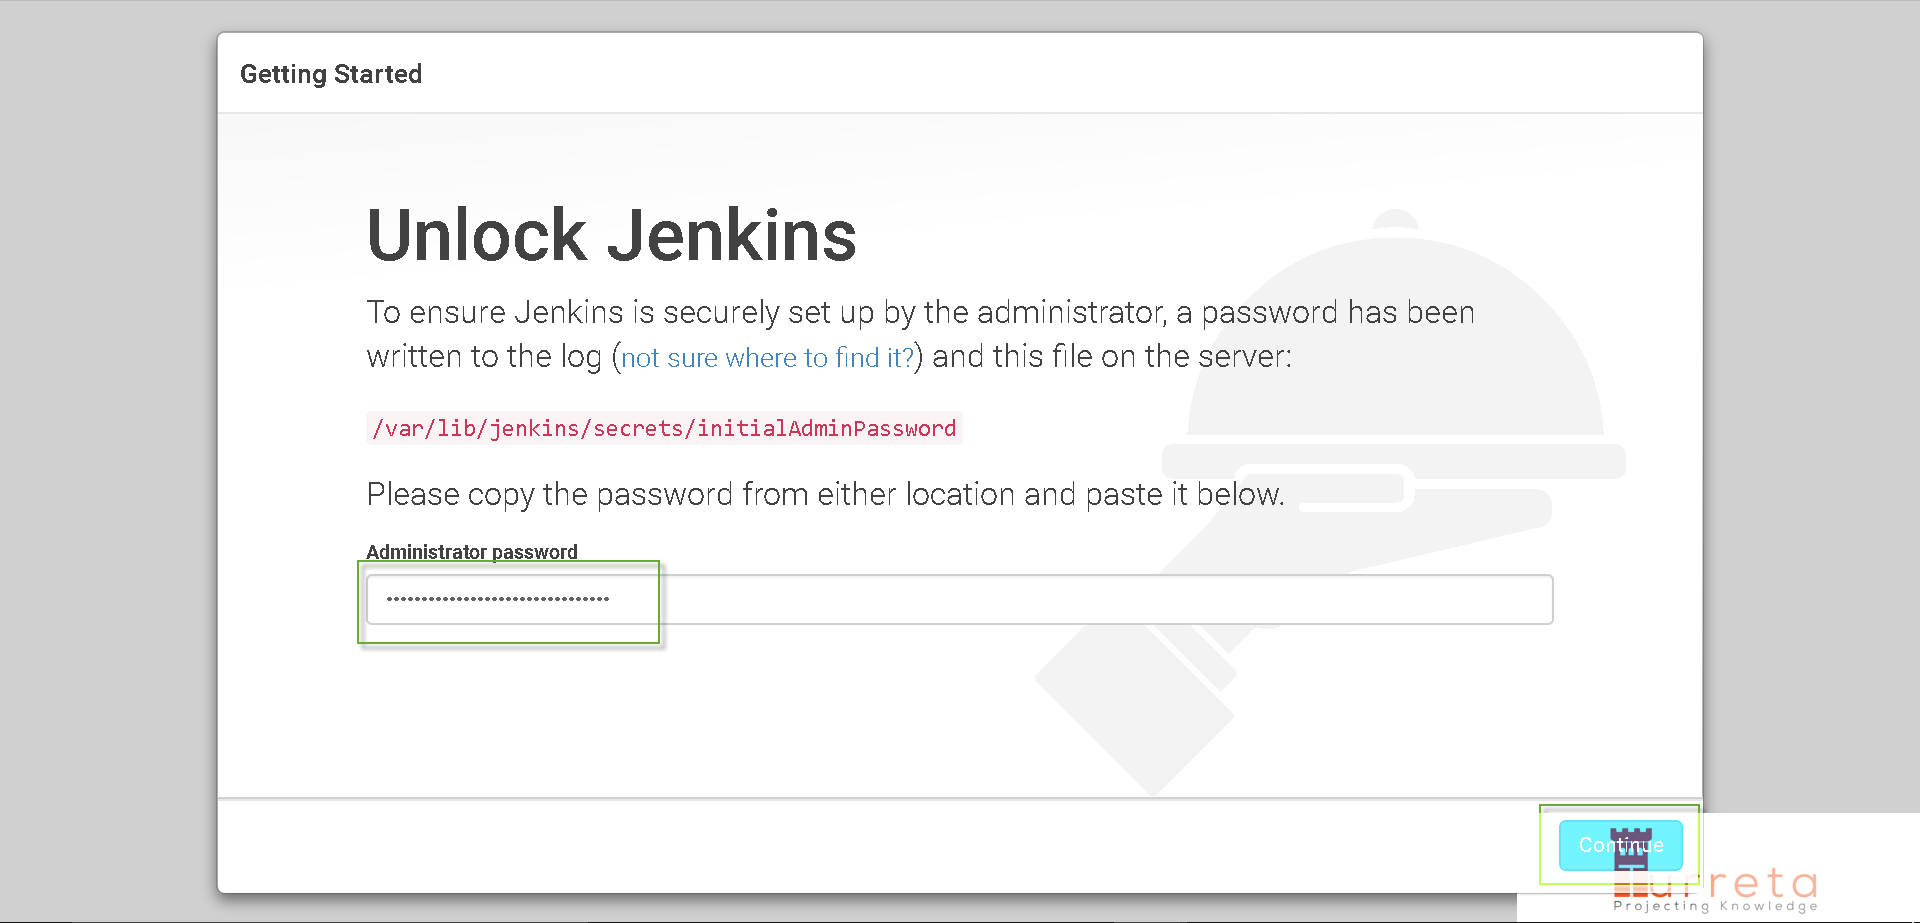
Copy the password and paste it to the Administrator password field.
Then click Continue to proceed.
Then Jenkins initializes itself.

Click Install suggested Plugins.
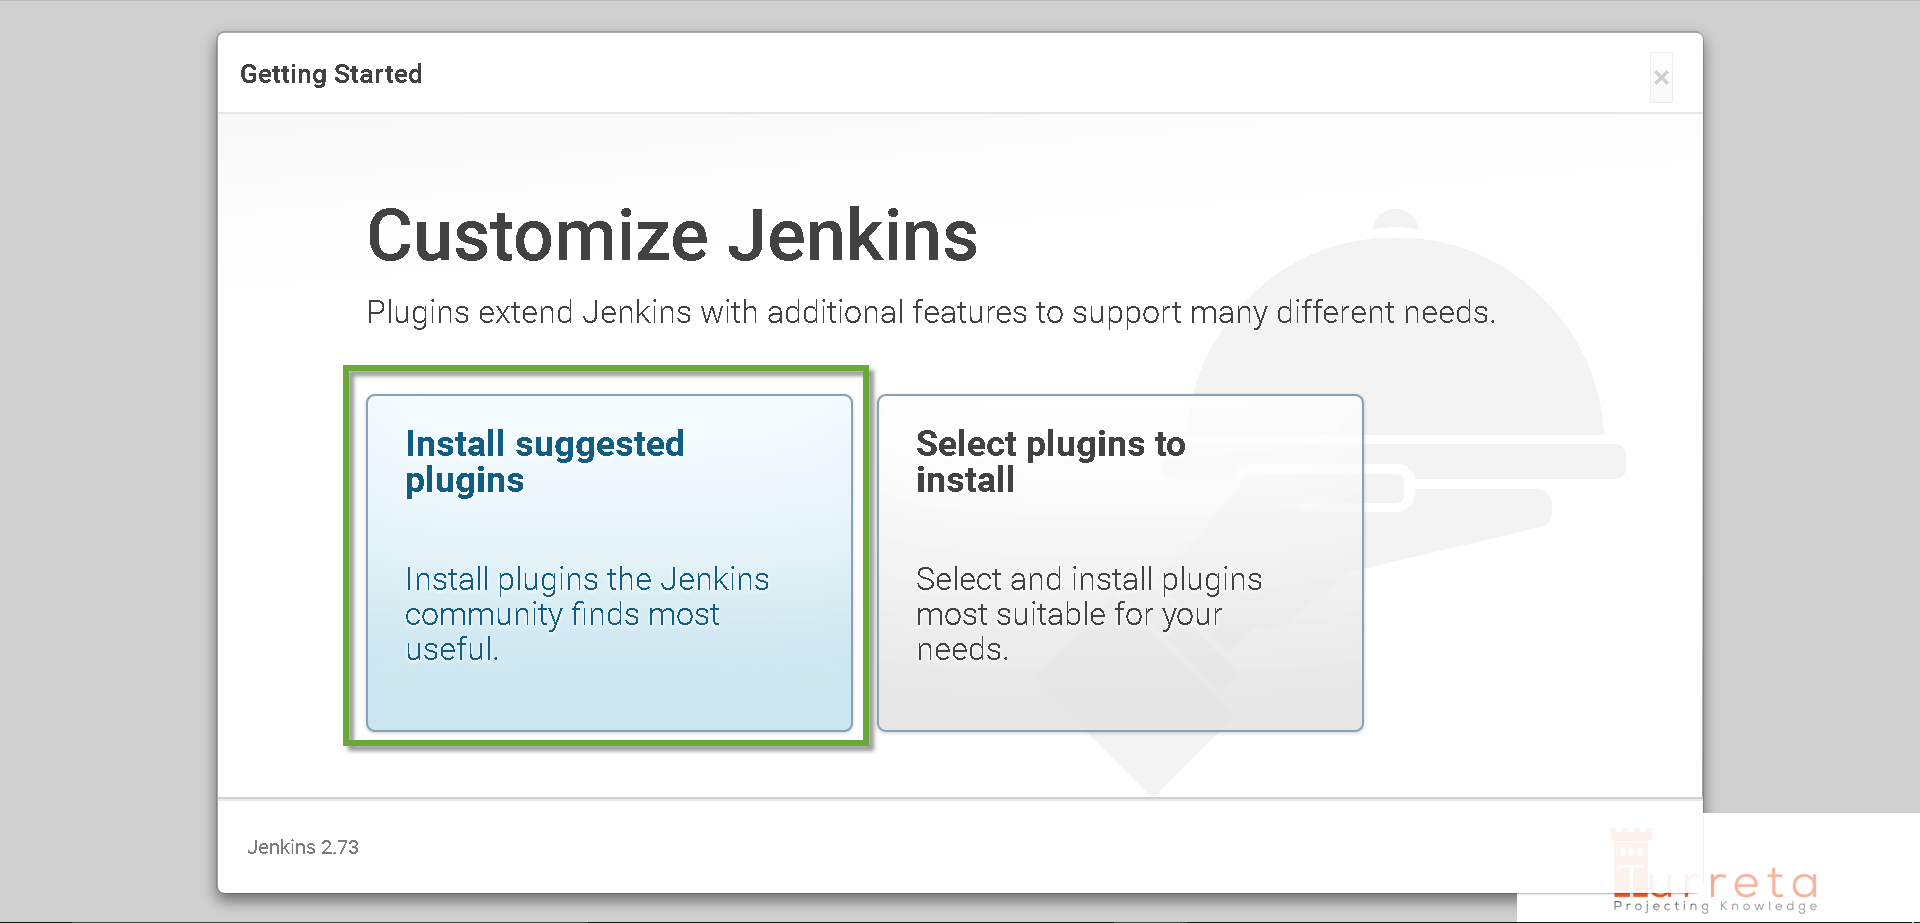
Install plugins
Then Jenkins installs plugins.
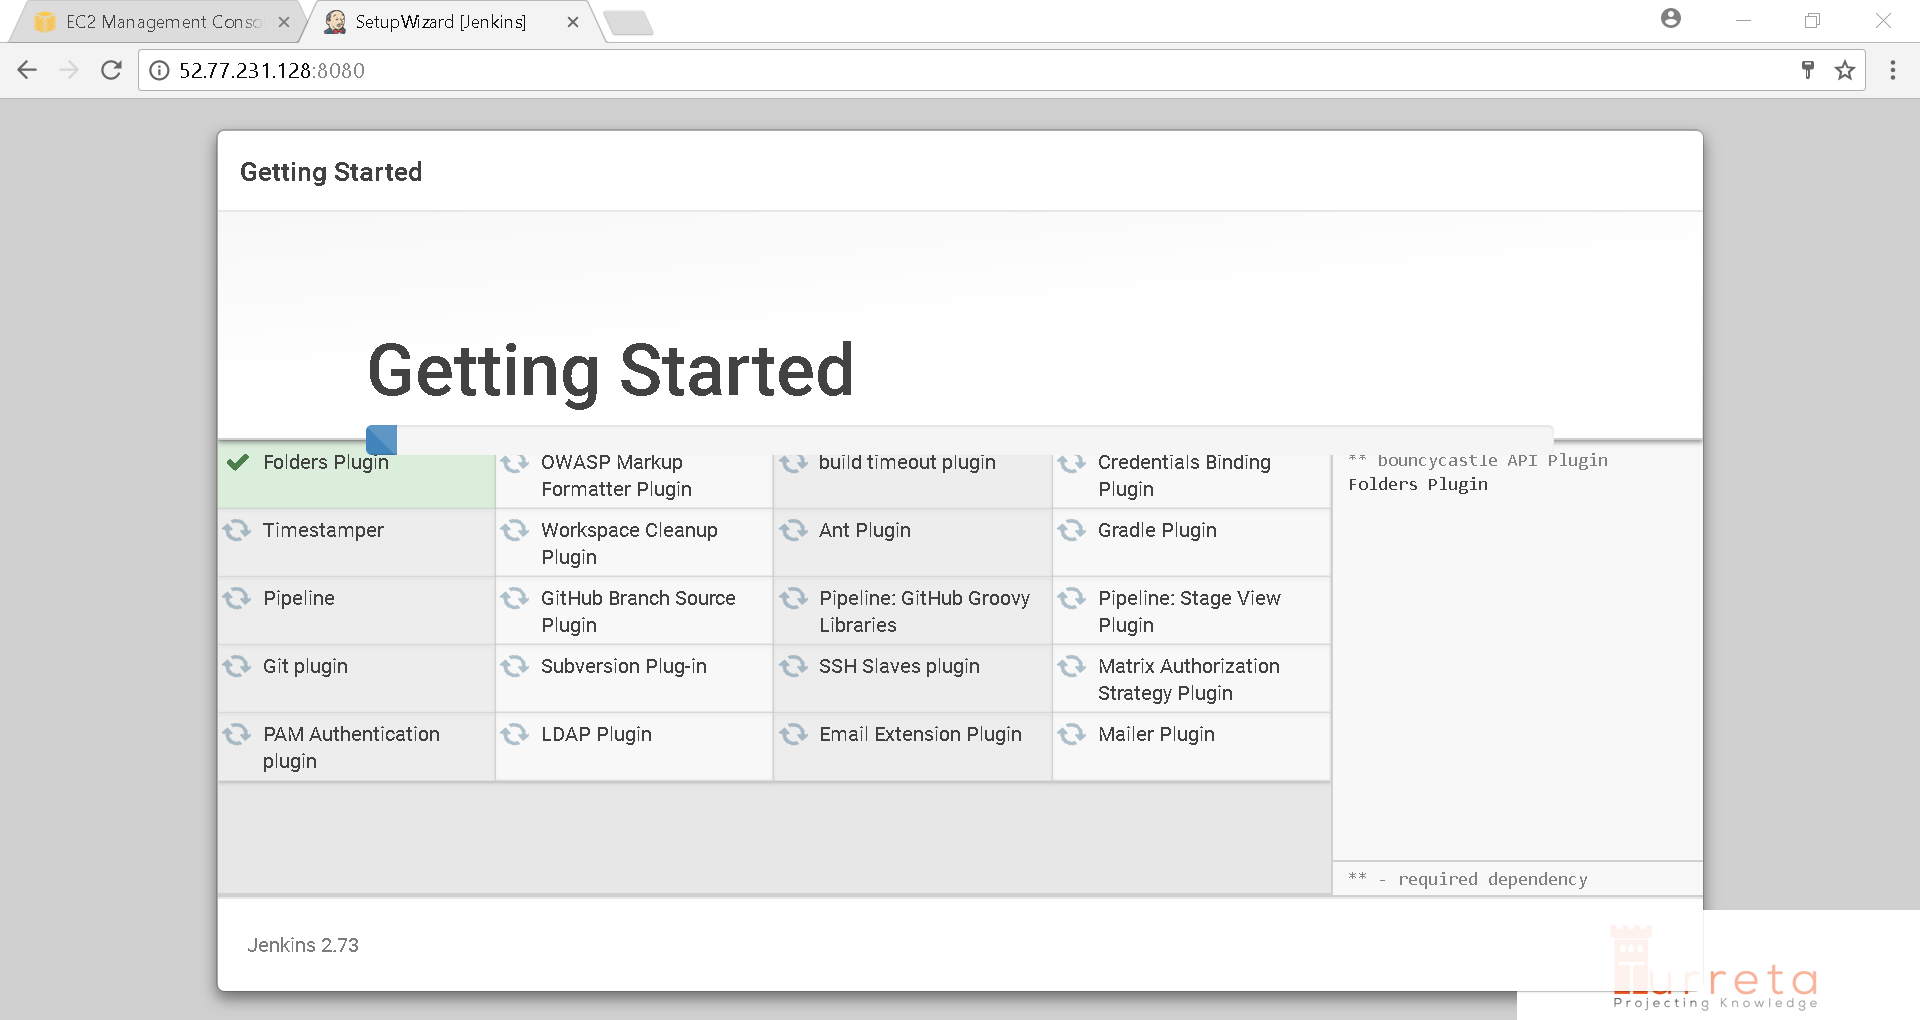
Installing plugins
Still processing.
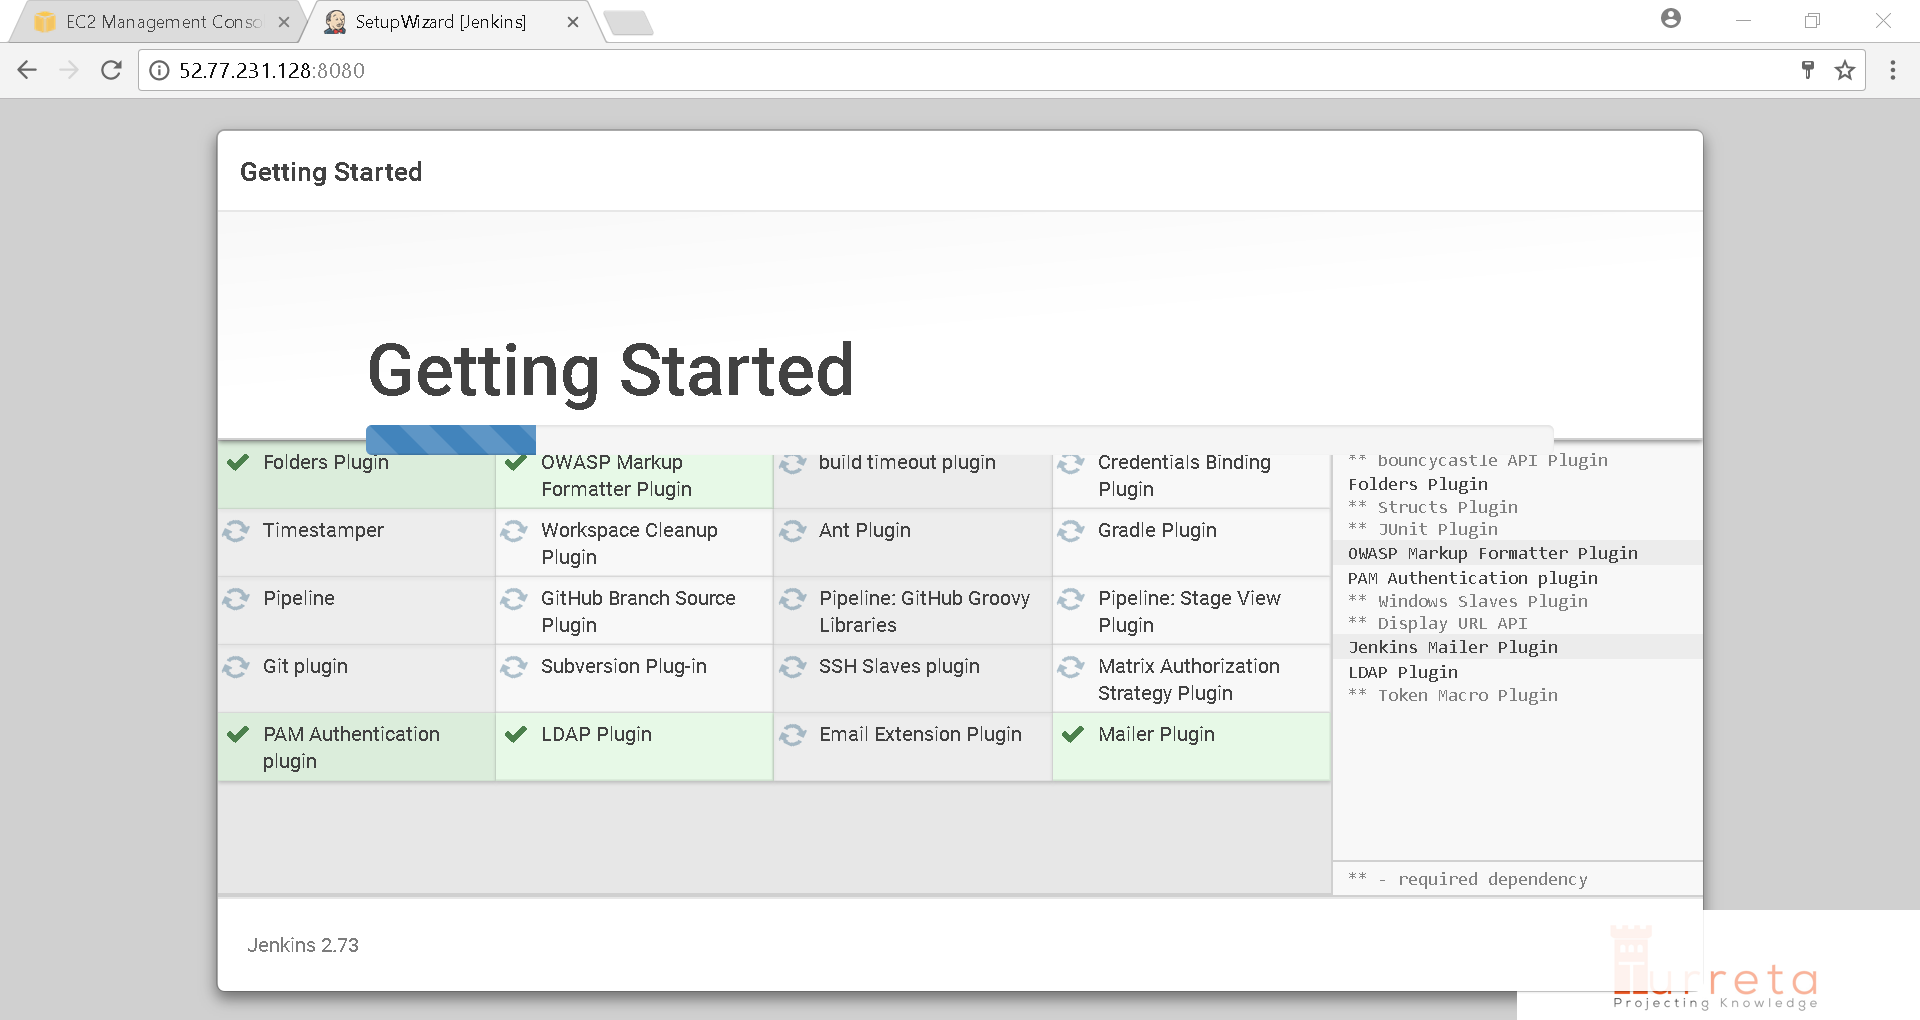
Installing plugins
Then Jenkins asks for details for the first admin user it will create.
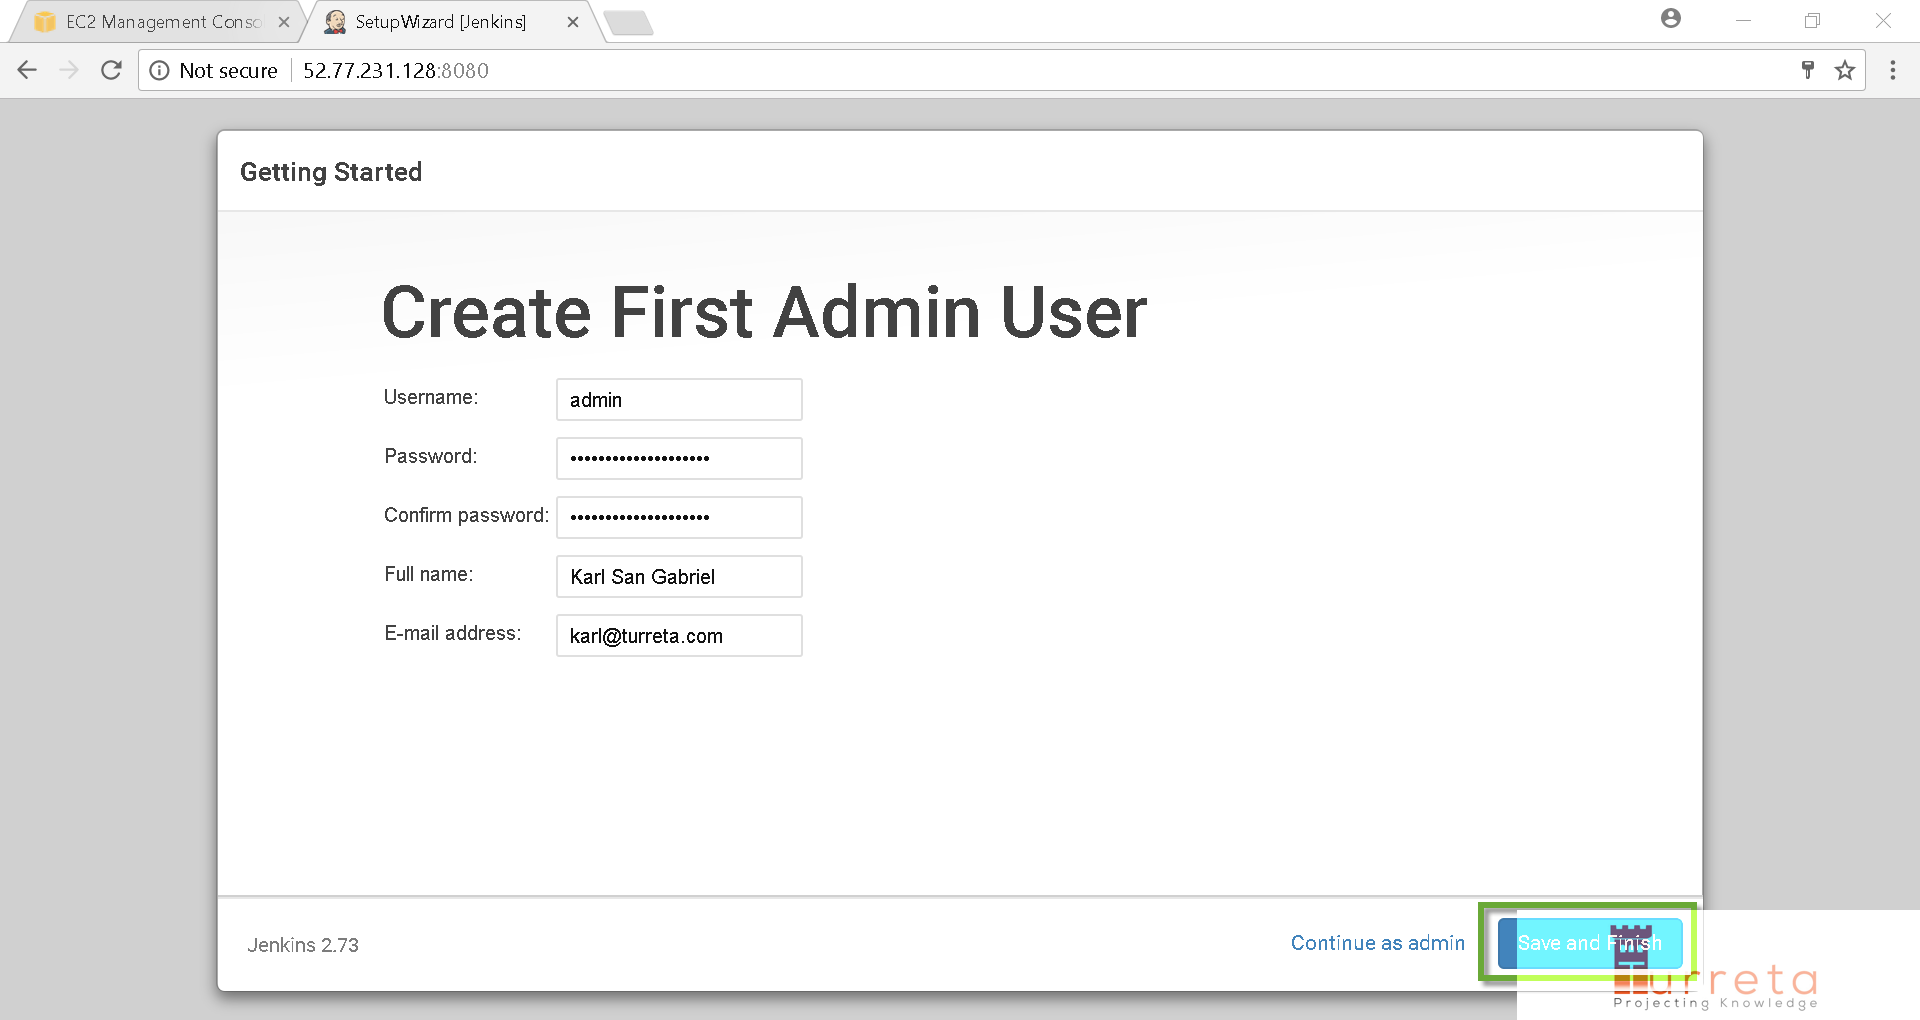
Create first admin user
[wp_ad_camp_5]
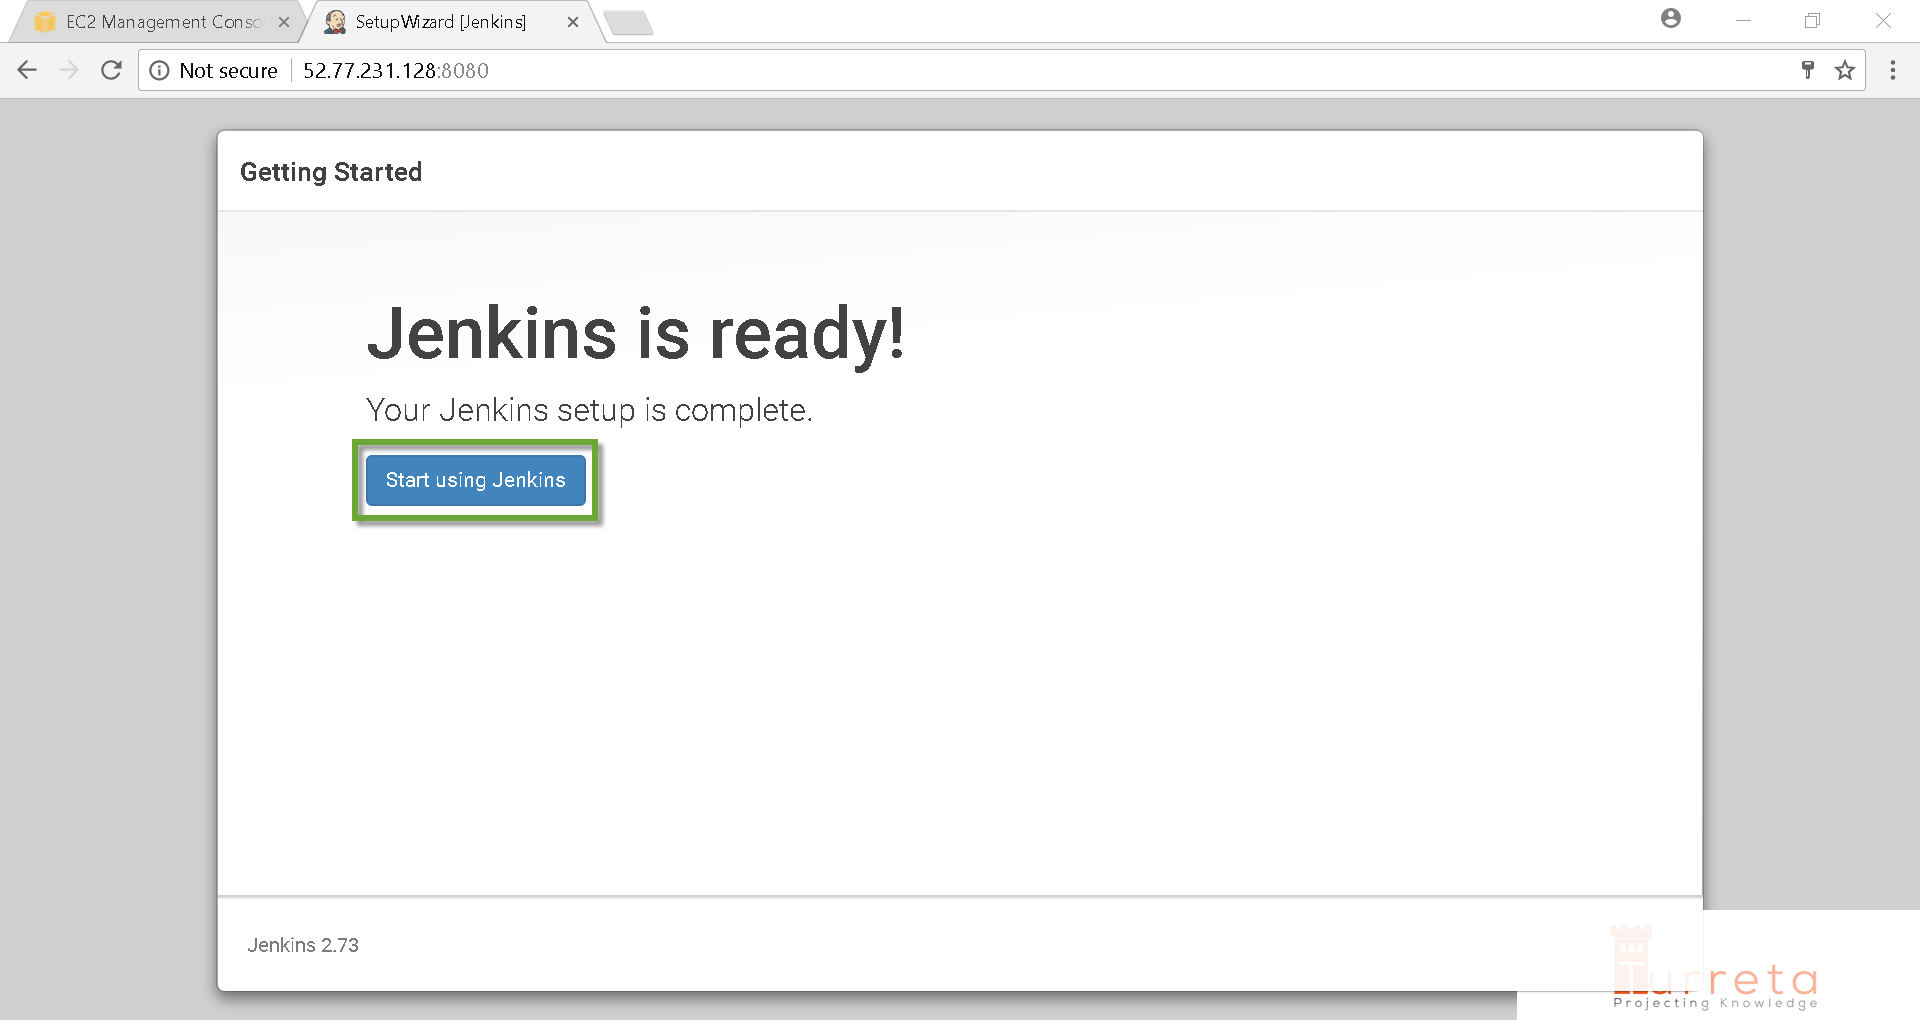
Jenkins is now ready
Done!
Step 5: Successful installation
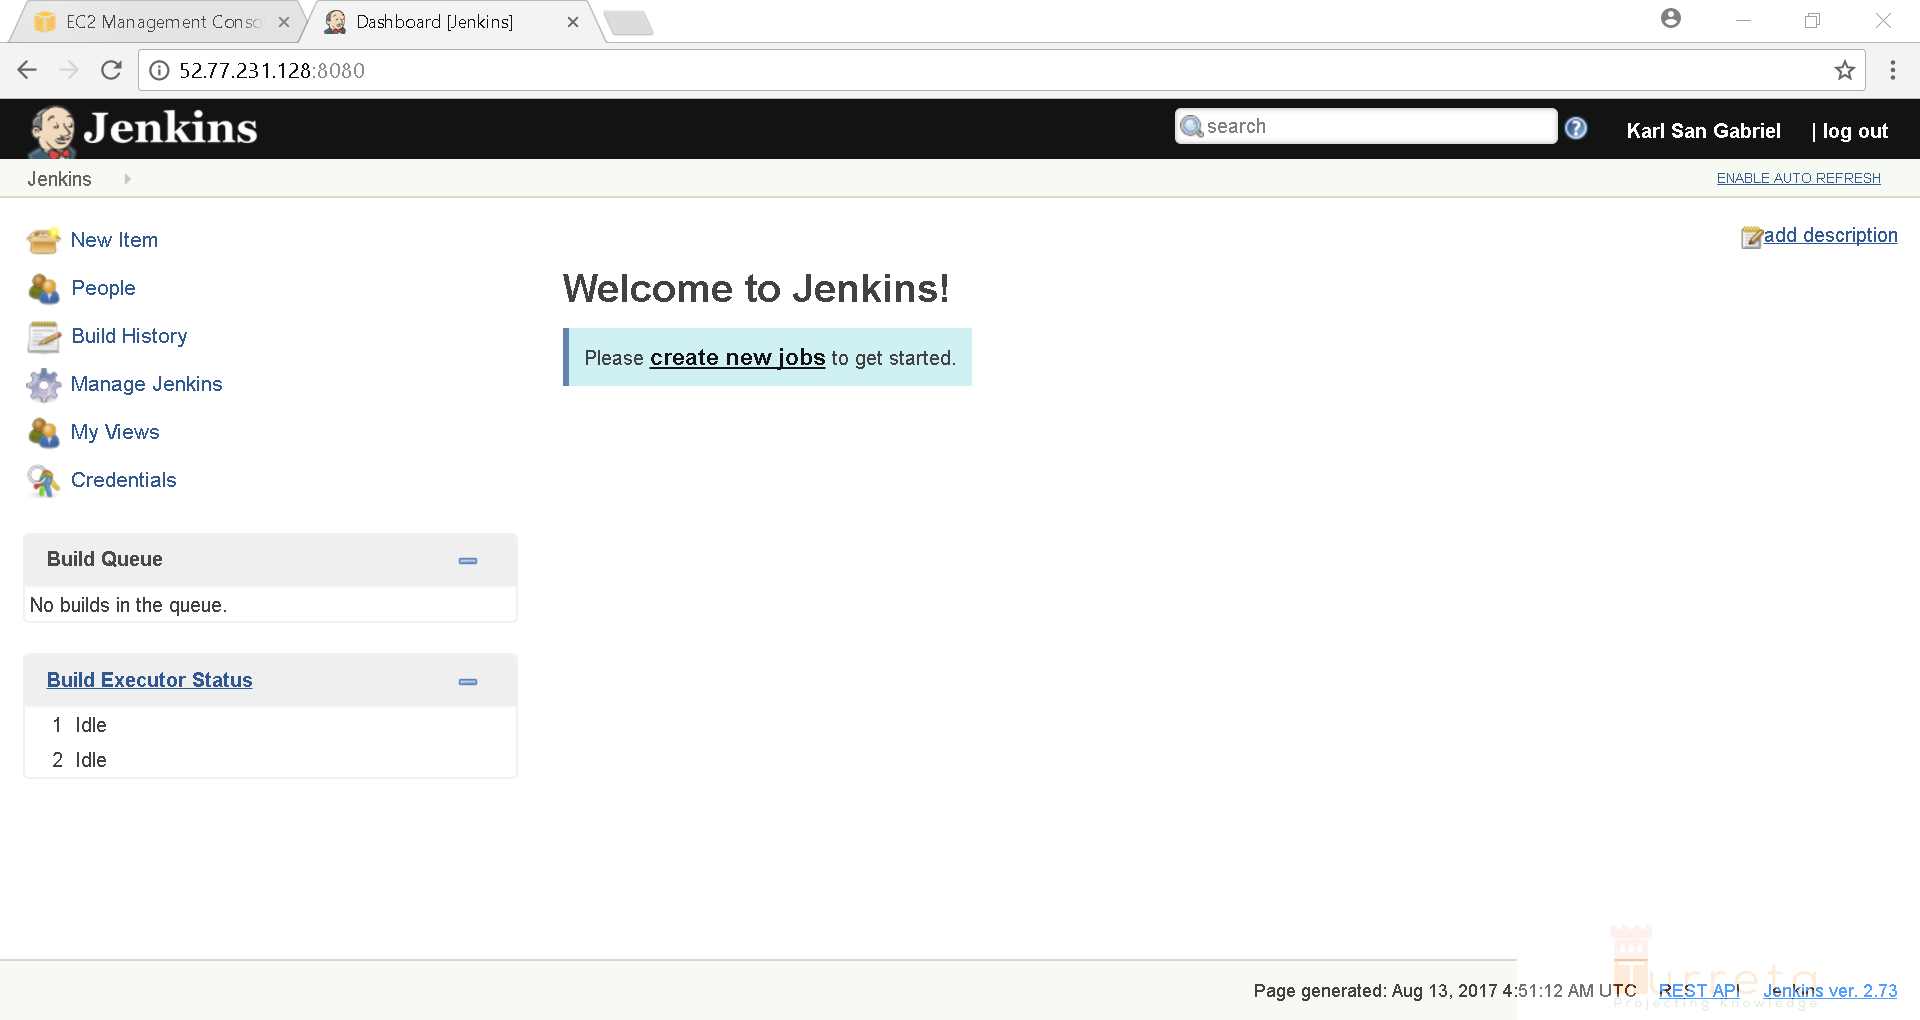
Successful installation
![]()


Tested with RHEL-7.4_HVM_GA-20170808-x86_64-2-Hourly2-GP2 (ami-10bb2373) on September 18, 2017.