This post demonstrates how to provision a service (EC2) on AWS.
Requirements
- AWS Account
- Email address
From Your Dashboard
Find the EC2 link and click it to proceed to the EC2 Dashboard. Hit Launch Instance to start creating a server.
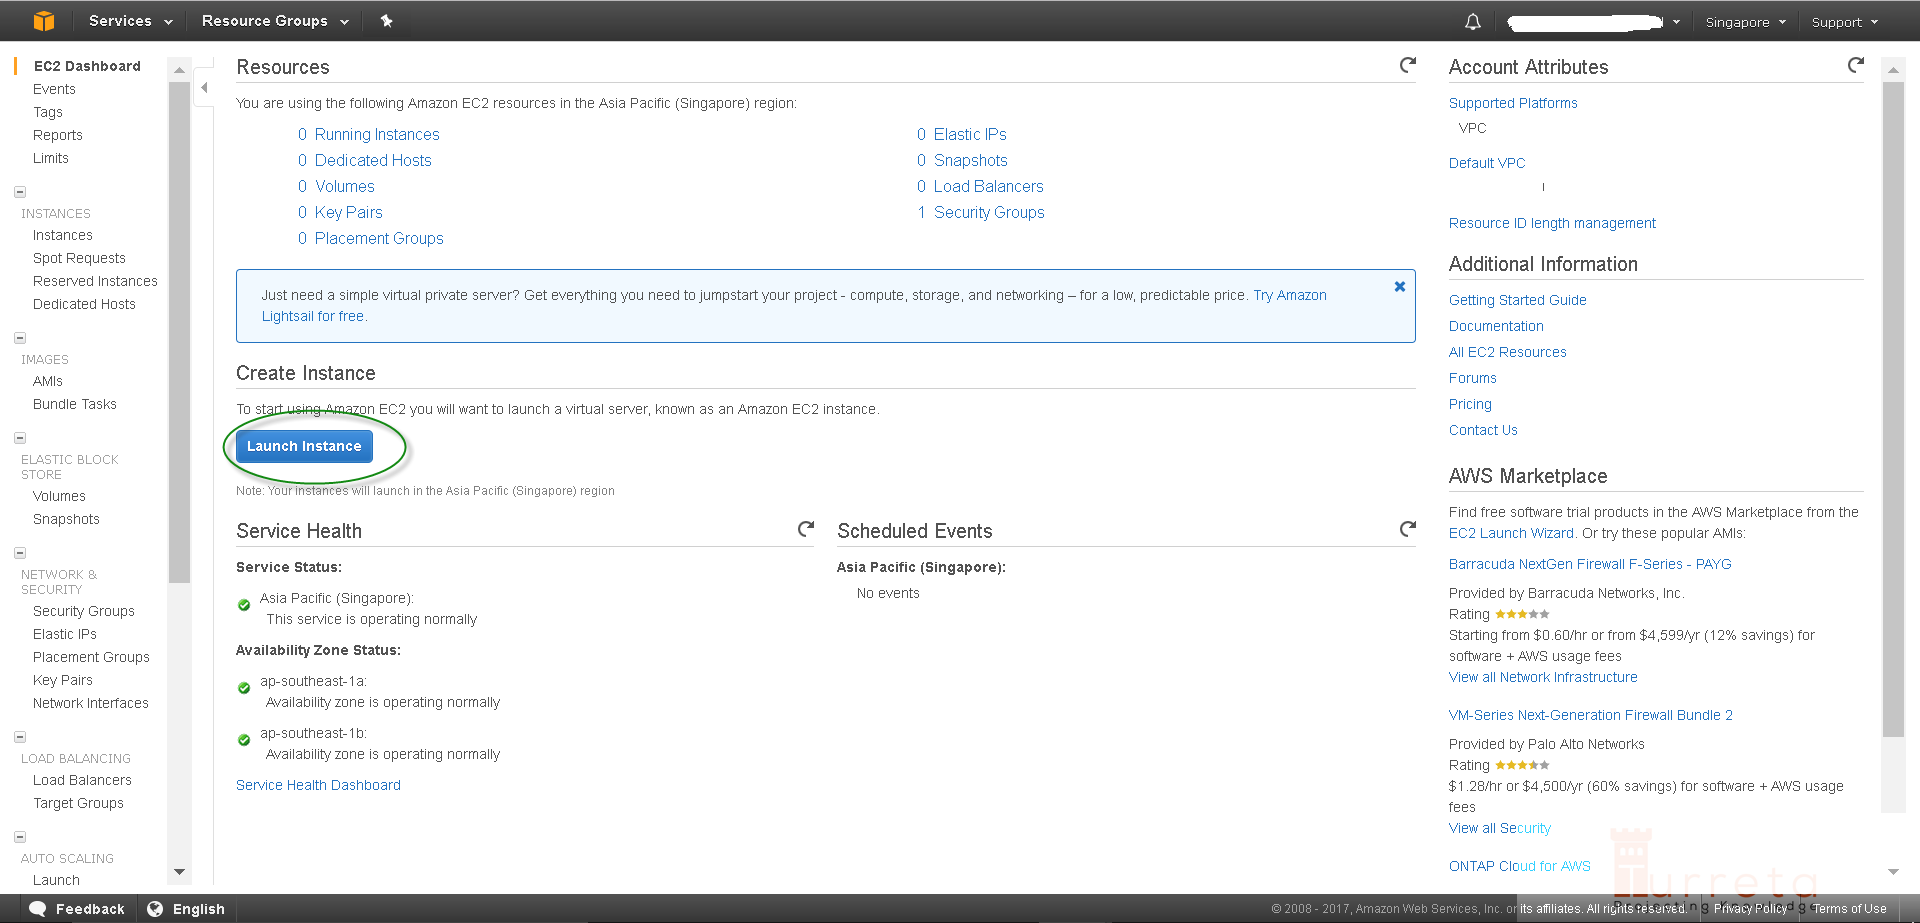
1. Choose an Amazon Machine Image (AMI)
Next, choose an AMI. For our case, we choose Red Hat Enterprise Linux 7.3 by clicking the Select button next to it.
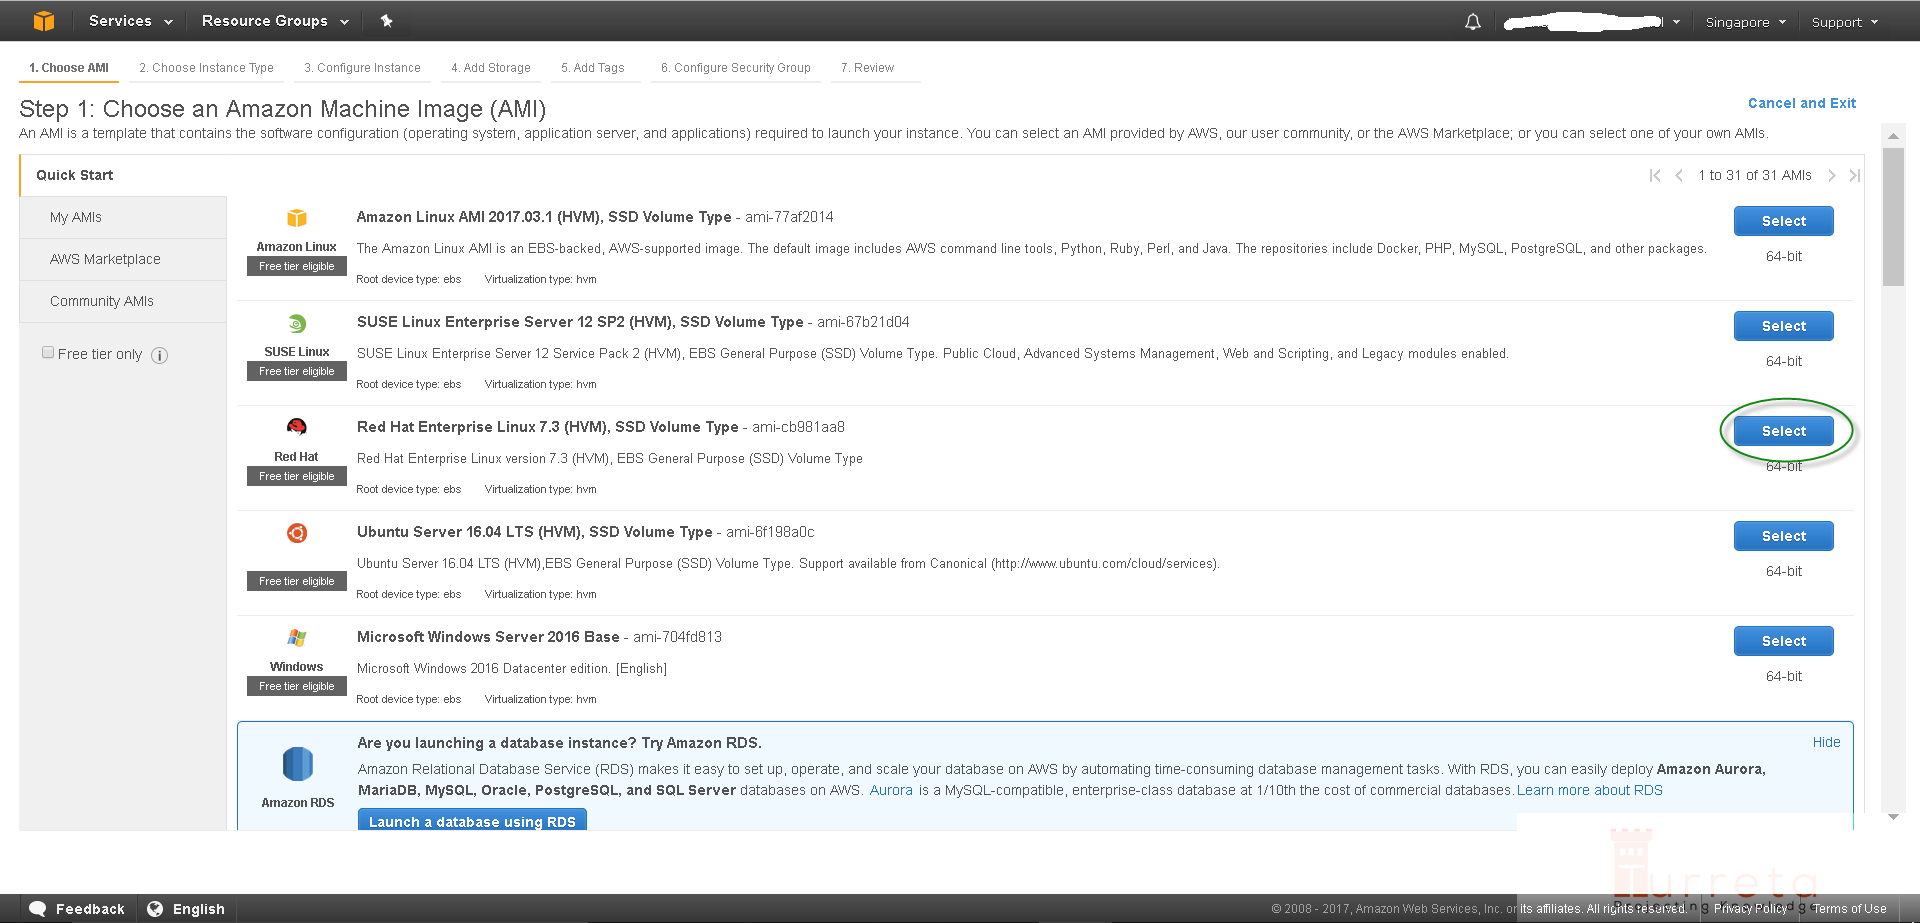
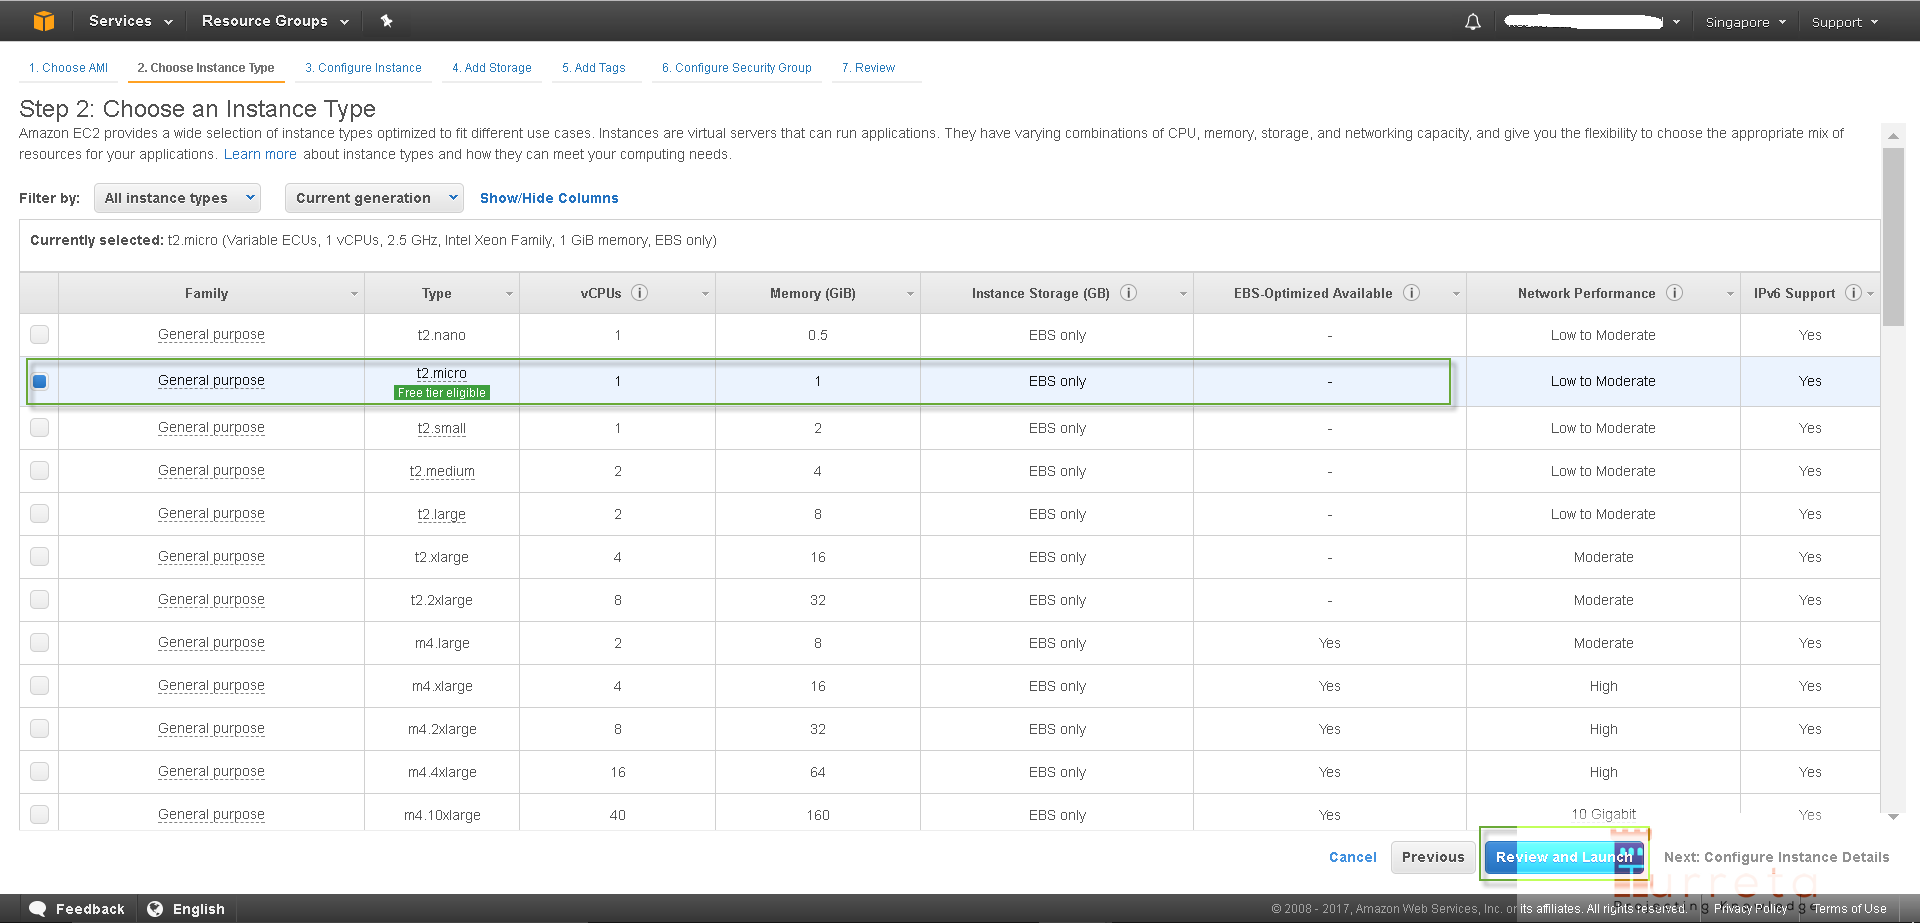
2. Choose an Instance Type
Next, we are to select the “specs” of our server – the amount of RAM, disk space, CPUs, and etc. Click “Review and Launch” to proceed.
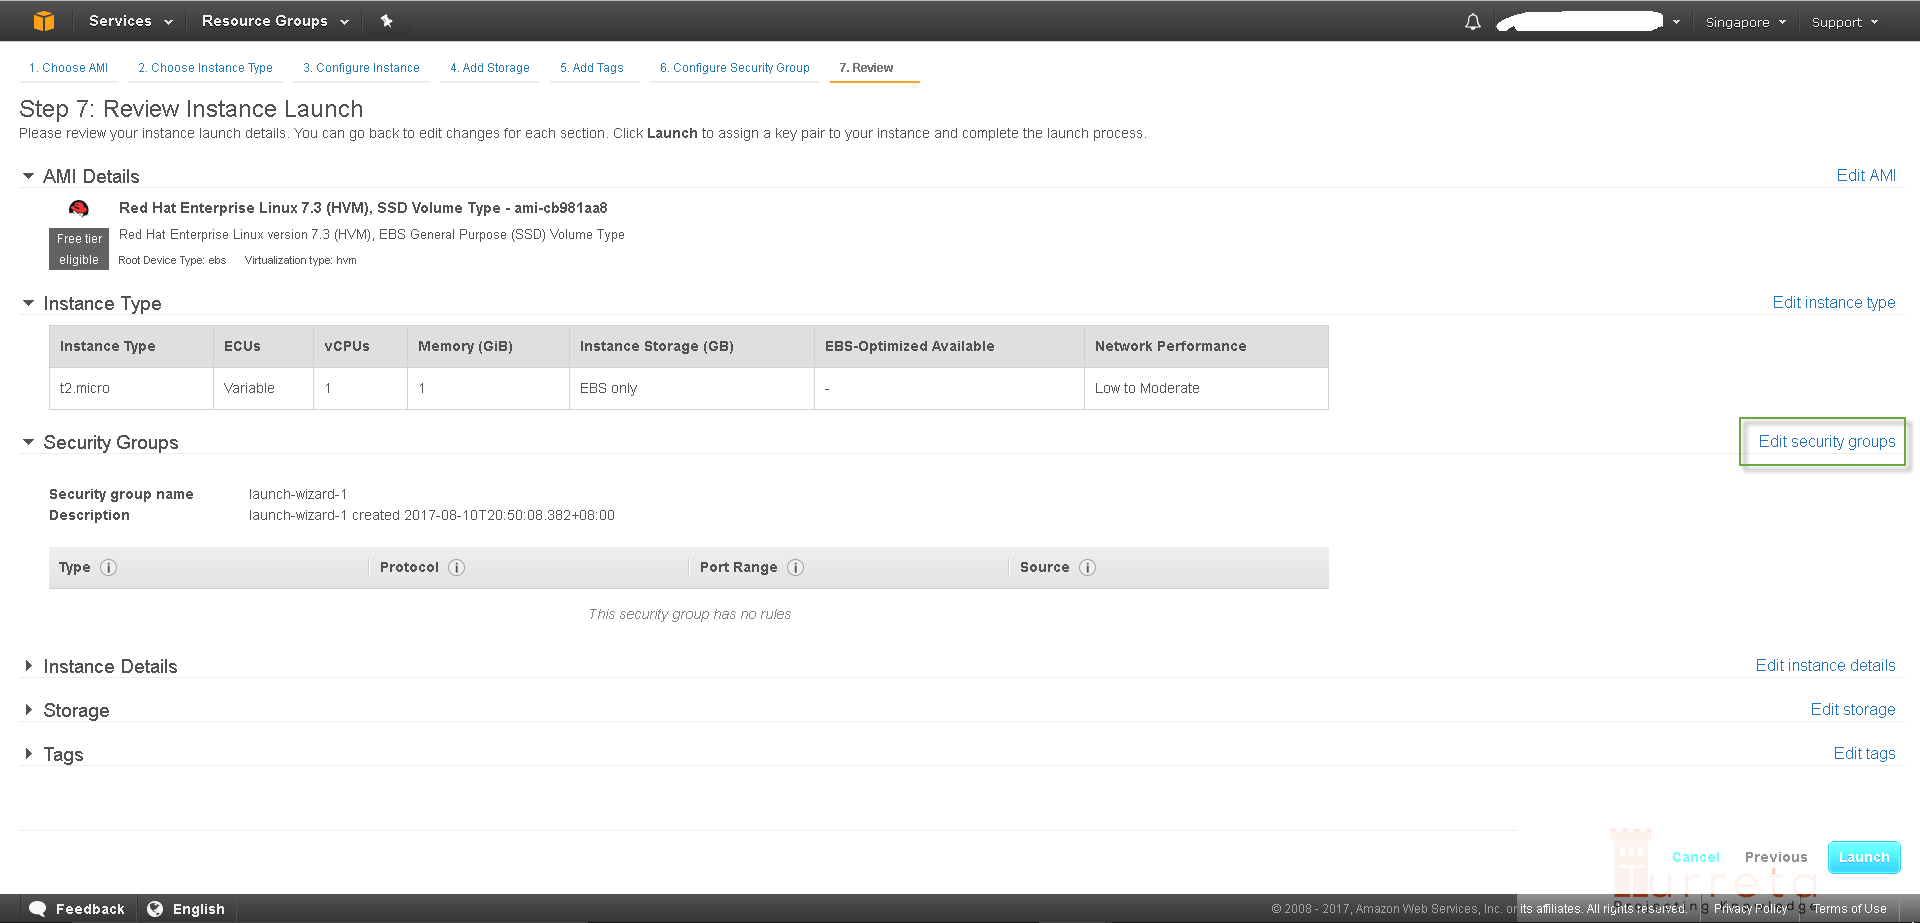
3. Review and Launch
Notice we skip steps 3, 4, 5, and 6 on the AWS console because we do not need them. Click Edit security groups to add or open protocols and ports.
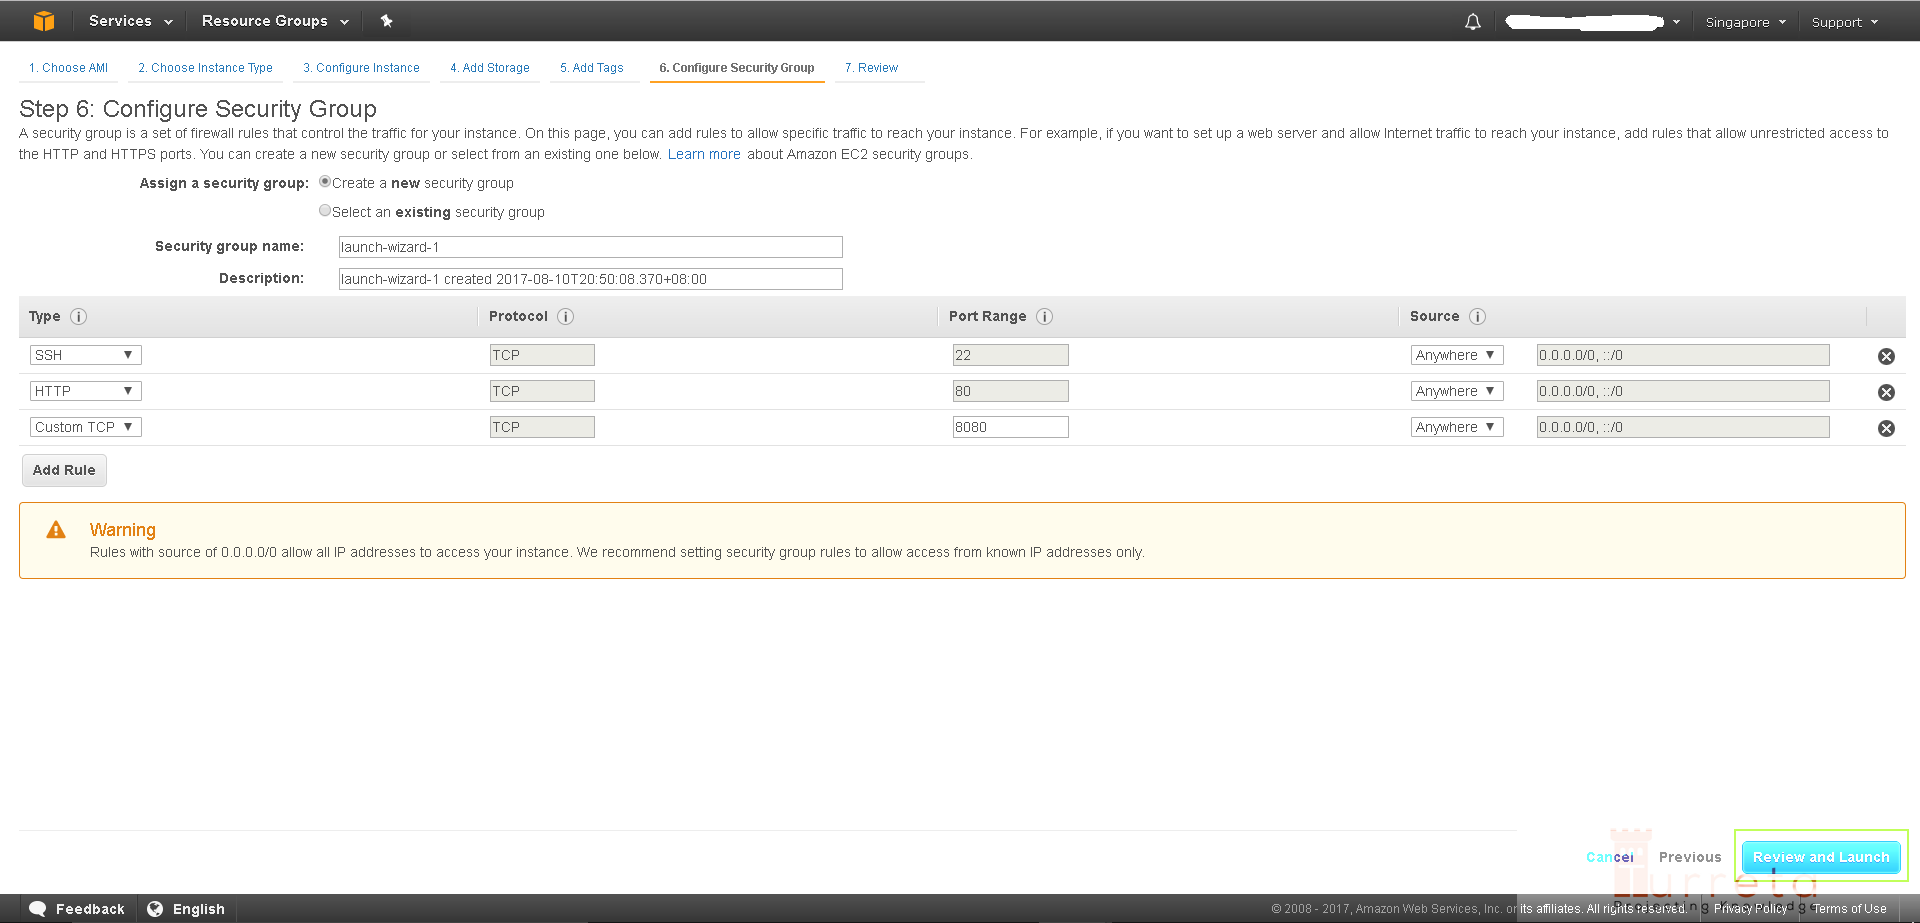
4. Add Protocols and Ports
We need SSH to be able to access our EC2 later via an SSH client like putty. The other 2 items are optional and are recommended if we are to deploy and run web servers.
HTTP/Port 80 is normally for Apache Web Server; while HTTP/Port 8080 may be for other web server like Tomcat.
Click “Review and Launch” to proceed.
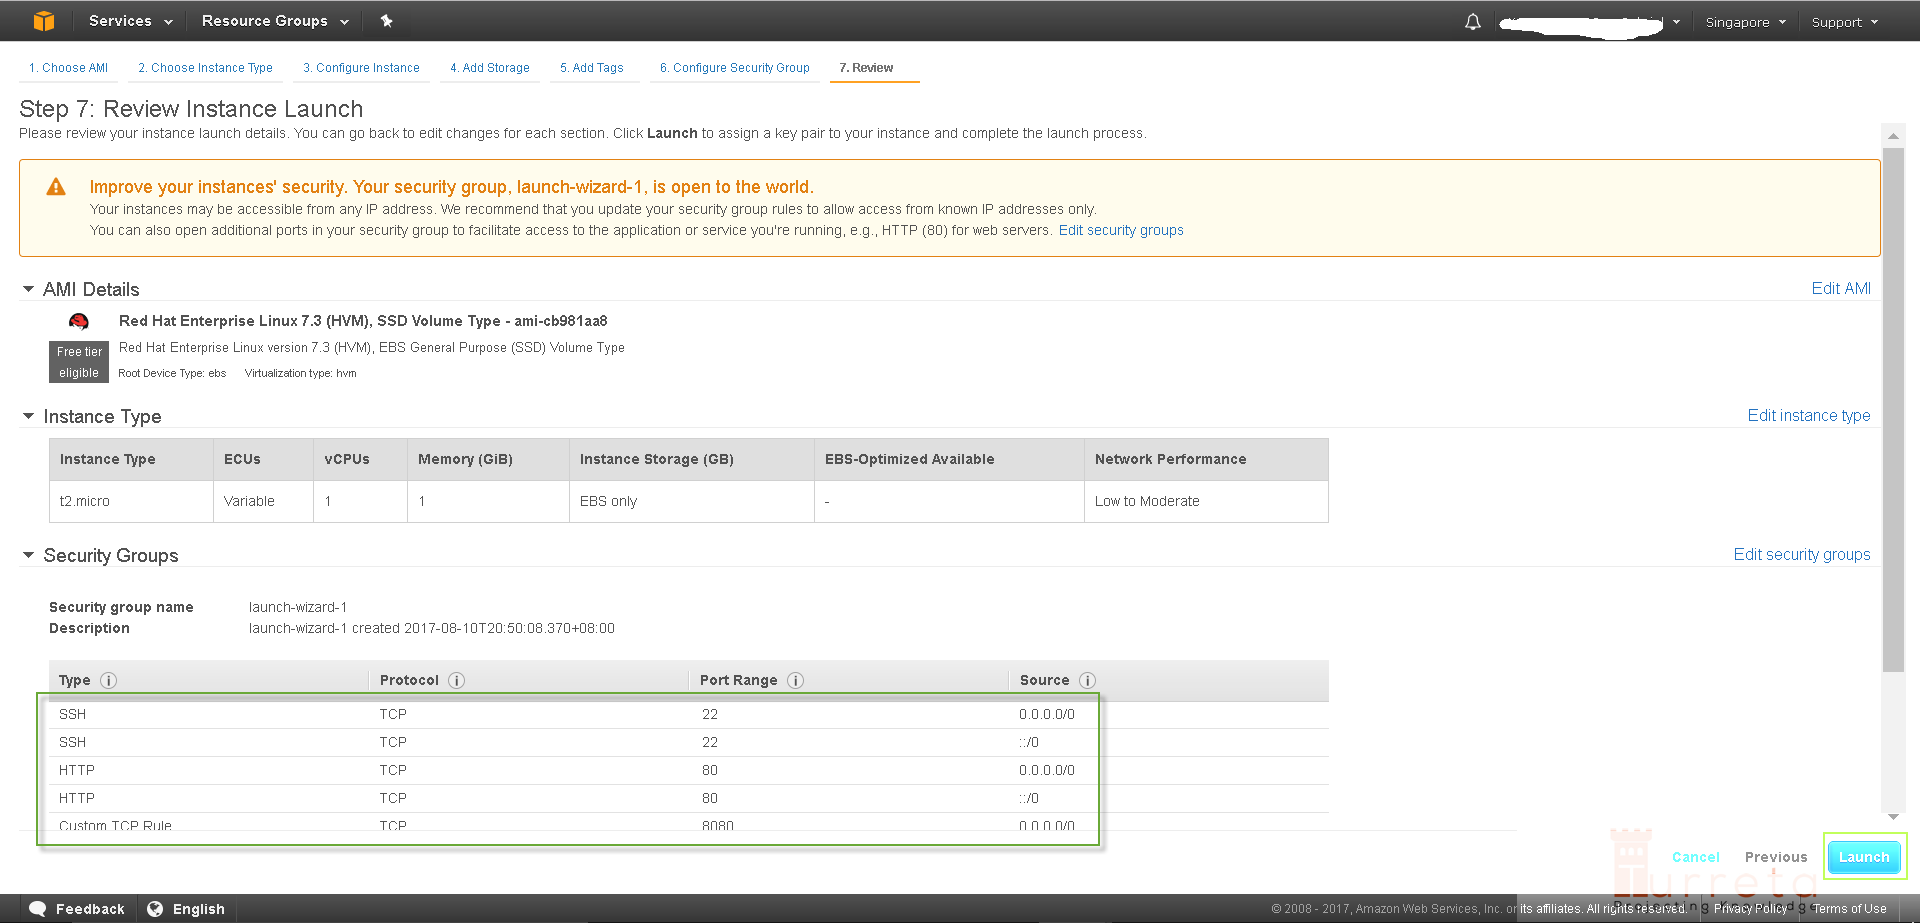
5. Final Review and Launch
Click Launch to now provision an EC2 instance.
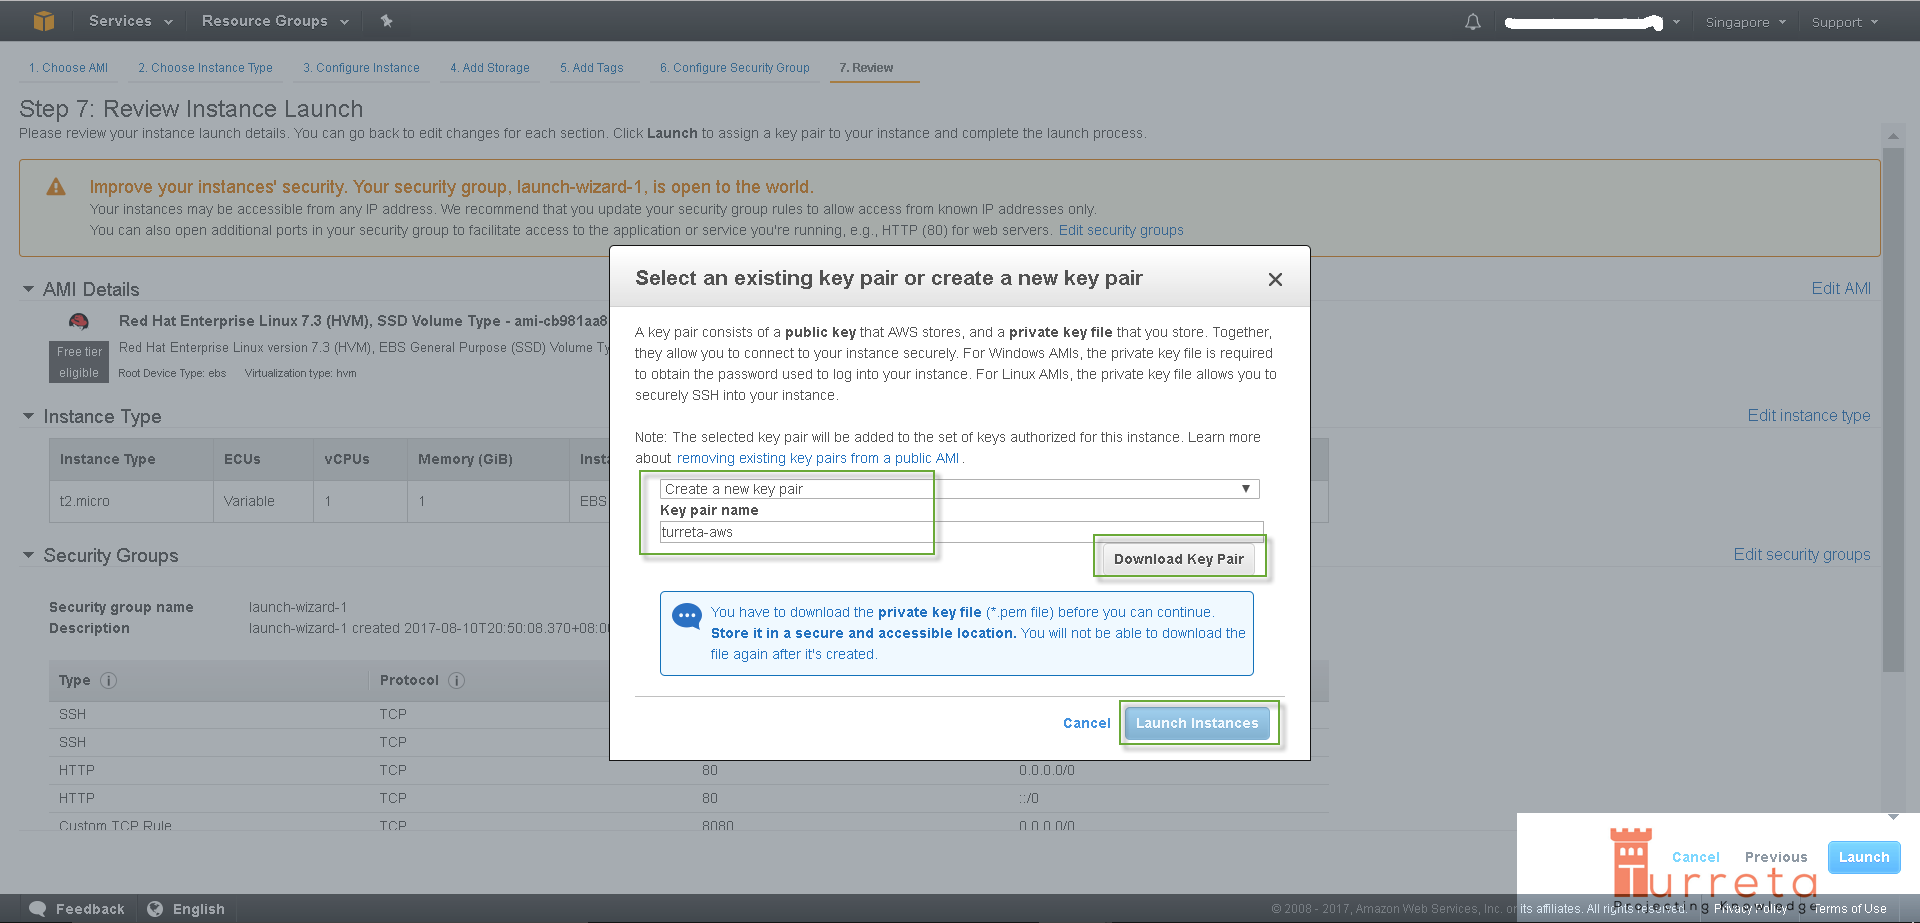
Create a new key pair and download it before launching the EC2 instance. This key pair will enable us to log in to our provisioned server later using putty.
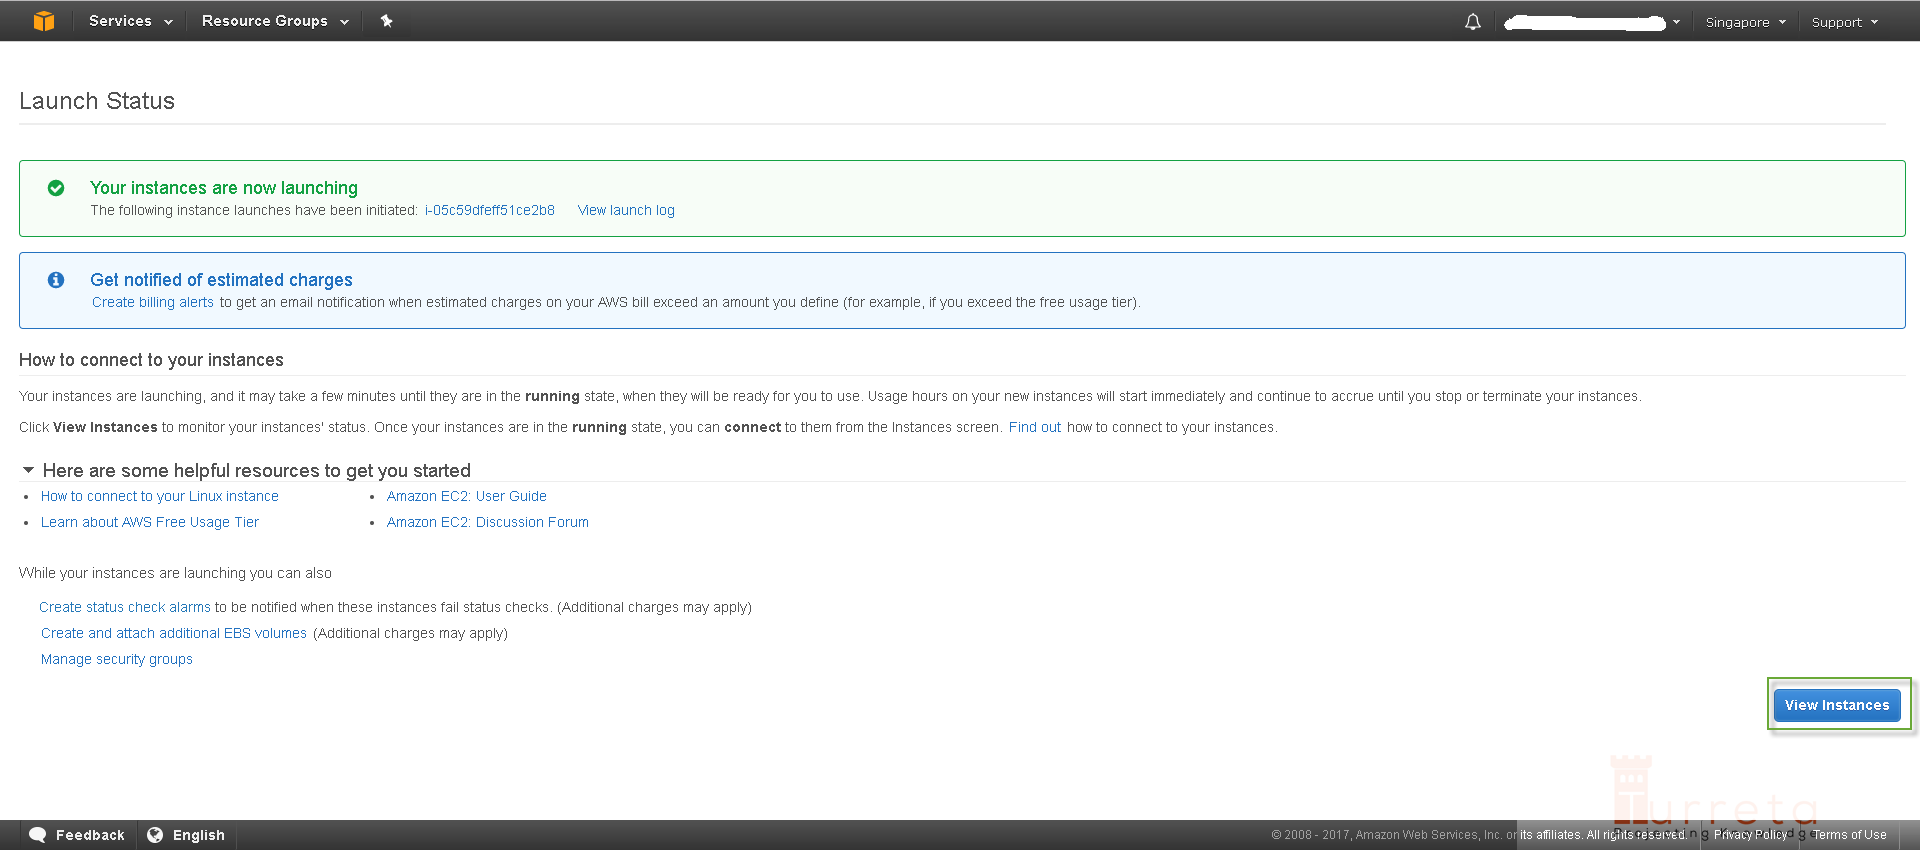
Then, AWS starts provisioning our EC2 instance.
Instances Listing
The process may not be completed immediately as the Status Checks may still display Initializing. Wait for some time.
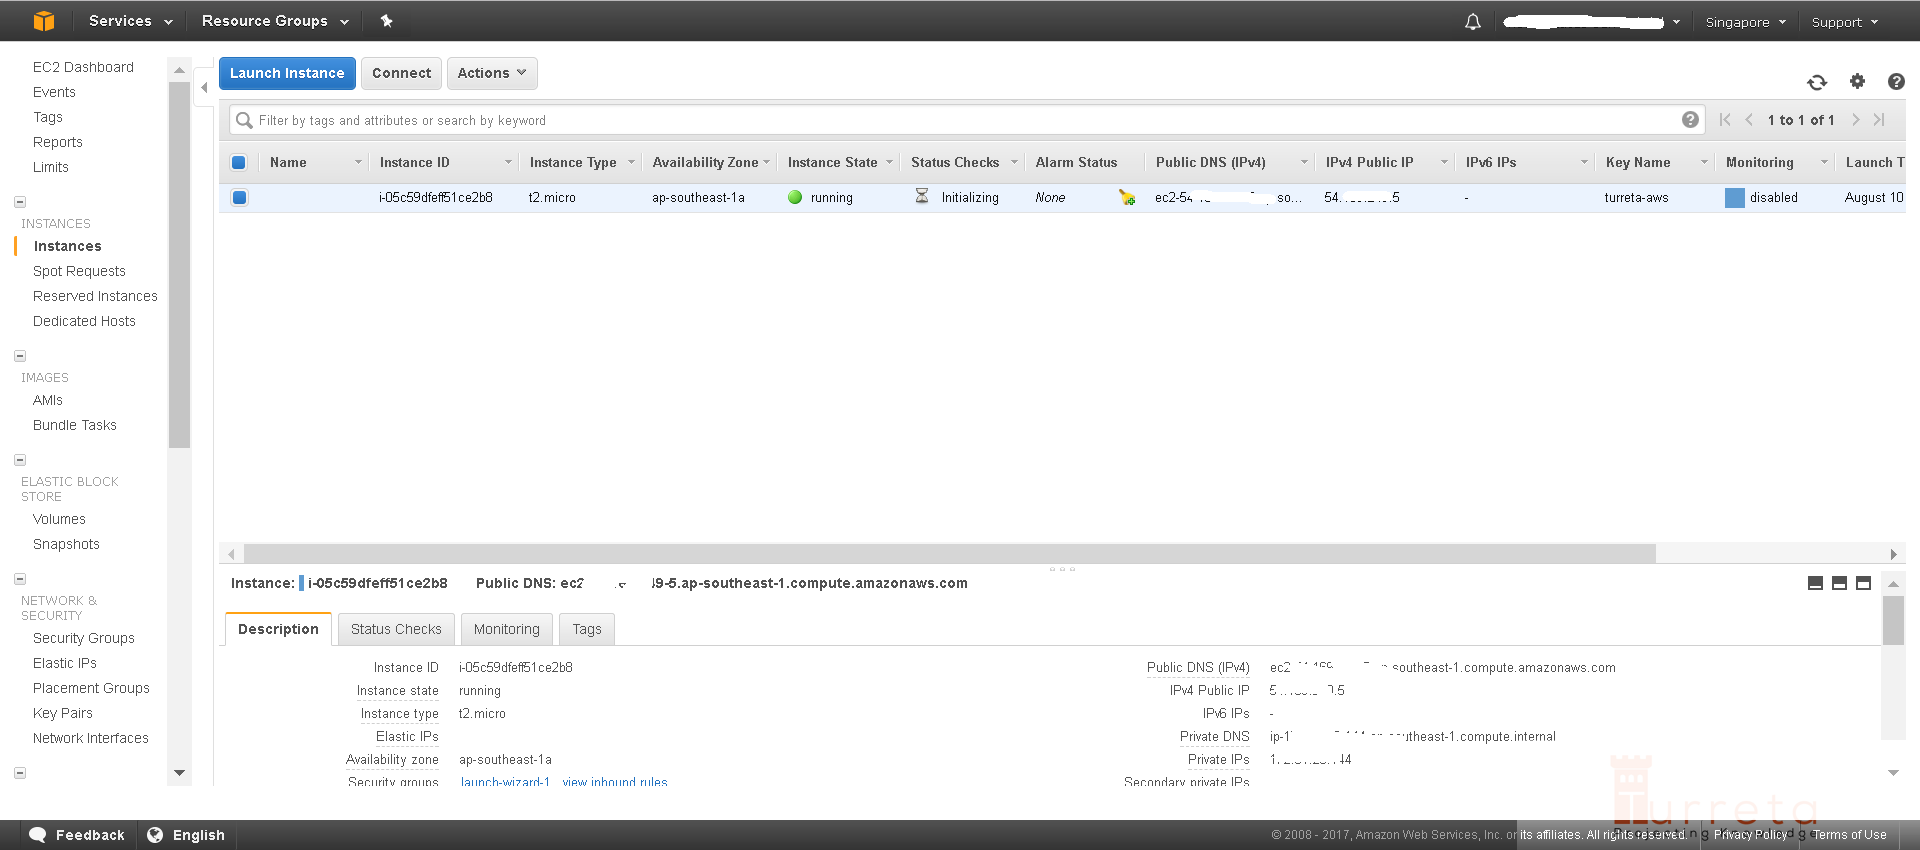
AWS successfully provisioned a server (EC2) instance.
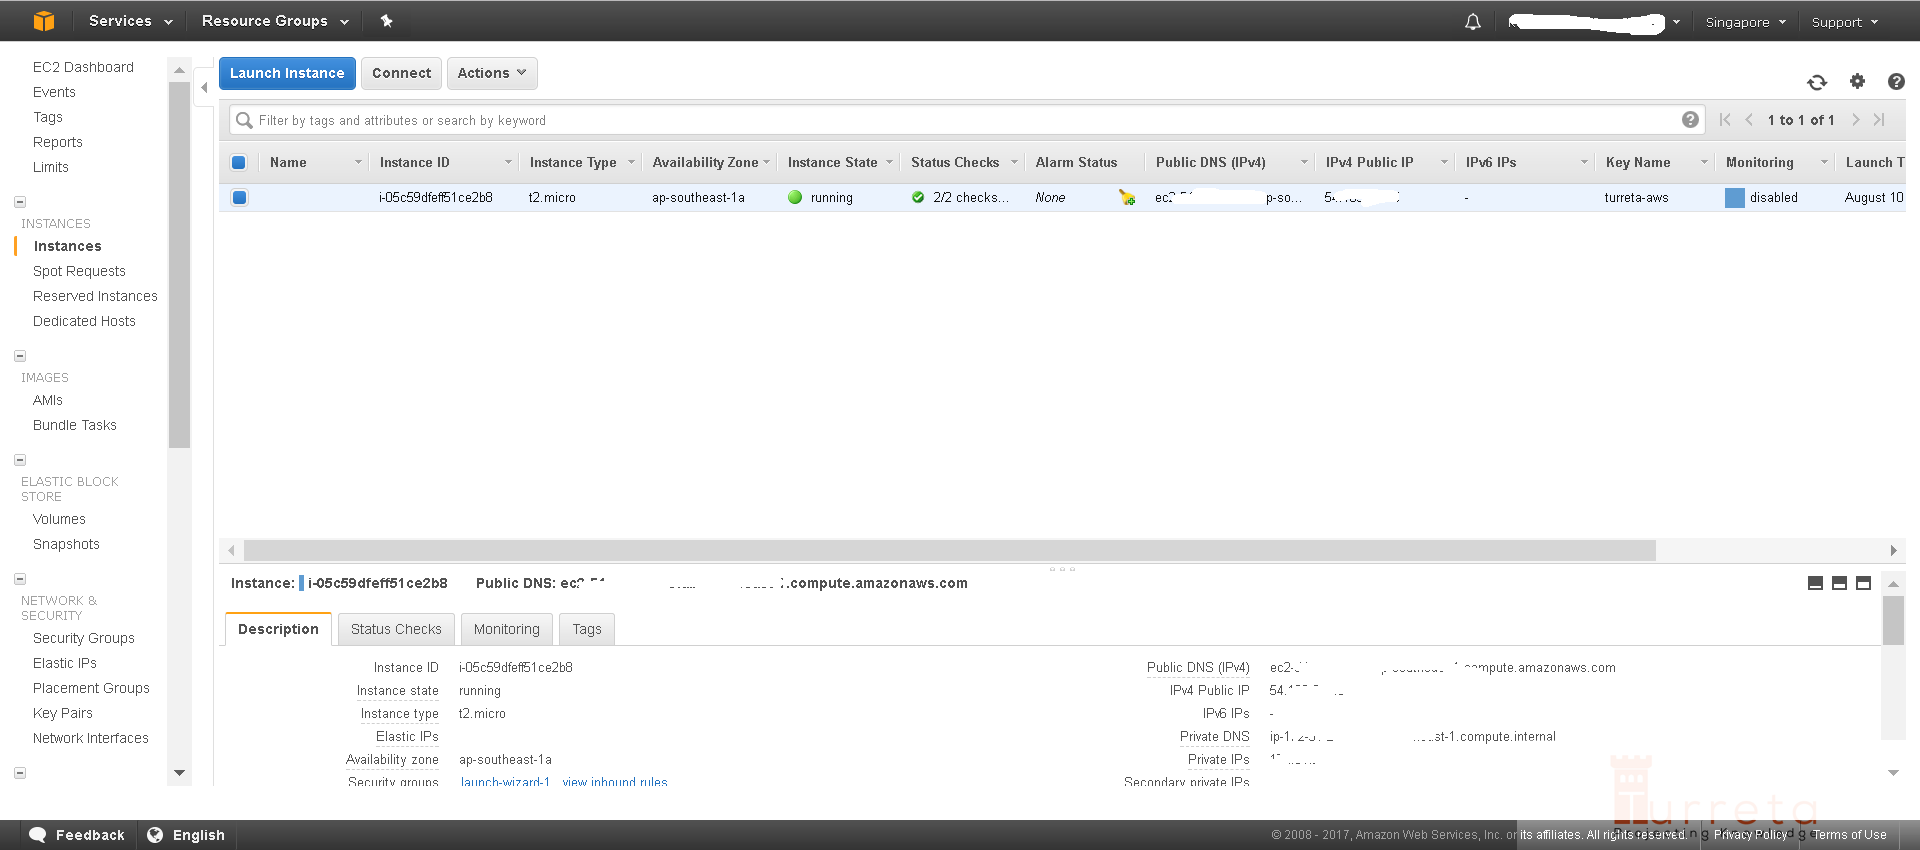
Log in to Our EC2 Instance
Remember the key pair we downloaded in step 5? We’ll use it to SSH into our EC2 instance. However, we need first need to convert the download key pair file (.pem) to .pkk that putty can use.
![]()


