This post demonstrates a working setup of React Native project.
Requirements
Stuff we used for this post.
- Windows 10 Enterprise
- node v8.11.3
- npm v6.4.1
- Android Studio 3.1.3
- JDK 8
- Two Windows command-line windows
- One to run Metro Builder
- One to run our application on a mobile device
- Configure mobile device
Set Up New Project
Install React Native
1 | npm install -g react-native-cli |

Install Android Studio
This can be done even before installing react-native-cli.
Create a new Project
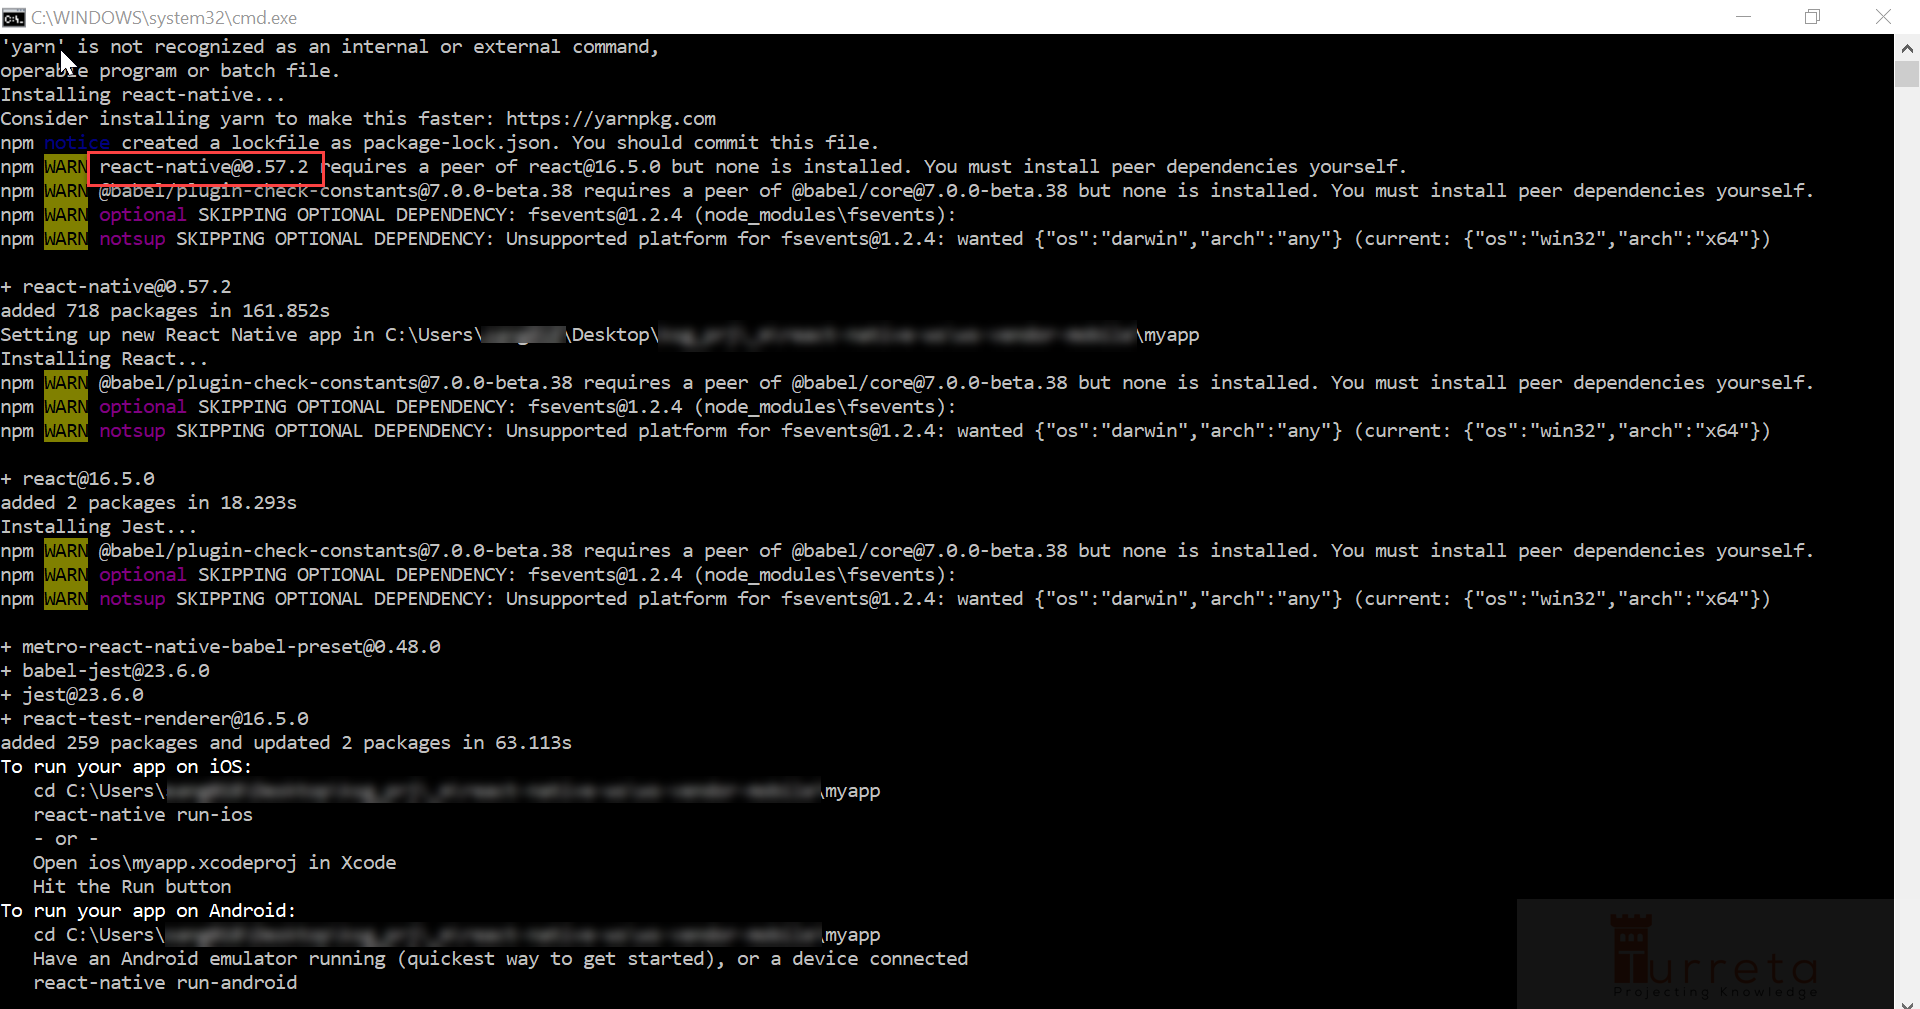
1 | react-native init myapp |
As of this writing, there is a bug in react-native@0.57.2 (https://github.com/facebook/react-native/issues/21490). For this post, we’ll change a file in the metro-react-native-babel-preset module to make things work.
For real projects, either downgrade to 0.57.1 or wait for a new release.
Then, go inside the project folder.
1 | cd myapp |
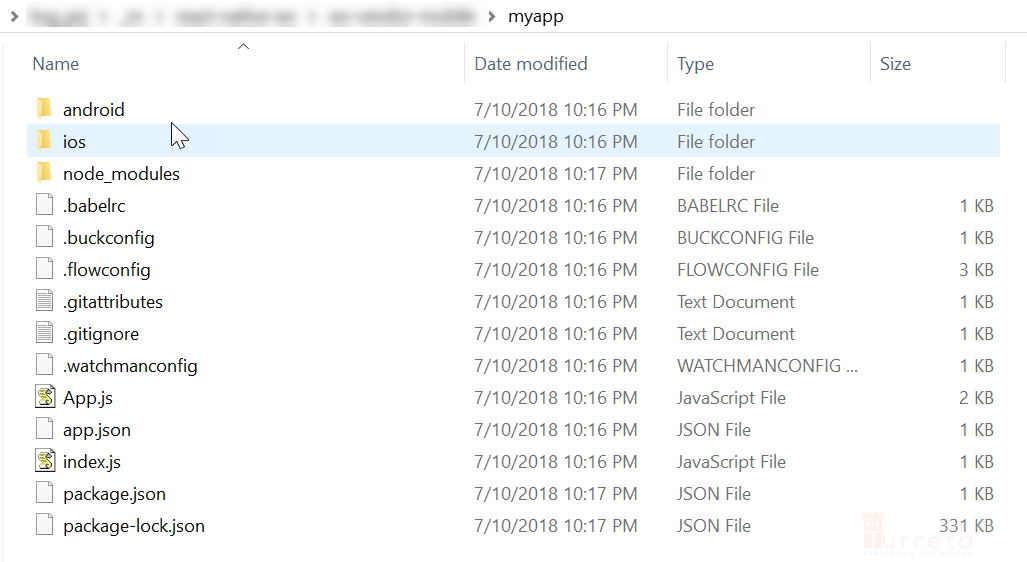
We now have several files and folders.
Start the Metro Bundler
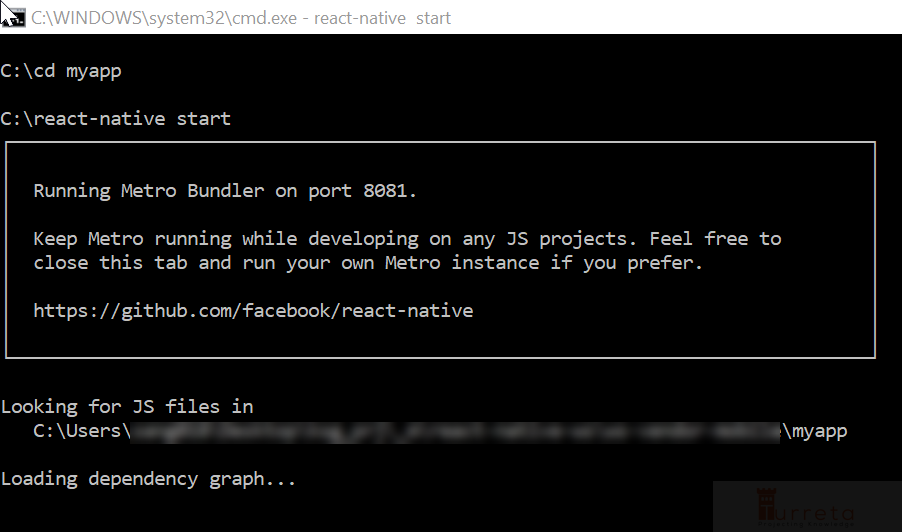
Keep this application running the whole time.
Set some environment variables
Note that we are in another command-line window.

Plug In Our Phone
Plug in our phone before running the following command in a separate window.
1 | react-native run-android |

In case we forget to plug in our phone, we will get the following error:
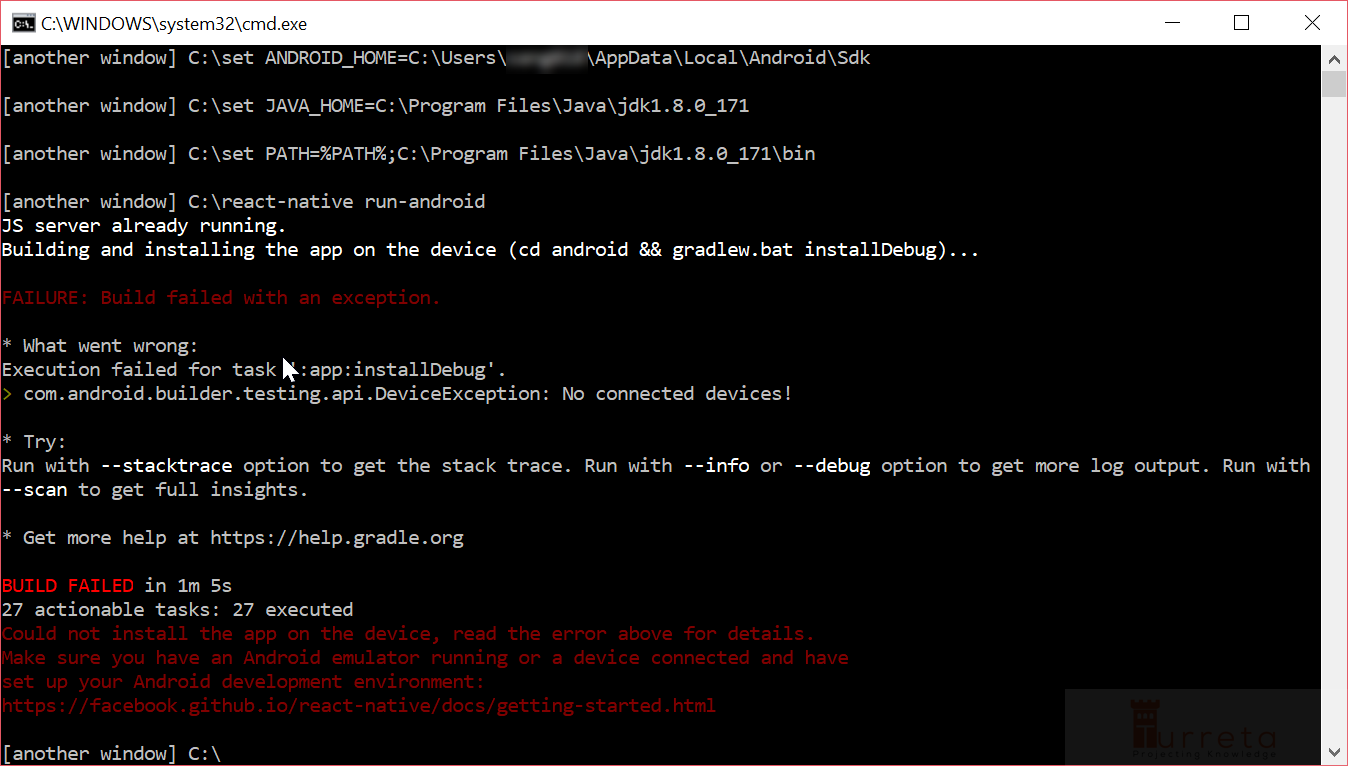
Done…But
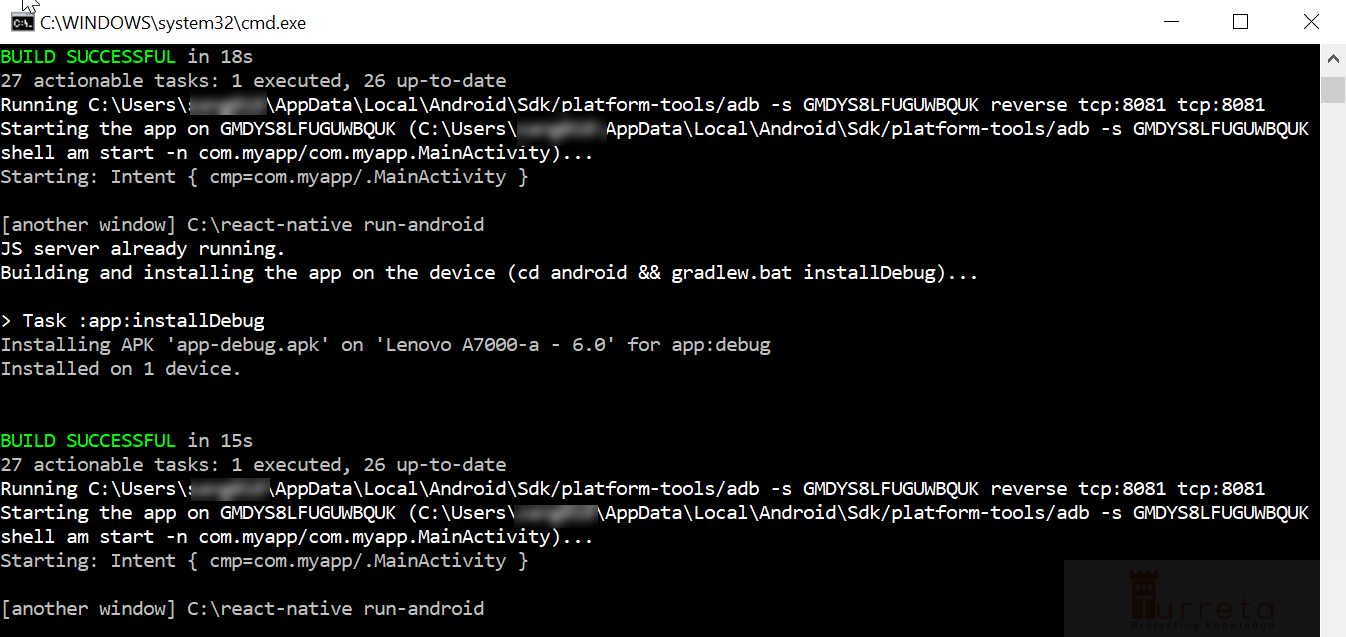
If we go back to the first window where the Metro Builder is running, we will have:
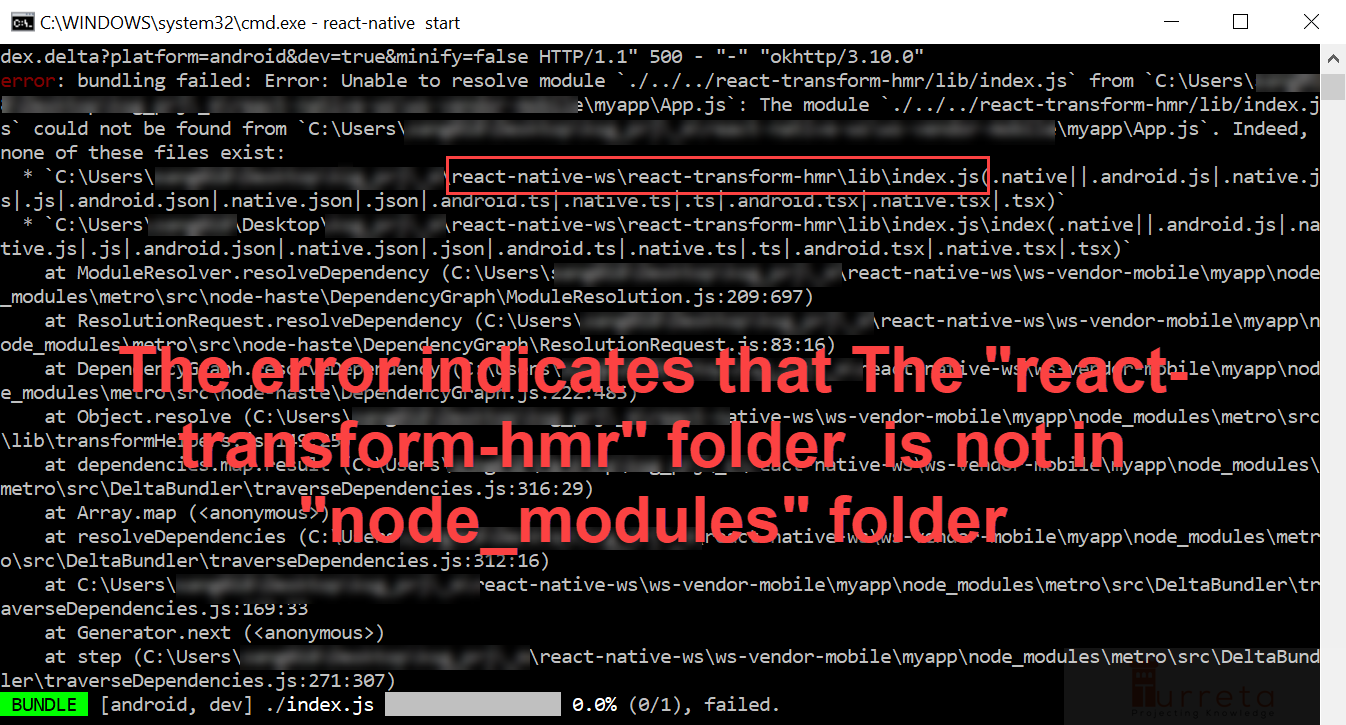
Modify file
Please don’t do this on real projects.
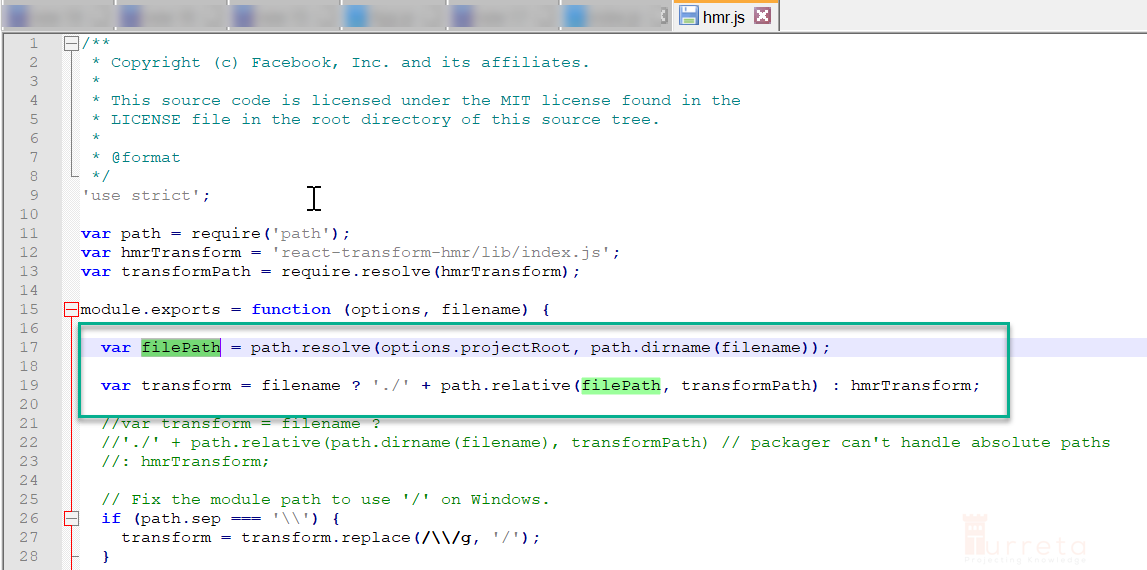
Restart Metro Bundler
Restart Metro Bundler with the cleared cache.
1 | npm start --reset-cache |
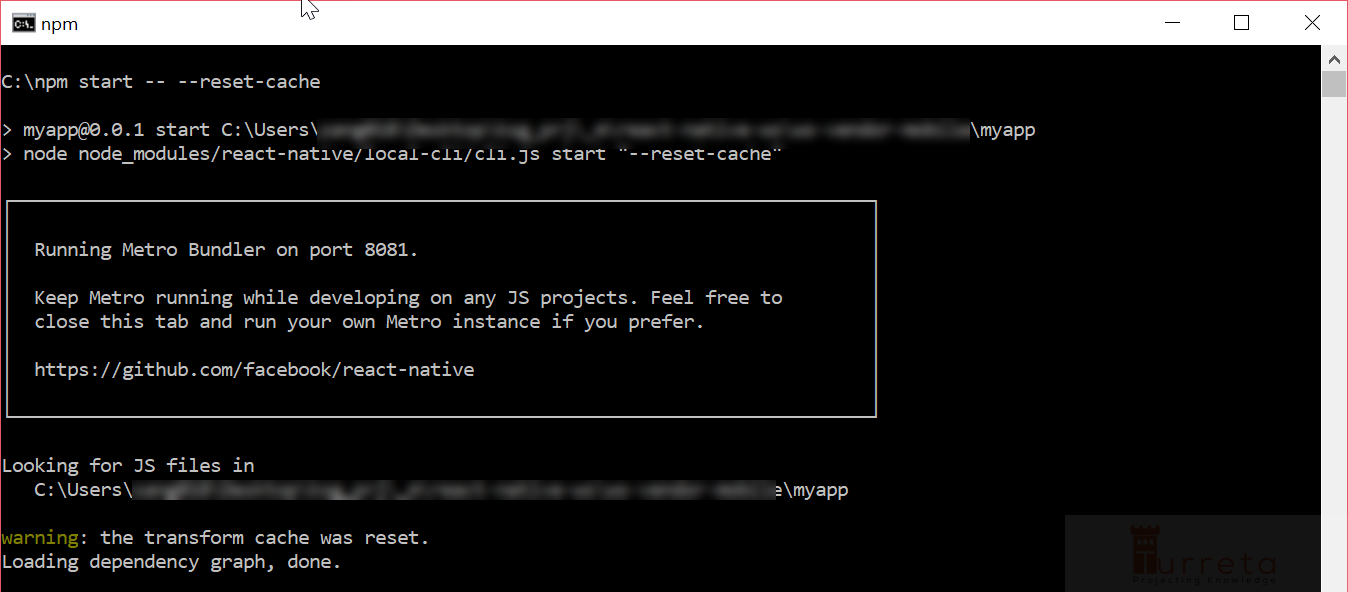
Do “react-native run-android” in another window
Our App on Mobile Device

How to downgrade to react-native@0.57.1
- Stop the Metro Bundler
- Delete node_modules folder
- Update package.json as follows123456..."dependencies": {"react": "16.5.0","react-native": "0.57.1"}...
- Run1npm install
- Start Metro Bundler with cleared cache
- On the other windows, do1react-native run-android
![]()


