This post shows how to configure vagrant to allow access to Apache2 web server (URL to Apache Ubuntu Default Page) running in virtual machine from the host system.
Requirements
Stuff used in this post.
- Windows 10 Enterprise
- Vagrant 1.9.1
- Vagrant-based development environment for WordPress from http://vccw.cc/
- On the Getting Started section, step 3 is not required
- After configuring your vagrant, access the web server via http://127.0.0.1:8080/
- The virtual machine is a Ubuntu 16.04 Xenial64 box
- When we start the virtual machine, Apache2 web server also starts
The Problem
[wp_ad_camp_1]
After we start the virtual machine, Apache2 web server is not accessible.

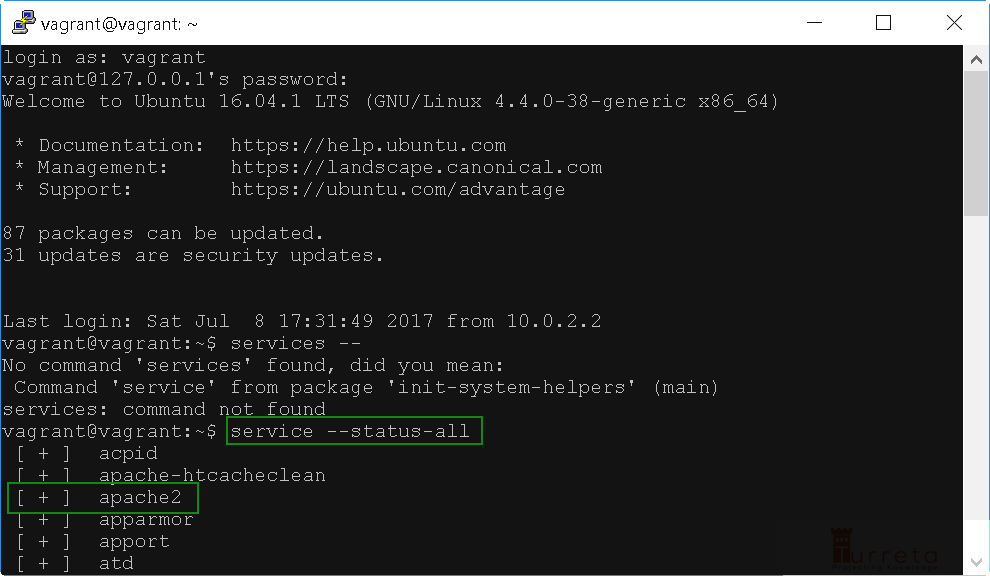
Verify apache2 is running on the virtual machine
However, the web server is not accessible from the Windows host machine.
[wp_ad_camp_2]

The Solution
The solution is to modify your Vagrantfile.
Vagrantfile
This file is generated in the directory where you performed the following vagrant command:
1 | vagrant init vccw-team/xenial64 |

Actual command invocation
Modify Vagrantfile
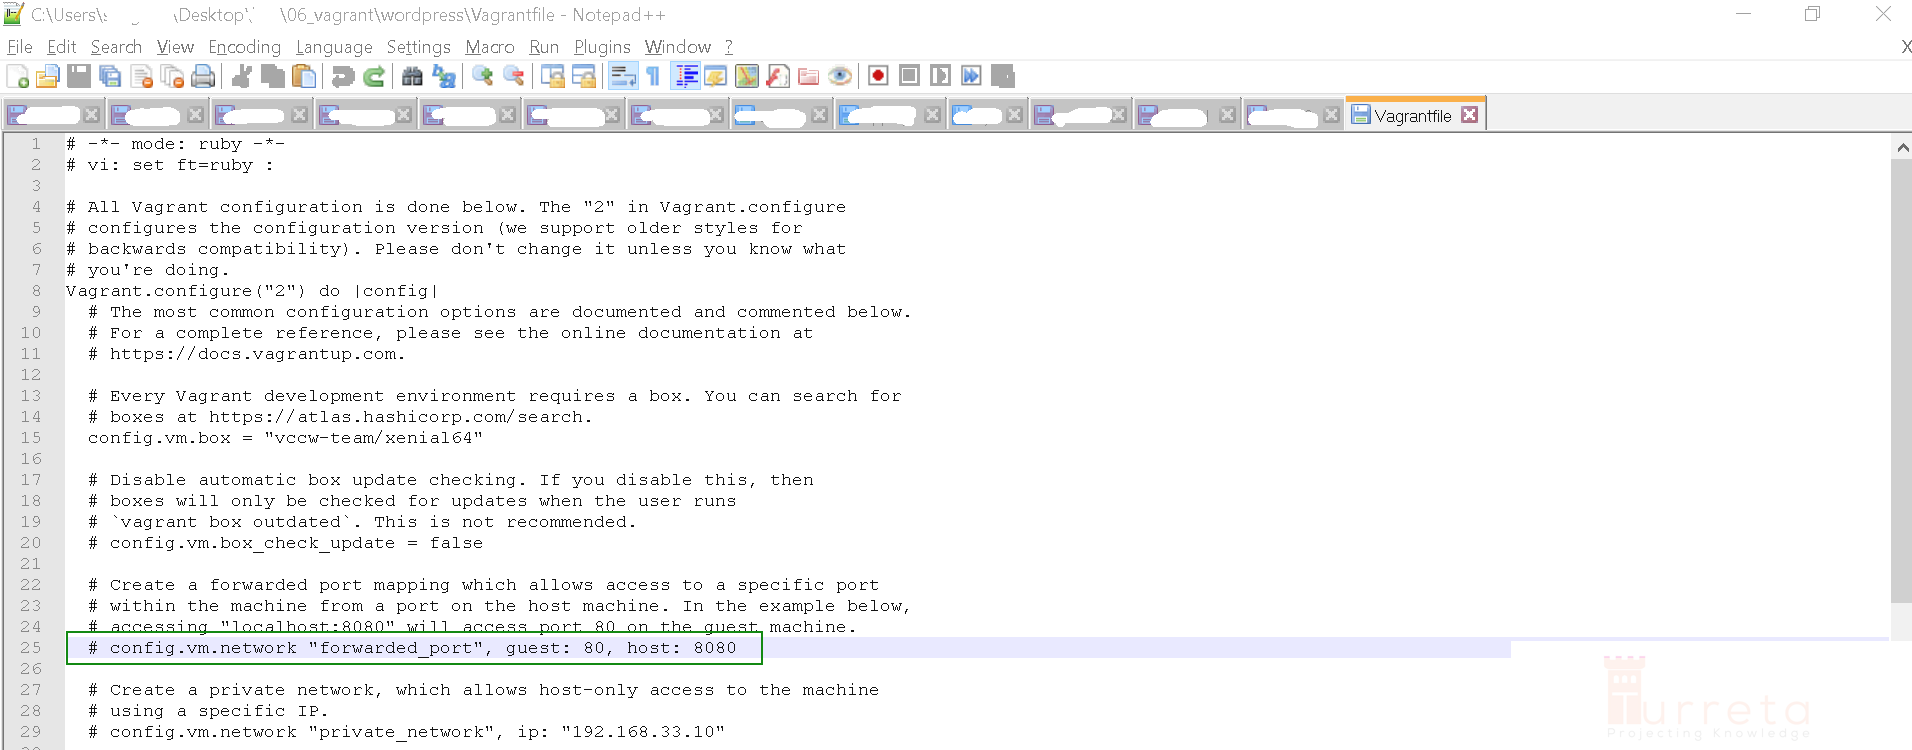
Modify the vagrant file in the host system. The file’s contents look like this:
[wp_ad_camp_3]

To fix our issue, we need to uncomment the highlighted line and restart our virtual machine.
Restart Virtual Machine
Invoke the following commands one after the other.
Stop VM
[wp_ad_camp_4]
1 | vagrant halt |
Start VM
1 | vagrant up |
Test Apache2 web server
We now can access the web server!

Web server now accessible from host system
[wp_ad_camp_5]
![]()


