This post demonstrates how to add an Android SDK in IntelliJ IDEA.
Requirements
Stuff used in this post.
- Windows 10 Enterprise
- IntelliJ IDEA Ultimate 2016.3
- Java 8
- Android SDK Tools for Windows
We will not use Android Studio for this post.
The Problem
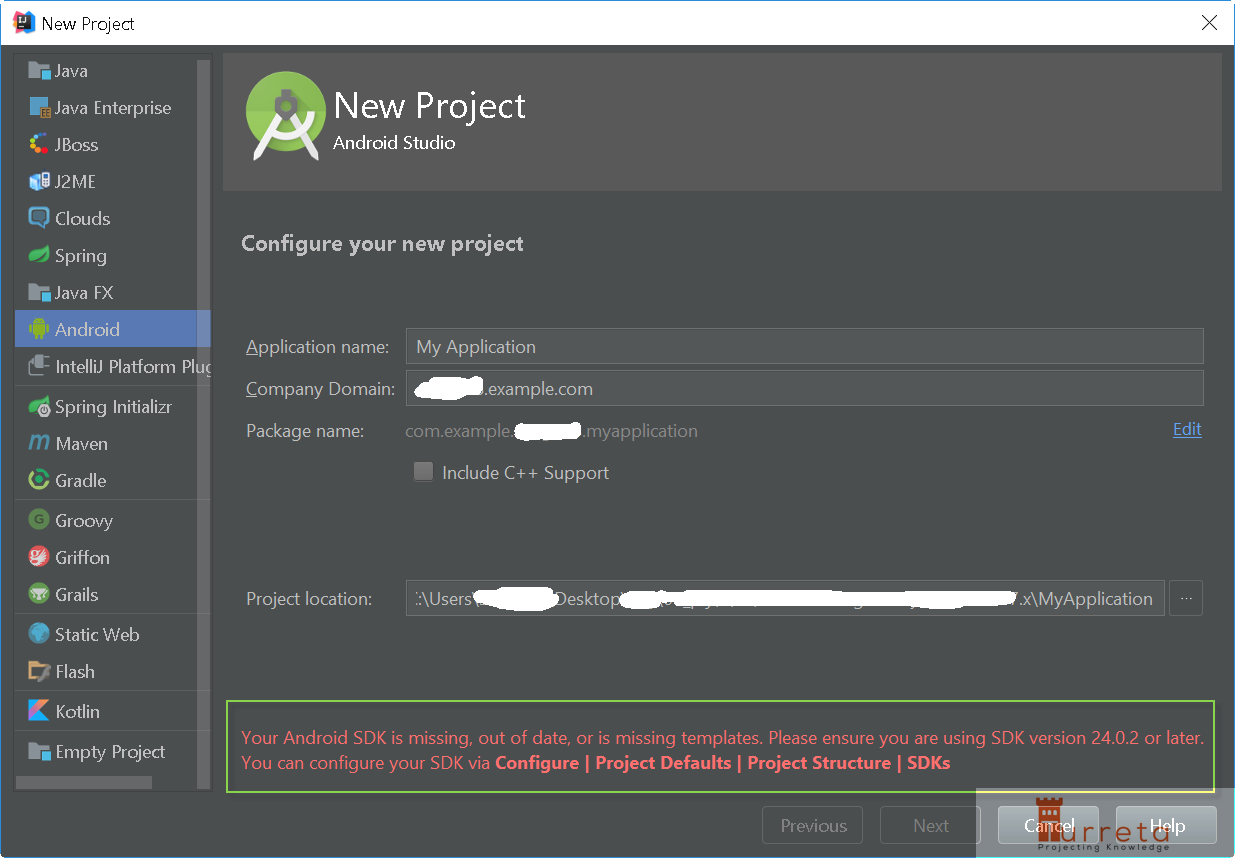
So we want to create an Android project in our new machine using IntelliJ IDEA and we see this:
[wp_ad_camp_5]
To fix this, we need to download an Android SDK.
Download SDK
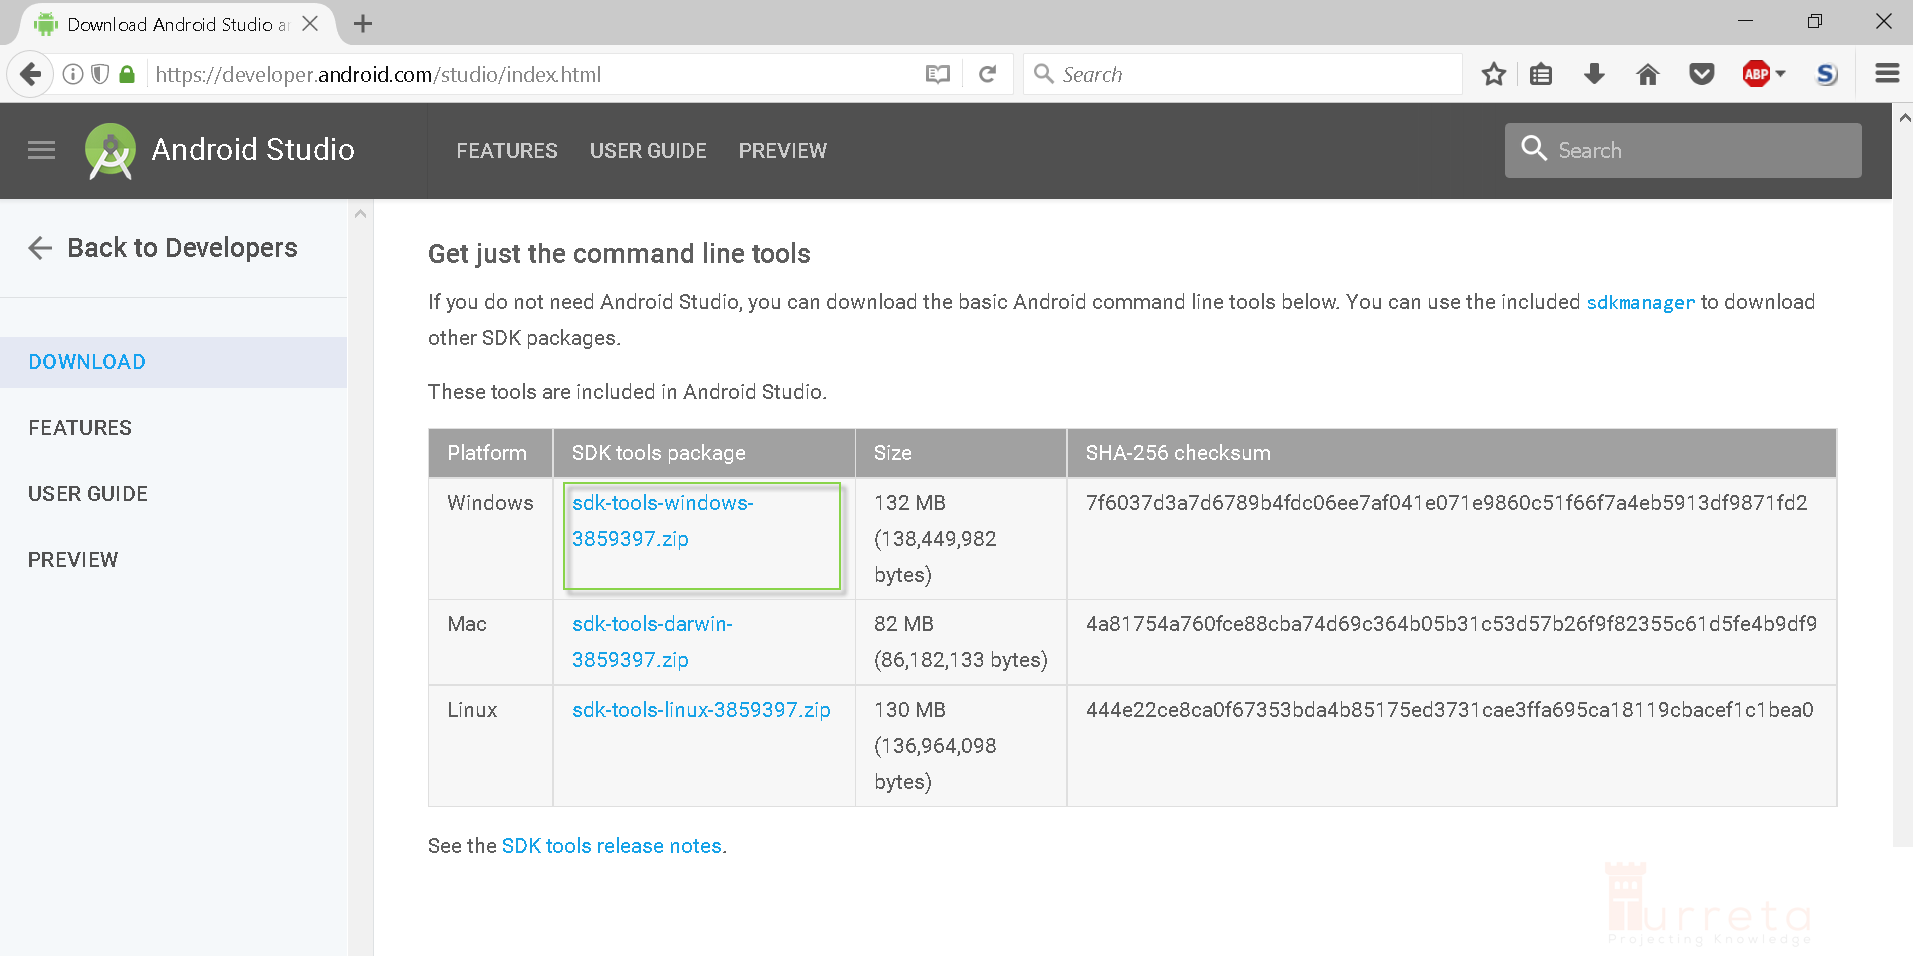
Go to https://devloper.android.com/studio/index.html.
Since we are not using Android Studio, just scroll down until the Get just the command line tools section.

Download SDK only
Click to download the SDK Tools package for Windows.
Download package for Windows
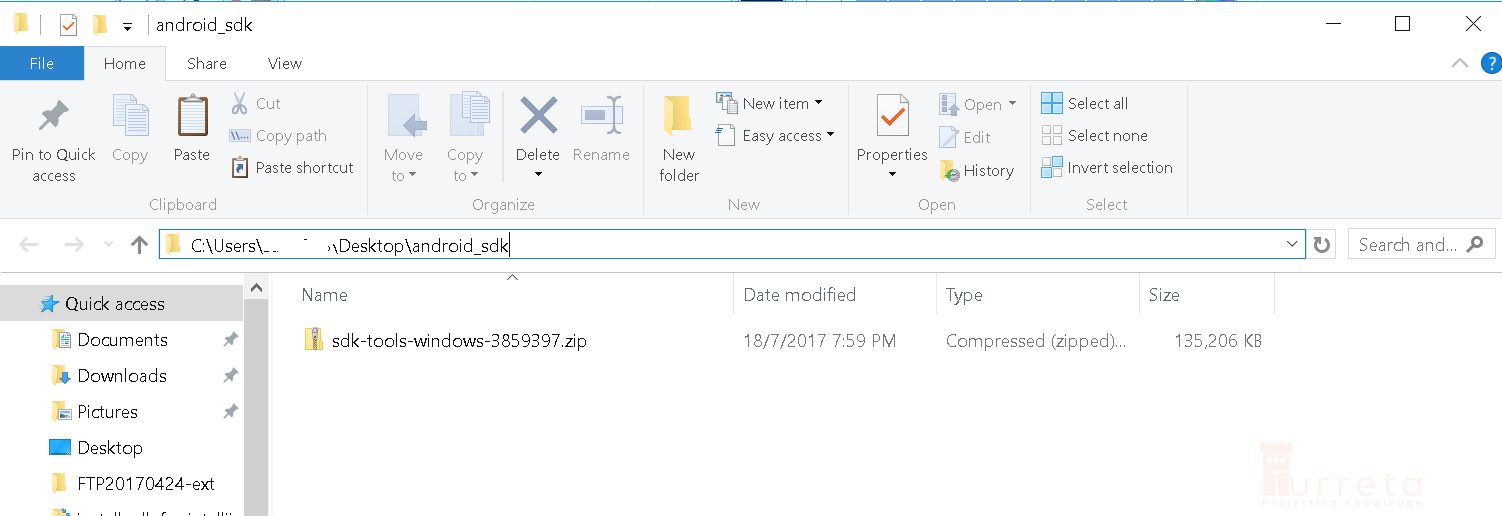
Save the zip file to some directory. For example:
Move download zip to some key directory
[wp_ad_camp_4]
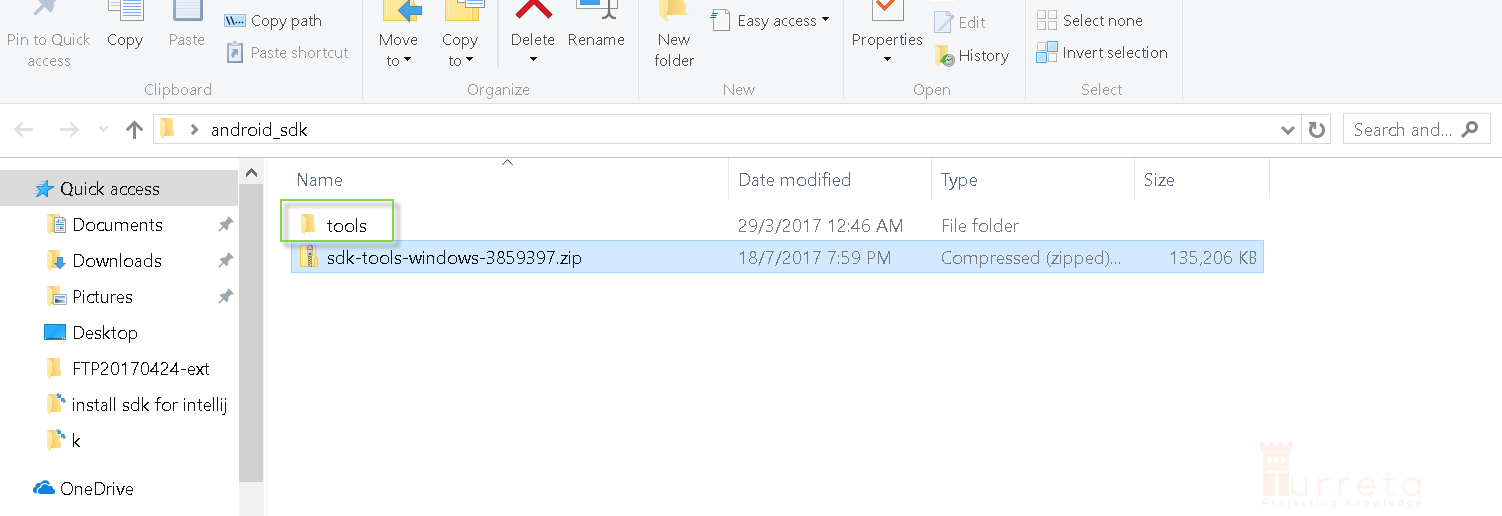
Extract the zip file so that everything is extracted to the current directory.
Extract zip to current directory
Use SDK Manager
Next we need to download the actual Android SDK using the SDK Manager.
1. Open Windows Command Line
If JAVA_HOME is not set, we can do that in the current window.
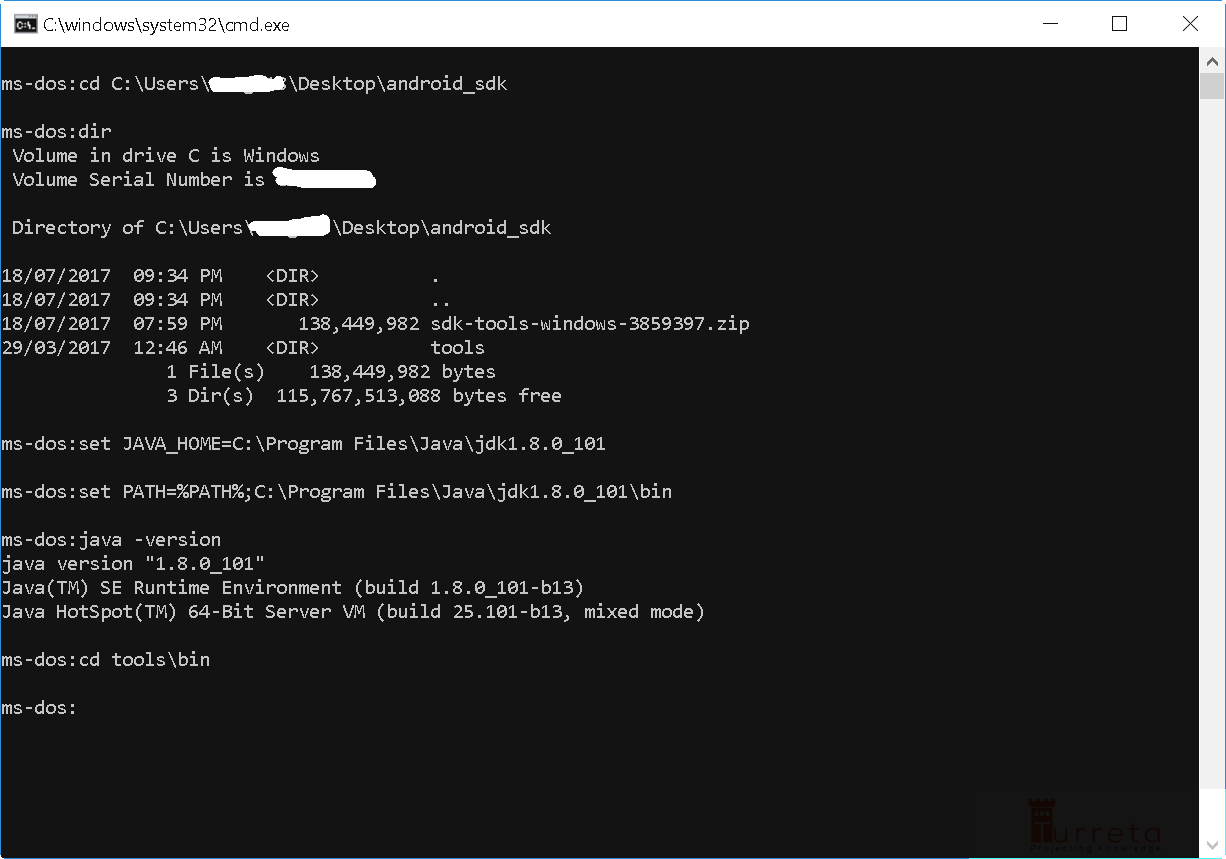
Set JAVA_HOME in the command line
[wp_ad_camp_3]
Then, change directory to tools\bin

Contents of tools\bin directory
Then, we use the sdkmanager.bat.
For example:
1 | sdkmanager "platforms;android-26" |
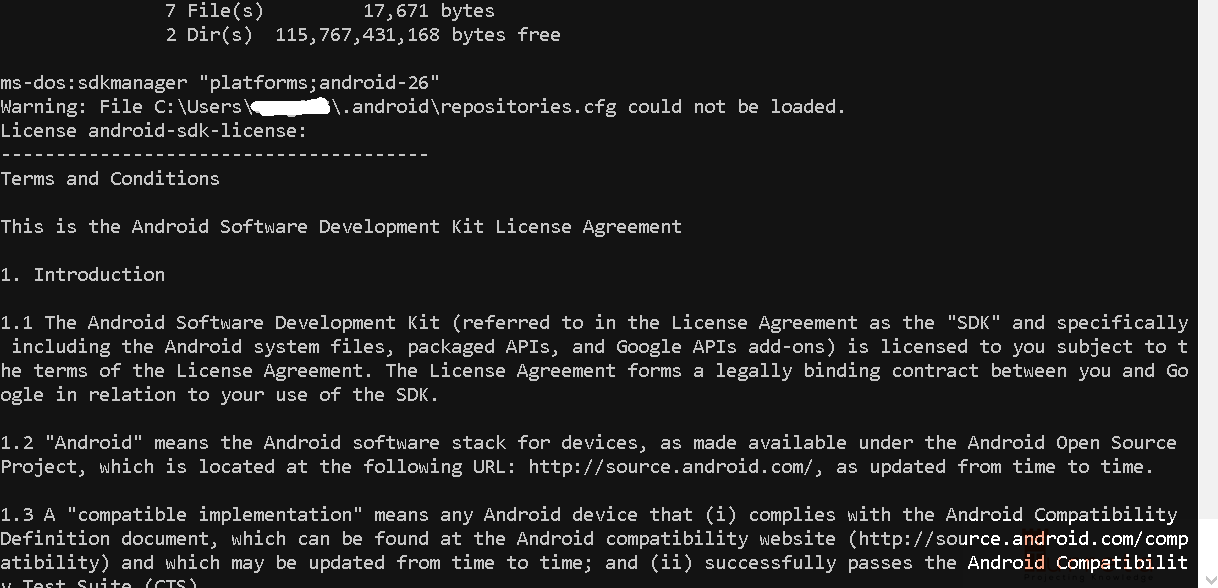
Read and accept license
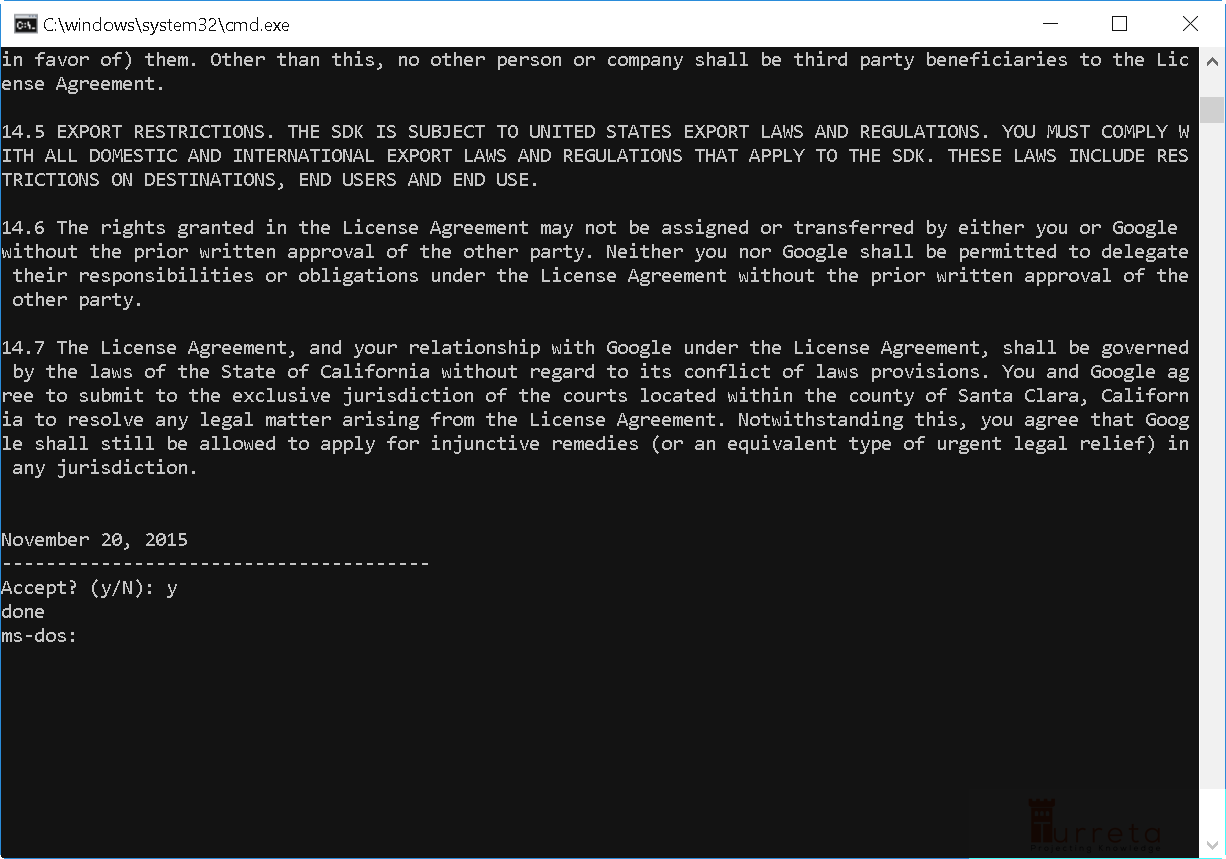
Then, the Terms and Conditions is displayed. Just scroll to down until you reach the end.
Read and accept license
Choose y and press Enter. The SDK Manager will now download the SDK. The current directory will then have 2 new folders.
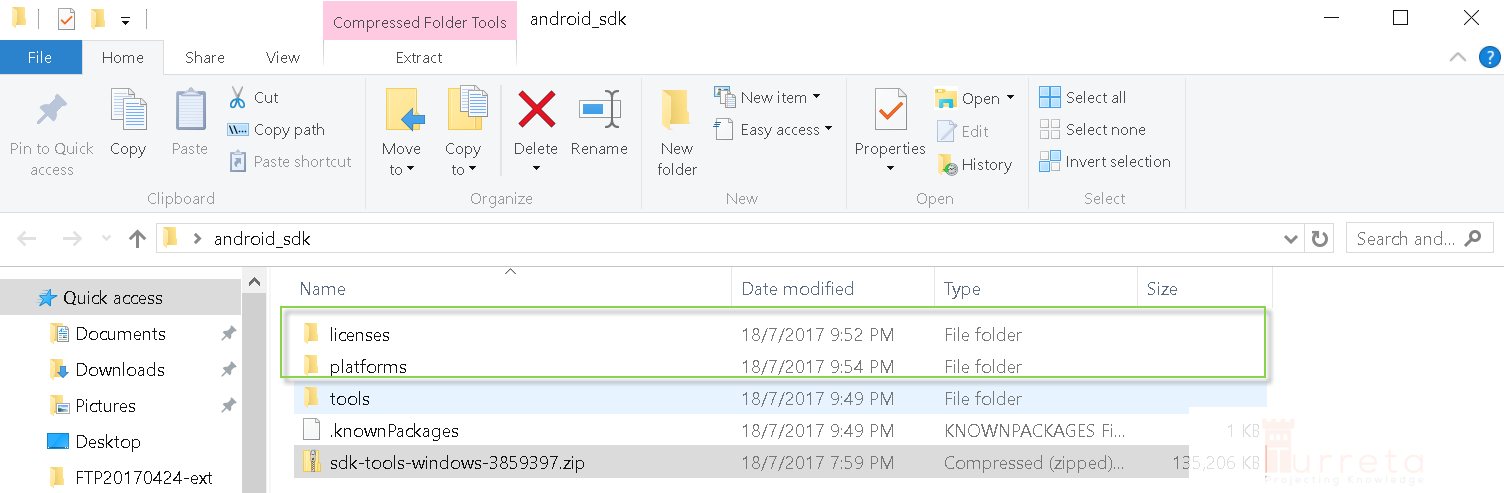
Files downloaded by the SDK Manager
Configure IntelliJ IDEA
Finally, we configure IntelliJ by adding an Android SDK.
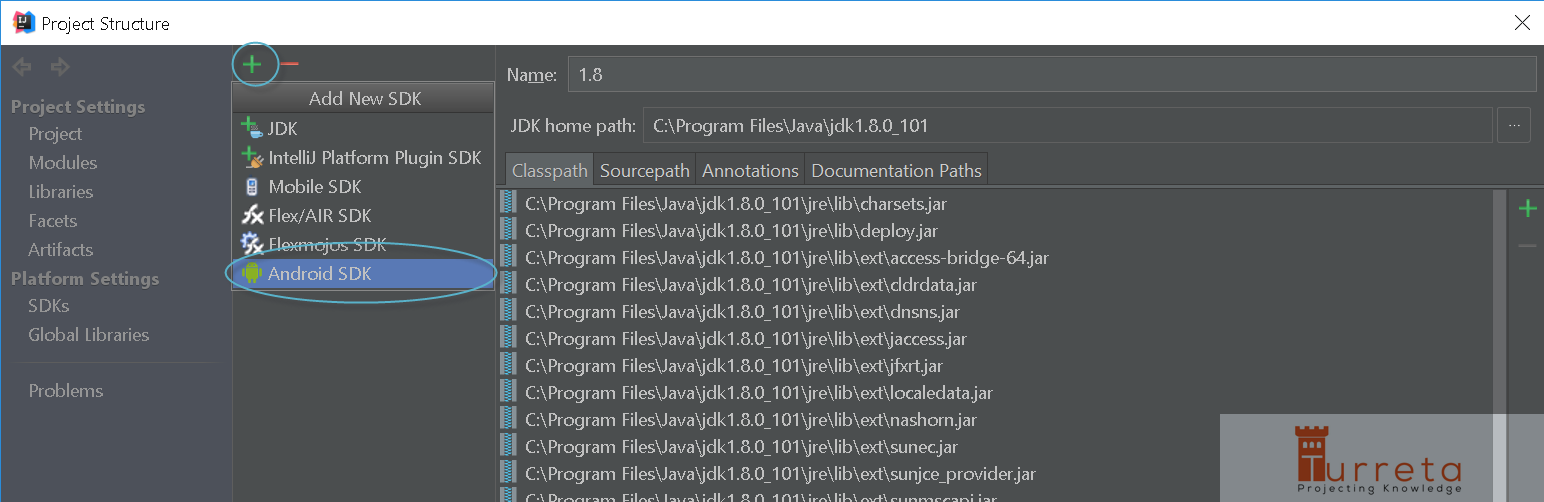
Configure Android SDK in IntelliJ
[wp_ad_camp_2]
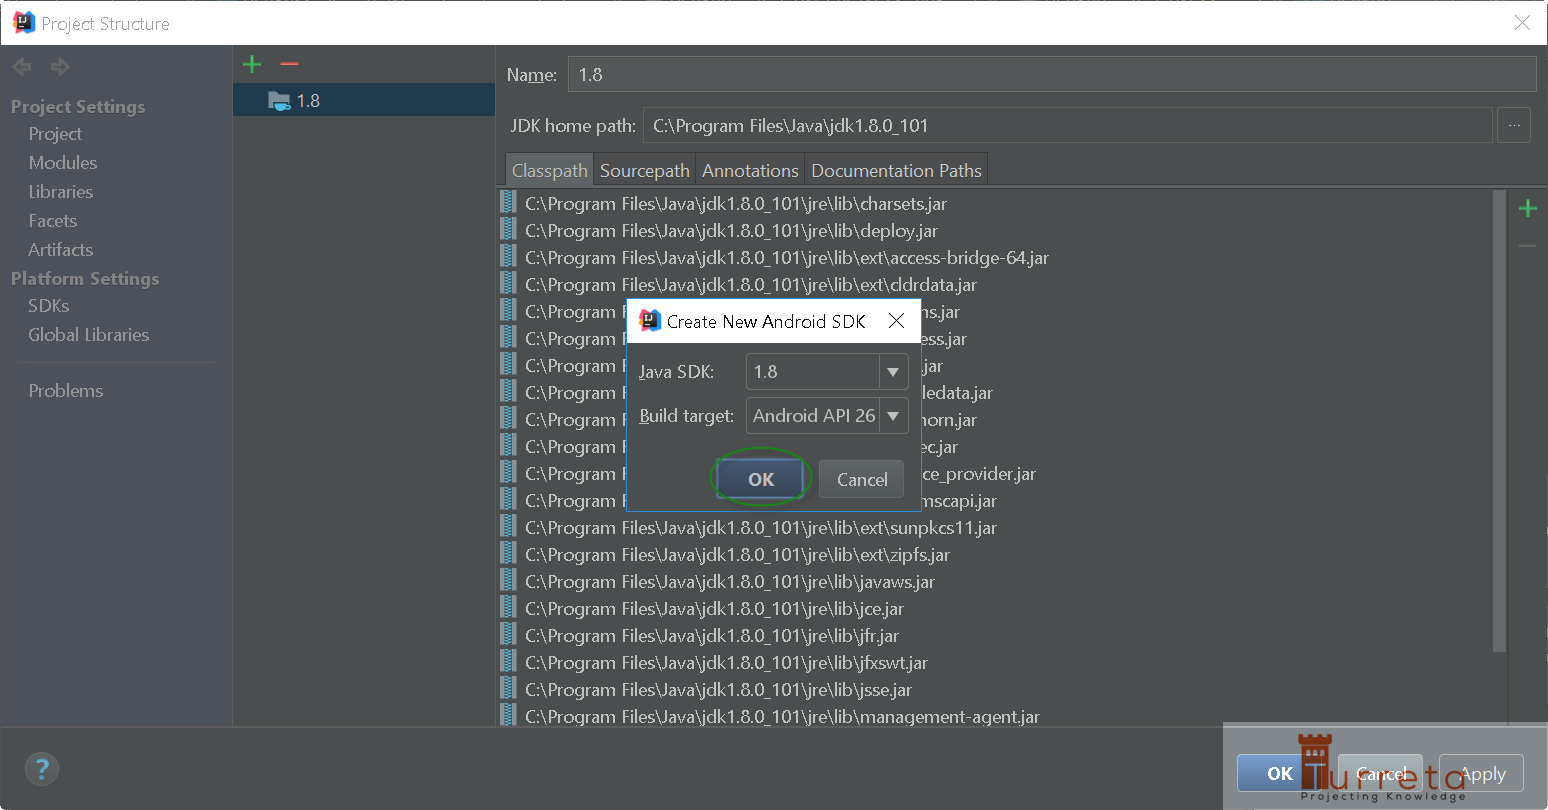
To select the home directory for Android SDK, navigate to our android_sdk directory.
NOTE: Simply copy-and-pasting the path may not work.

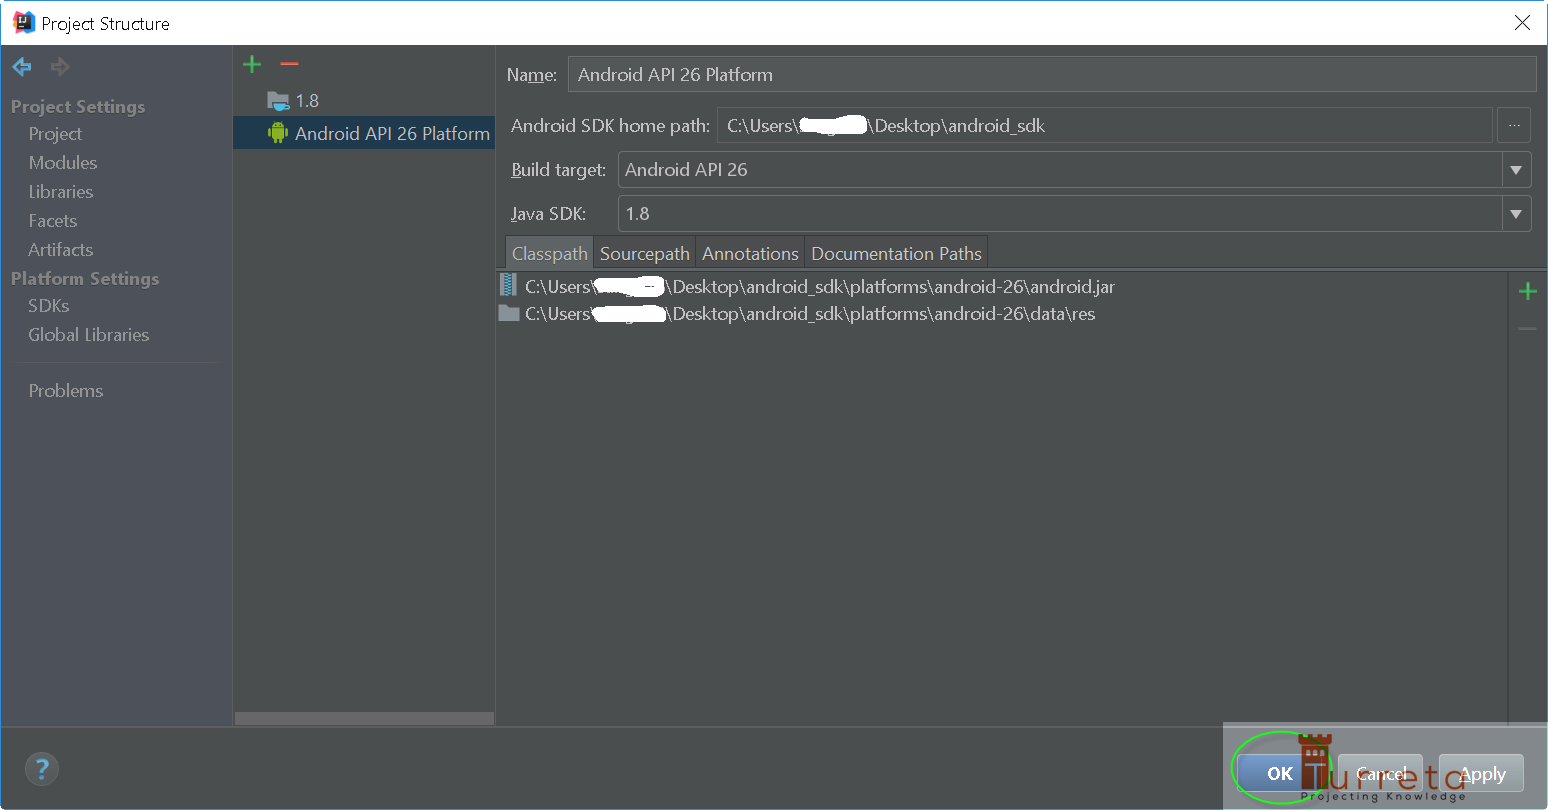
Click Ok.
Click Ok.
[wp_ad_camp_1]
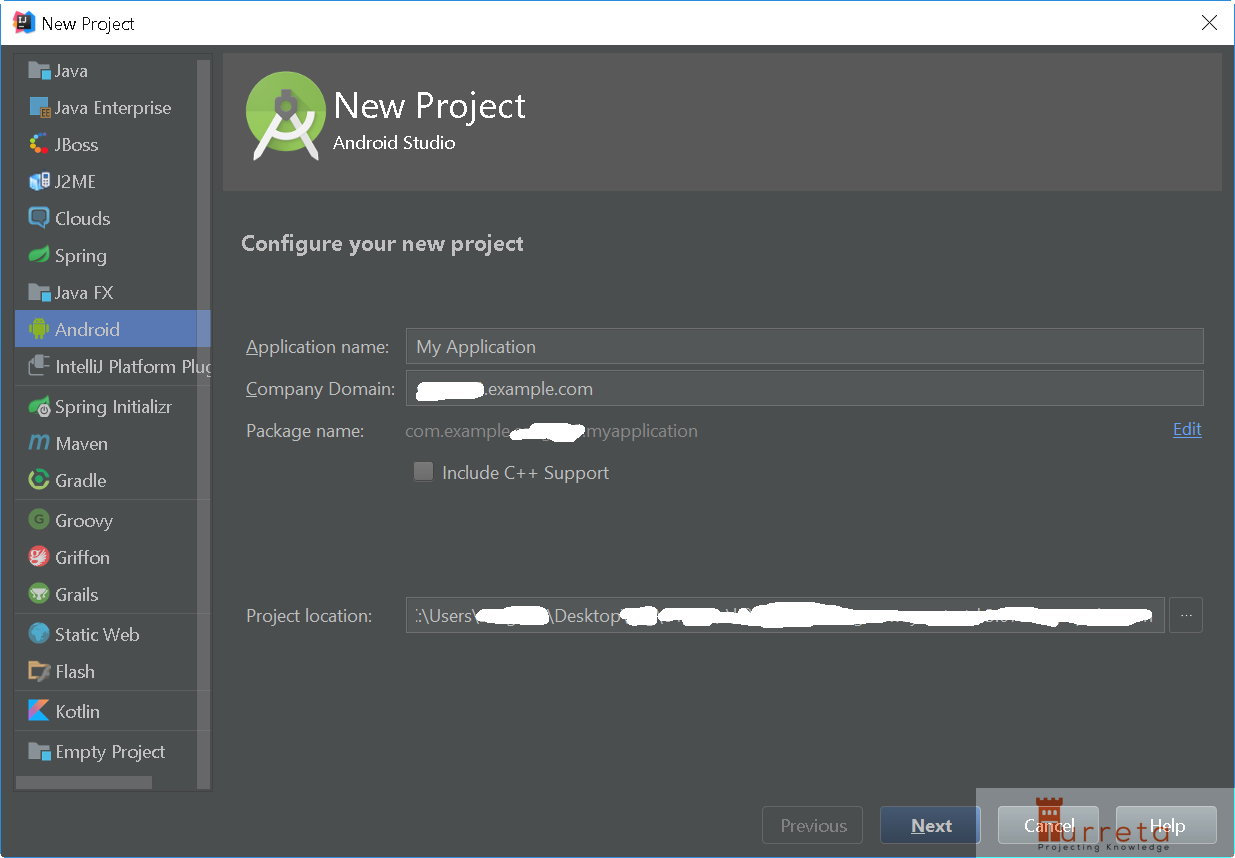
Create an Android Project anew
![]()


Thanks so much, great!
You are welcome! 🙂
Thank you so Much!!! This helped