In this post, we’ll show how to build, and deploy Spring Boot applications in IBM Bluemix using DevOps,
Requirements
Stuff used.
- IBM Bluemix Account
- Cloud Foundry App
- Using Tomcat Build Pack
- DevOps
- Cloud Foundry App
- IntelliJ IDEA or Spring Initialzr
- For generating the Spring Boot Web application
- Java 8 – SDK
- Fast Internet connection
Create a Cloud Foundry App
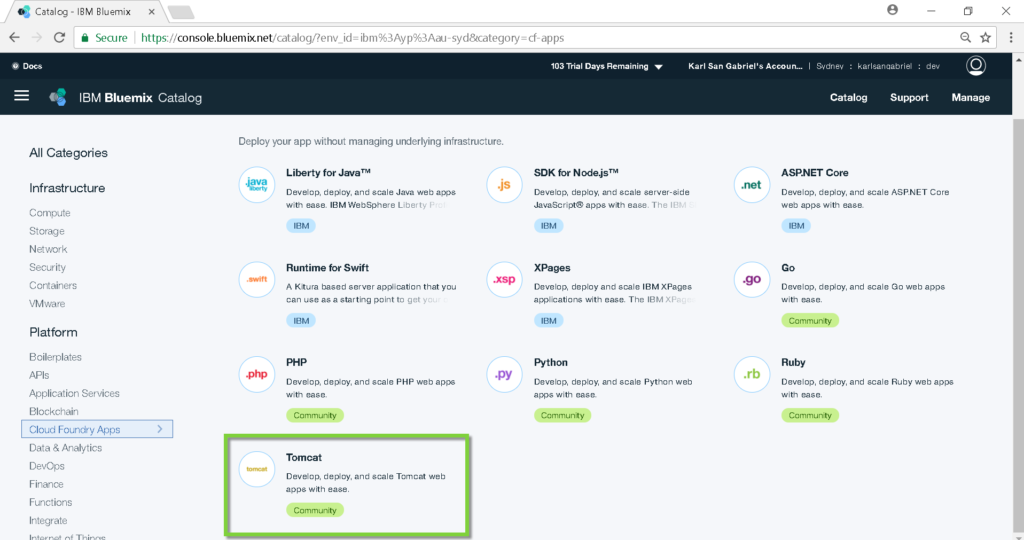
Step 1: Choose an underlying platform for application
Go to Catalog and click Cloud Foundry Apps. Choose Tomcat. Alternatively, we can choose Liberty for Java, which uses IBM WebSphere Liberty Profile – a version of WebSphere Application Service designed for the cloud.
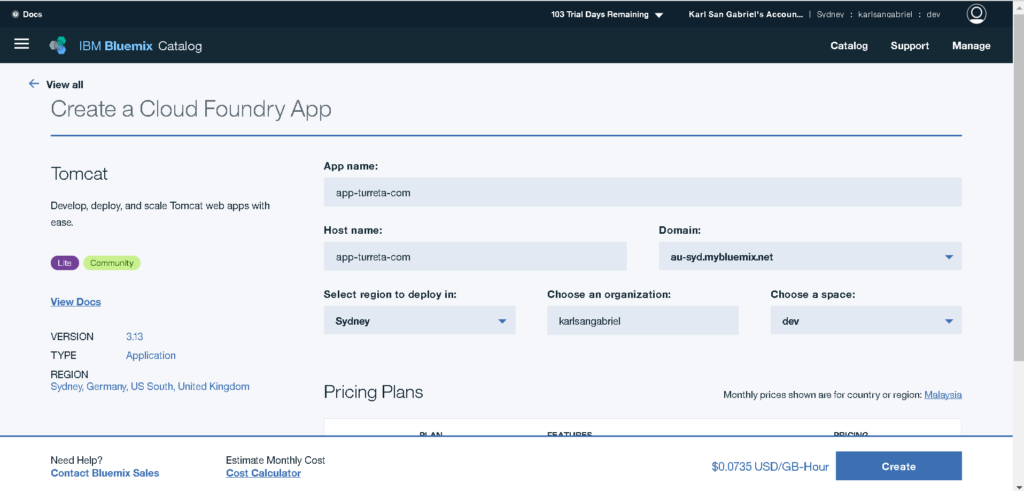
Step 2: Create a Cloud Foundry App
Provide an App name. The rest of the fields should default to appropriate values. If our Region is Sydney, the deployment region defaults to Sydney. Also, the domain defaults to au-syd-mybluemix.net.
Click Create to proceed.
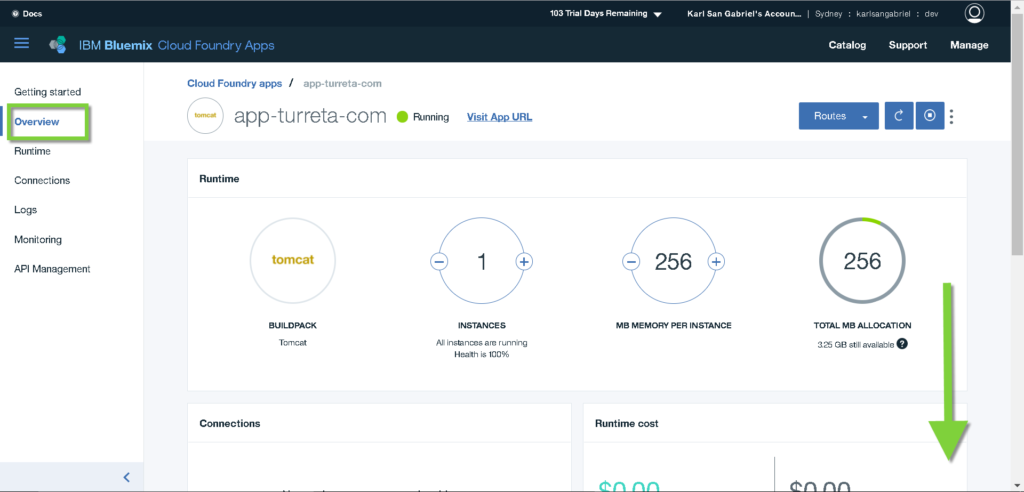
Wait until the creation process completes.

Go to Overview. Scroll down to the Continuous delivery section.
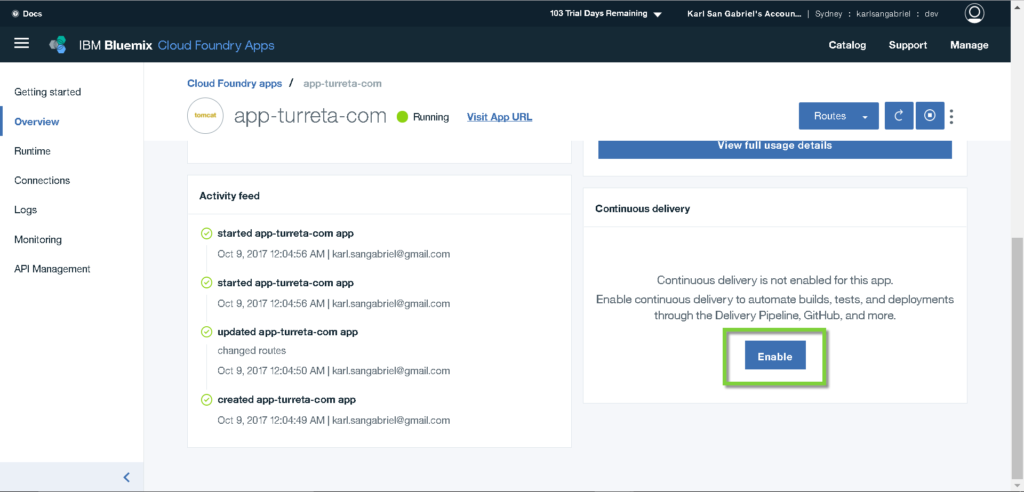
Click Enable.
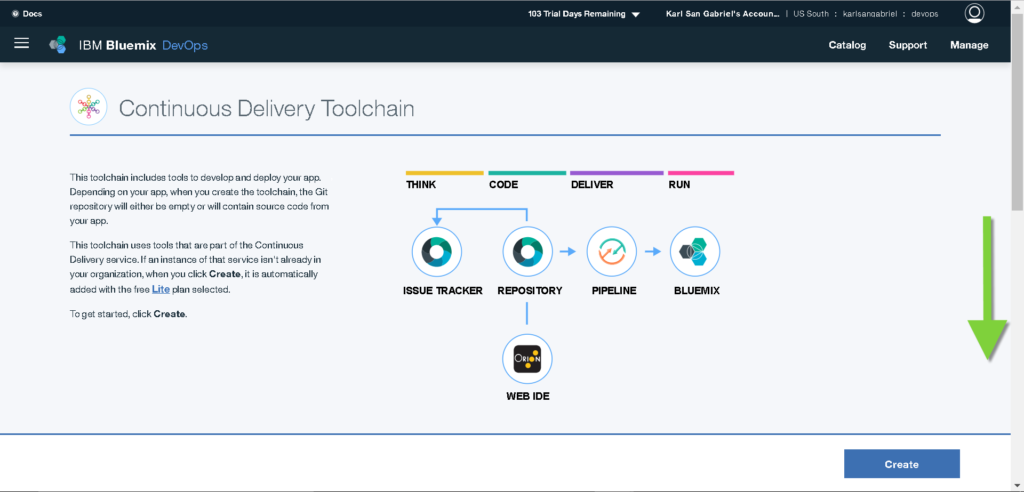
Step 3: Configure Continuous Delivery
Scroll down. The Organization and ToolChain Name fields are displayed. We may choose to change the organization and decide another name for the ToolChain we are creating.
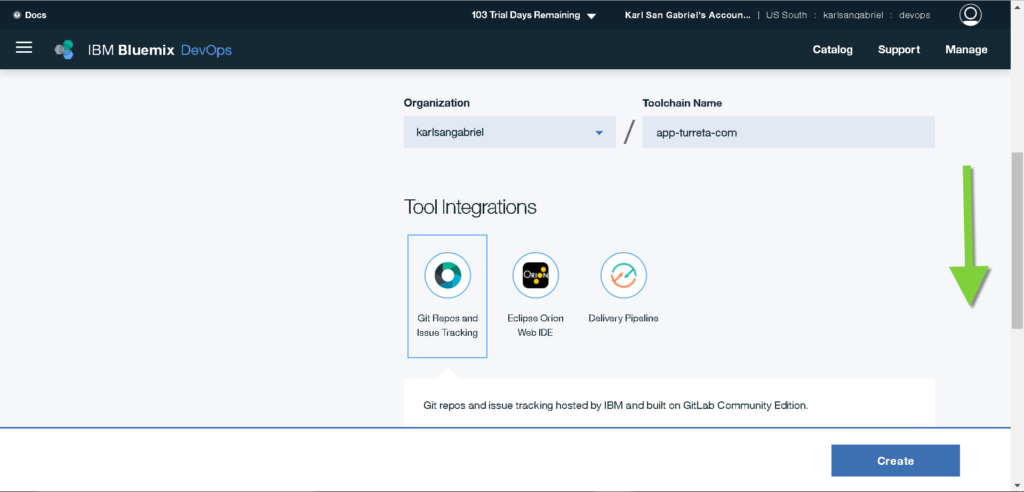
Scroll down again. Notice the “Git Repos and Issue Tracking” is selected. Choose New for Repository type and specify an appropriate name for the Git repository.
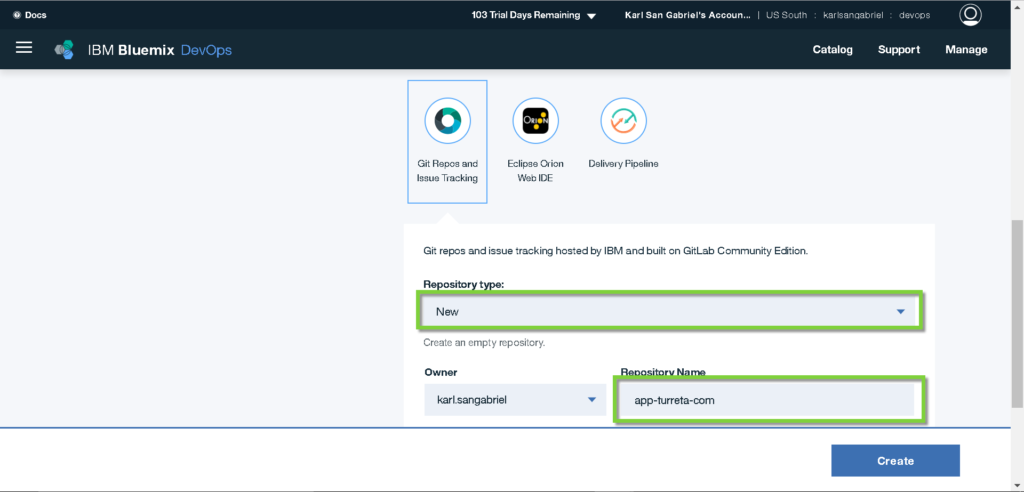
Click Create.
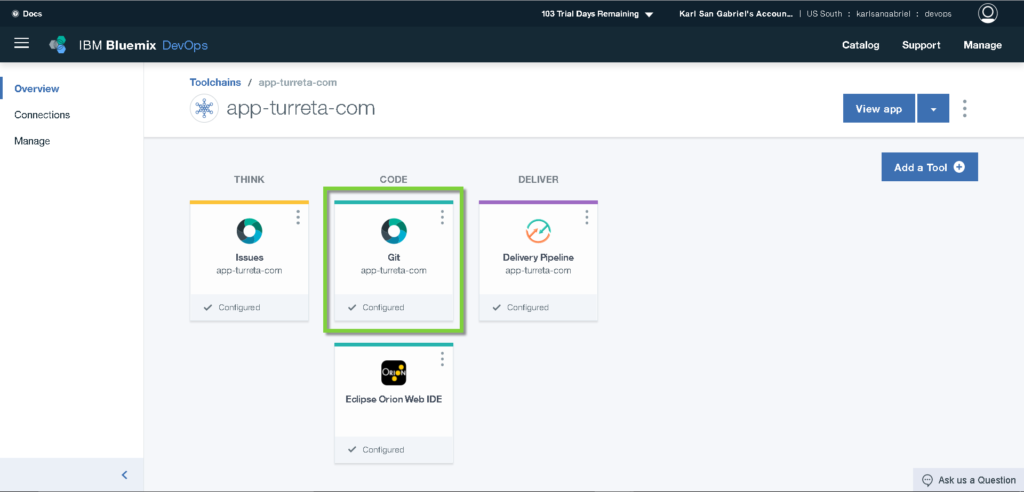
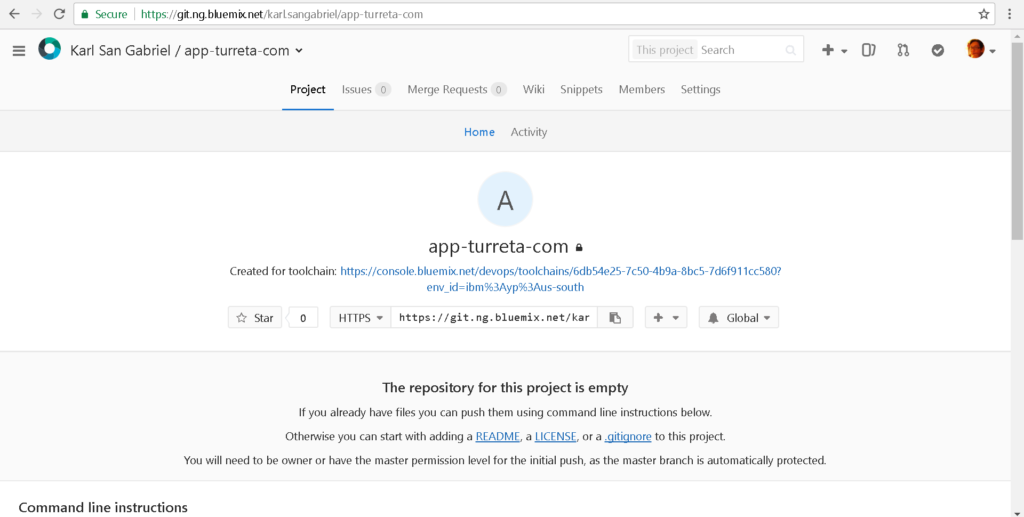
Go to the newly created Git repository by click Git widget.
Step 4: Check-in our Spring Boot Web Application
Step 4.1 Create our initial Spring Boot Web Application
Please follow the steps in this post – Create a Spring Boot Application using IntelliJ.
Step 4.2 Convert Spring Boot to Deployable WAR for Tomcat
Please follow these steps in this post – Convert Spring Boot to Deployable WAR for Tomcat.
Step 4.3 Clone empty Git project using SourceTree
Please follow these steps in this post – Clone Bluemix Git Projects using SourceTree.
Step 4.4 Check in our Spring Boot Web Application
Copy the src folder and pom.xml to our local Git directory.
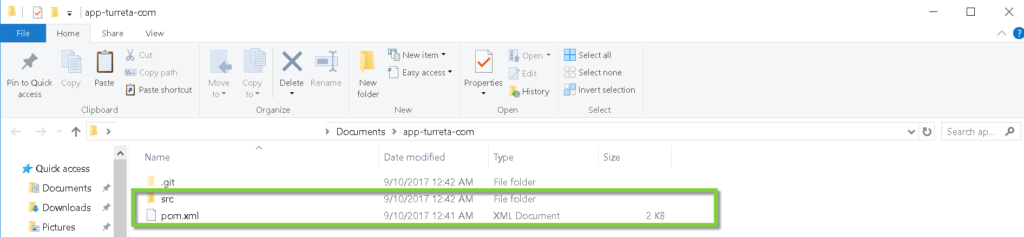
These files are then reflected in our SourceTree.
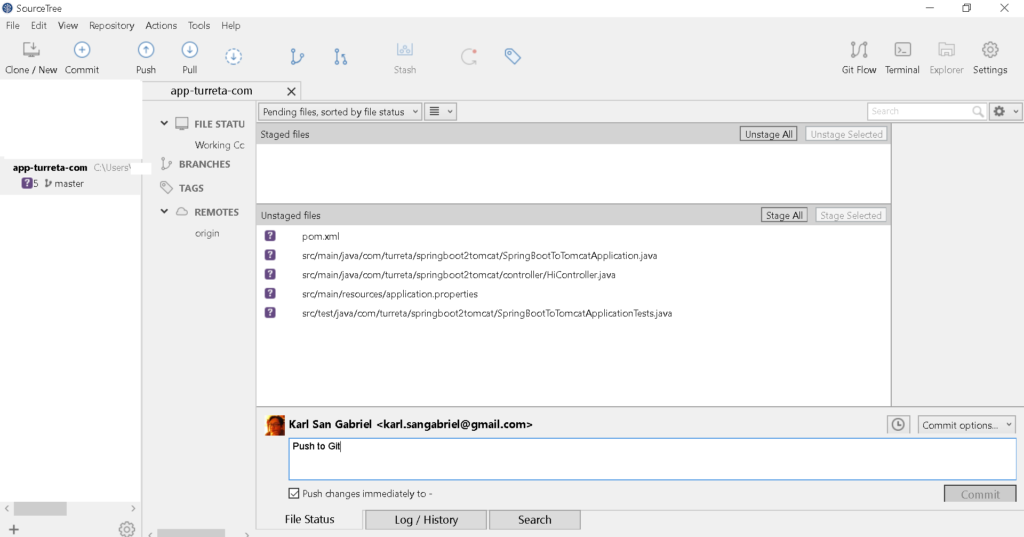
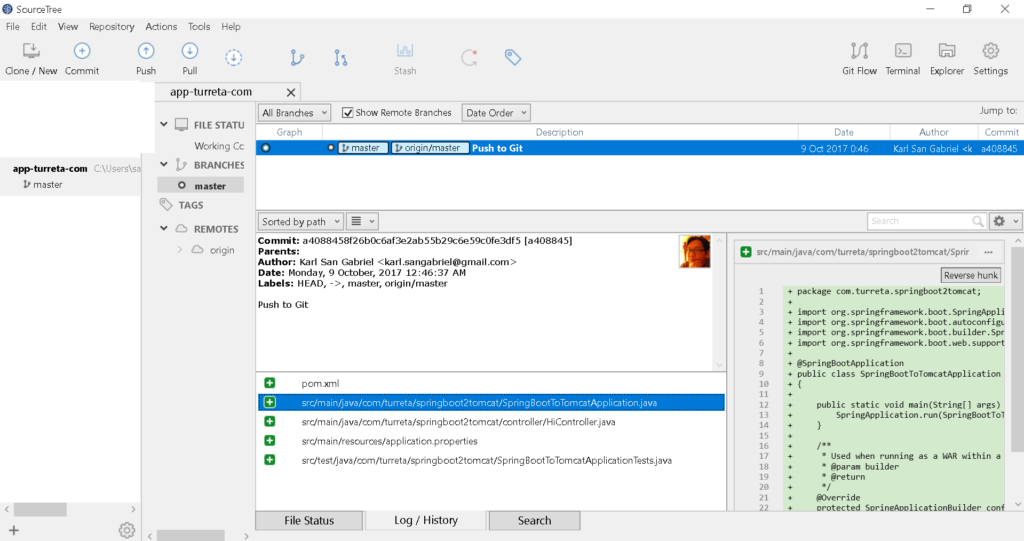
Commit and push the changes.
Step 5: Additional code changes
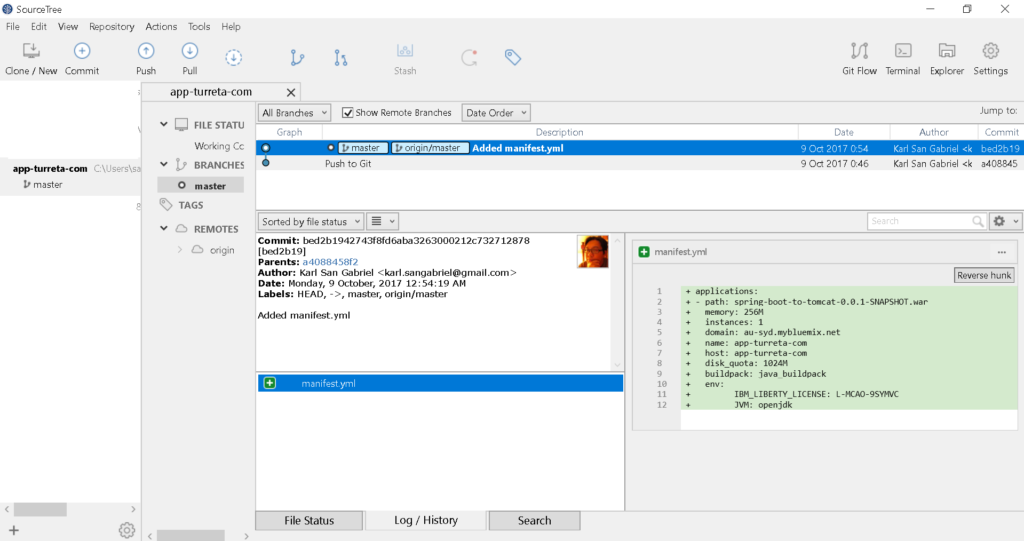
We need manifest.yml. For our post, we need the following settings:
1 2 3 4 5 6 7 8 9 10 11 12 | applications: - path: spring-boot-to-tomcat-0.0.1-SNAPSHOT.war memory: 256M instances: 1 domain: au-syd.mybluemix.net name: app-turreta-com host: app-turreta-com disk_quota: 1024M buildpack: java_buildpack env: IBM_LIBERTY_LICENSE: L-MCAO-9SYMVC JVM: openjdk |
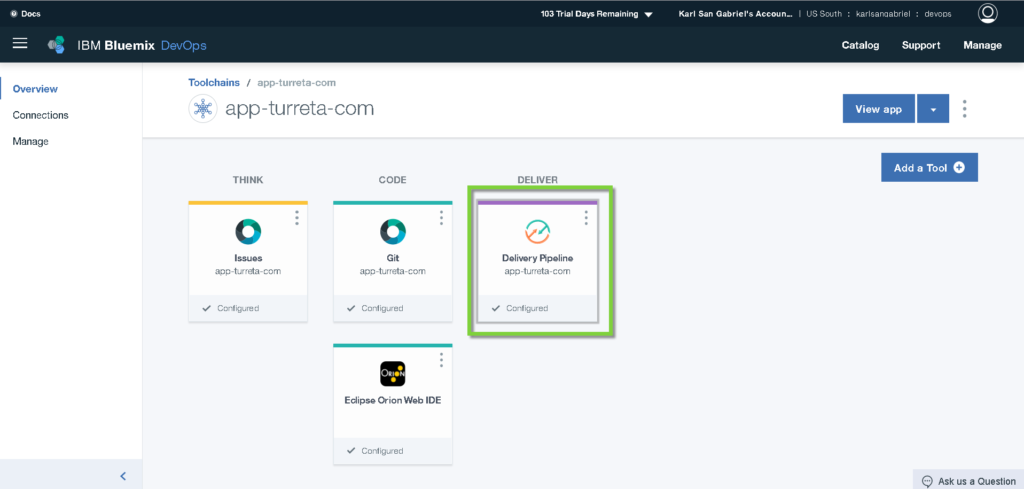
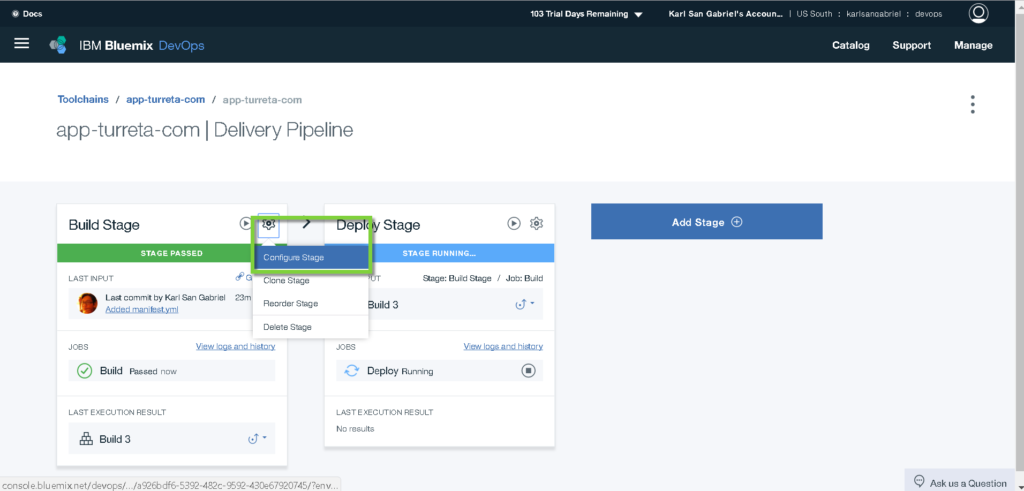
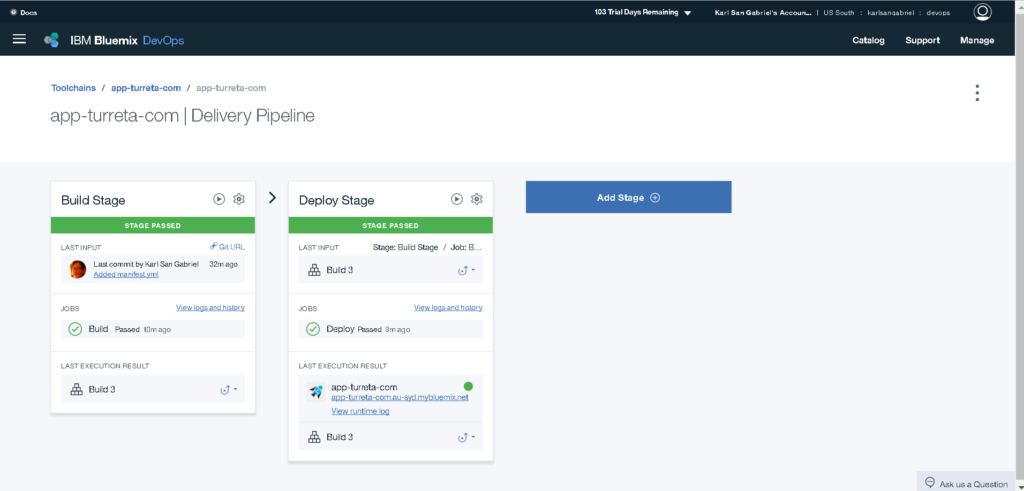
Step 6: Configure Build Stage in Delivery Pipeline
Click the Delivery Pipeline widget. We need to use Maven to build our application.
Scroll down to the very bottom.
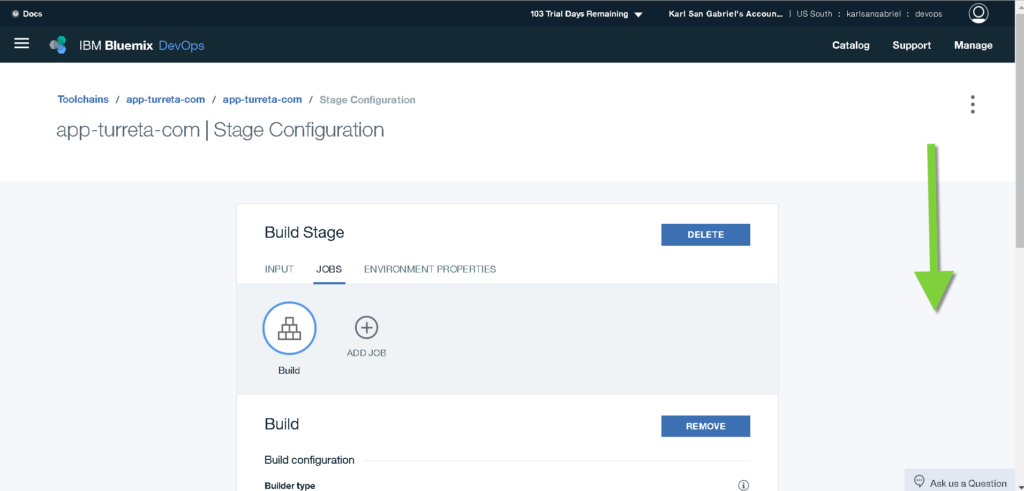
Configure as follows.
1 2 3 | #!/bin/bash export JAVA_HOME=/opt/IBM/java8 mvn -B package |
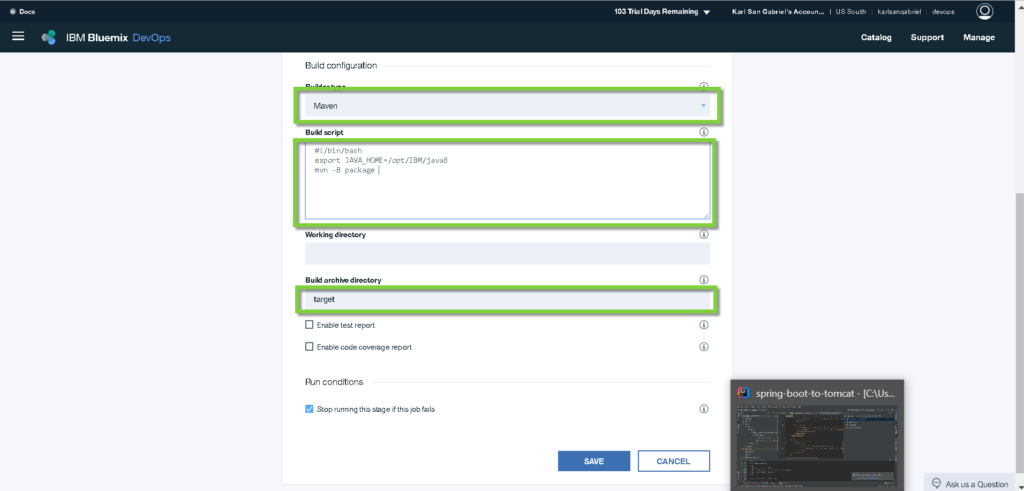
Click Save.
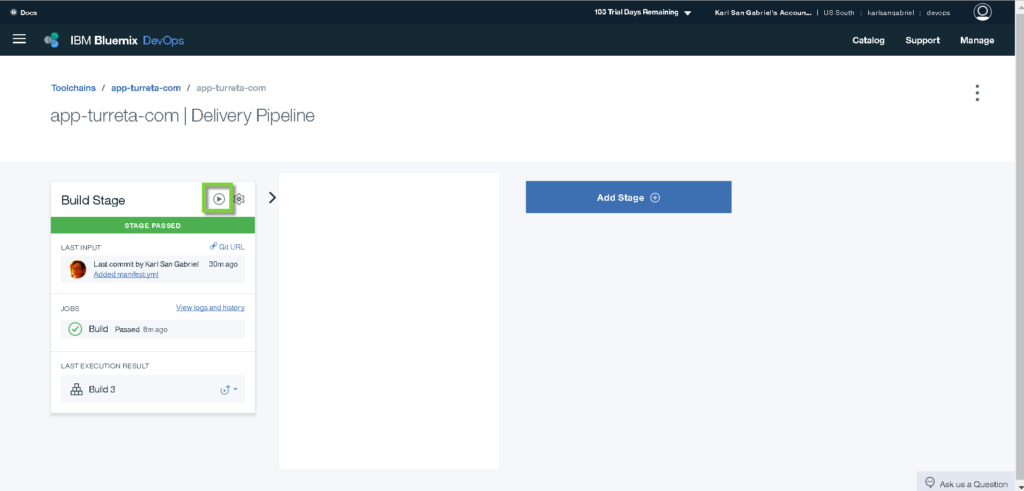
Rerun the build process.
Step 7: Configure Deploy Stage in Delivery Pipeline
Click the Delivery Pipeline widget.
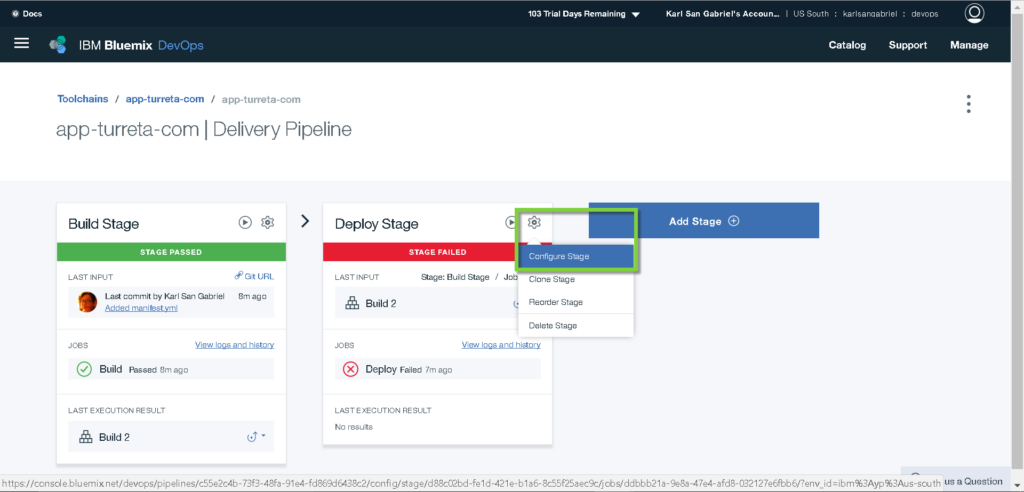
Scroll down to the very bottom.
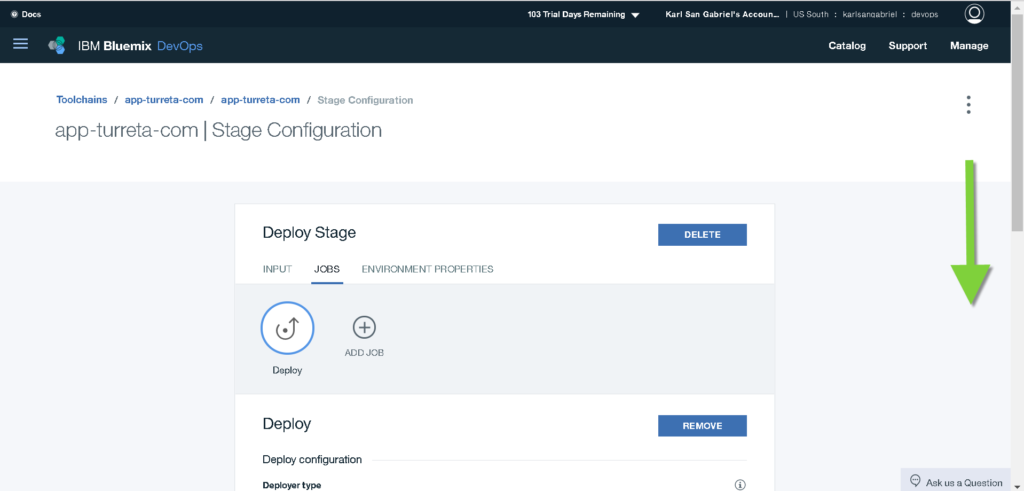
Modify the cf push command, as shown on the screenshot.
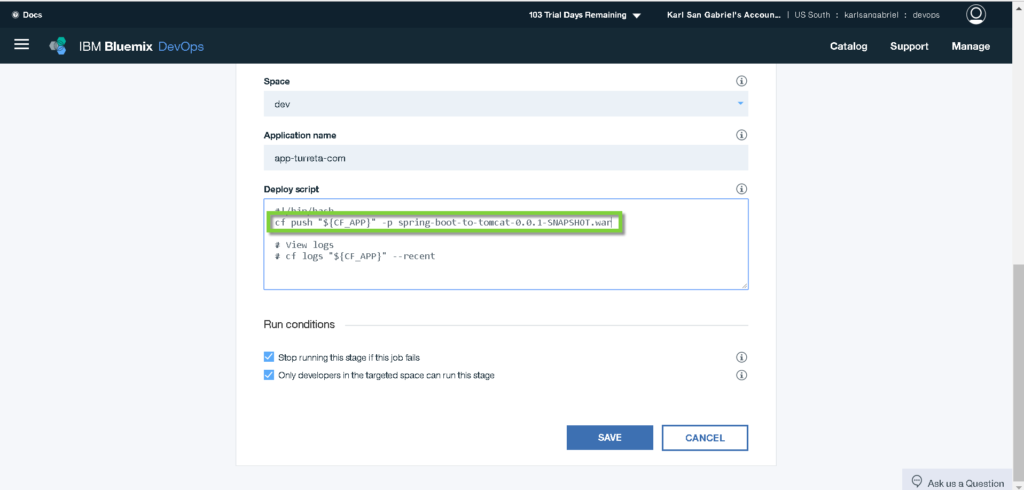
Click Save.
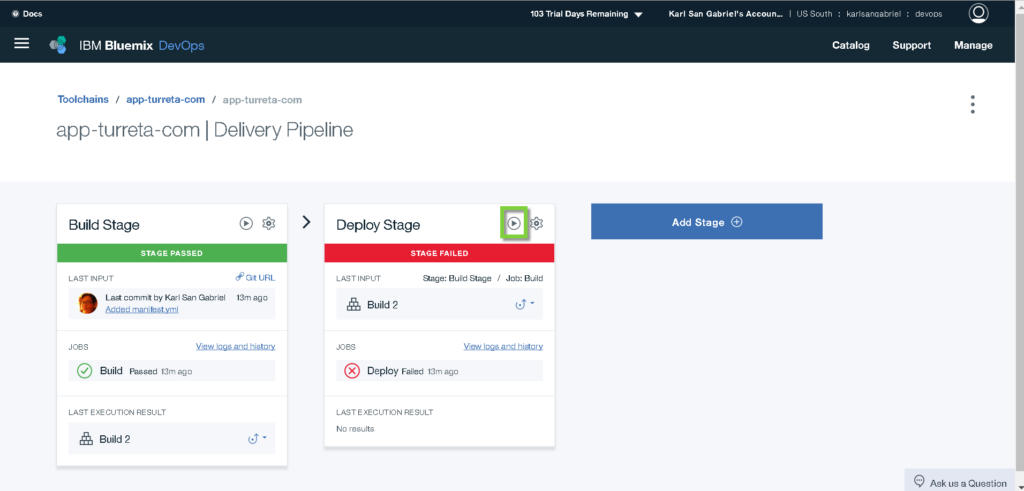
Redeploy our war file.
Test
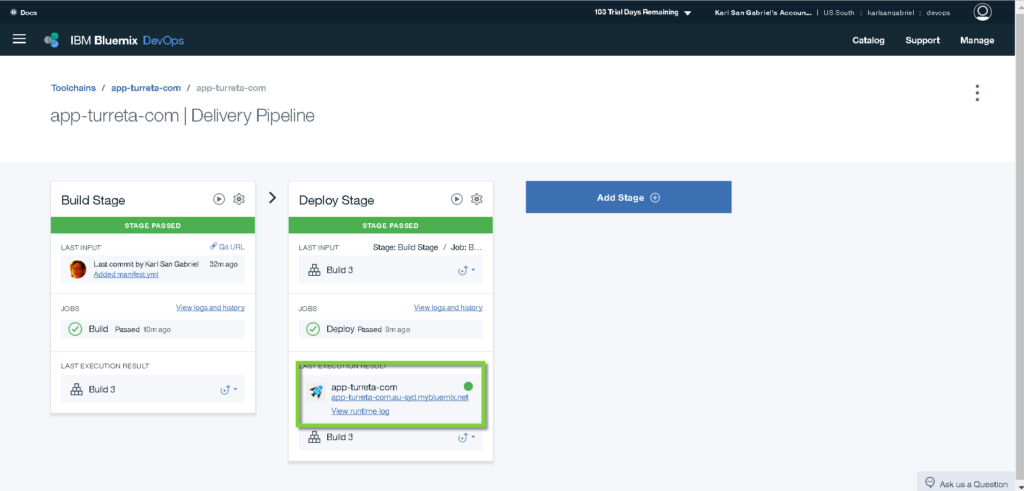
Click the link in the Deploy Stage widget.

Remember, we have the HiController mapped to /hi URI.

References
- Deploy and manage Bluemix Java applications from IntelliJ
- Bluemix Liberty Java does not build with Java 8
Download the Codes
https://github.com/Turreta/IBM-Bluemix-Cloud-Foundry-DevOps-and-Spring-Boot
![]()