This post demonstrates how to convert your Spring Boot web application to a deployable WAR file for Tomcat.
Create a Spring Boot Web Application
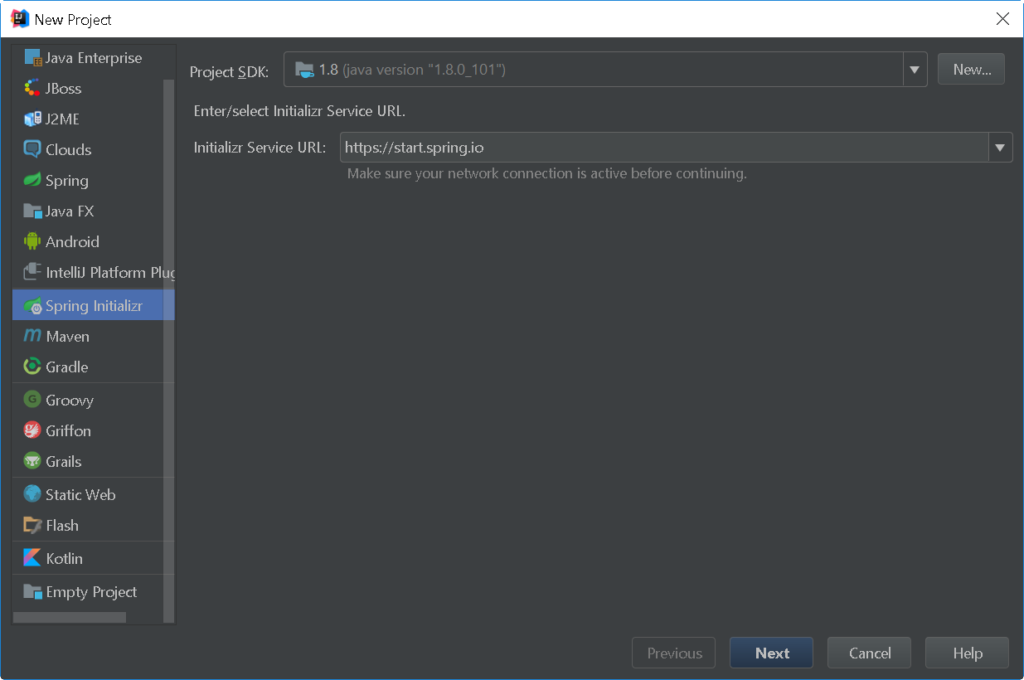
Step 1: Create a new project using Spring Initialzr
Click Next.
Step 2: Provide Project Details
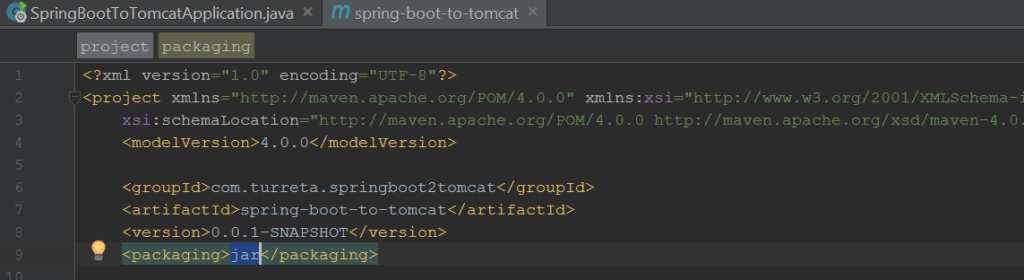
Notice the Packaging is set Jar.
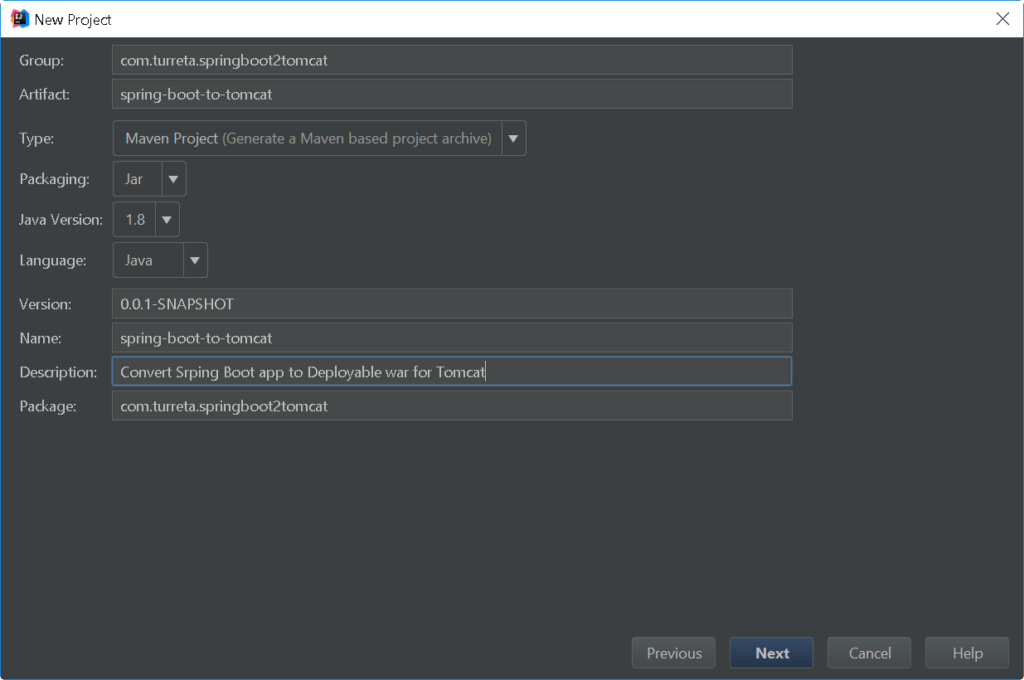
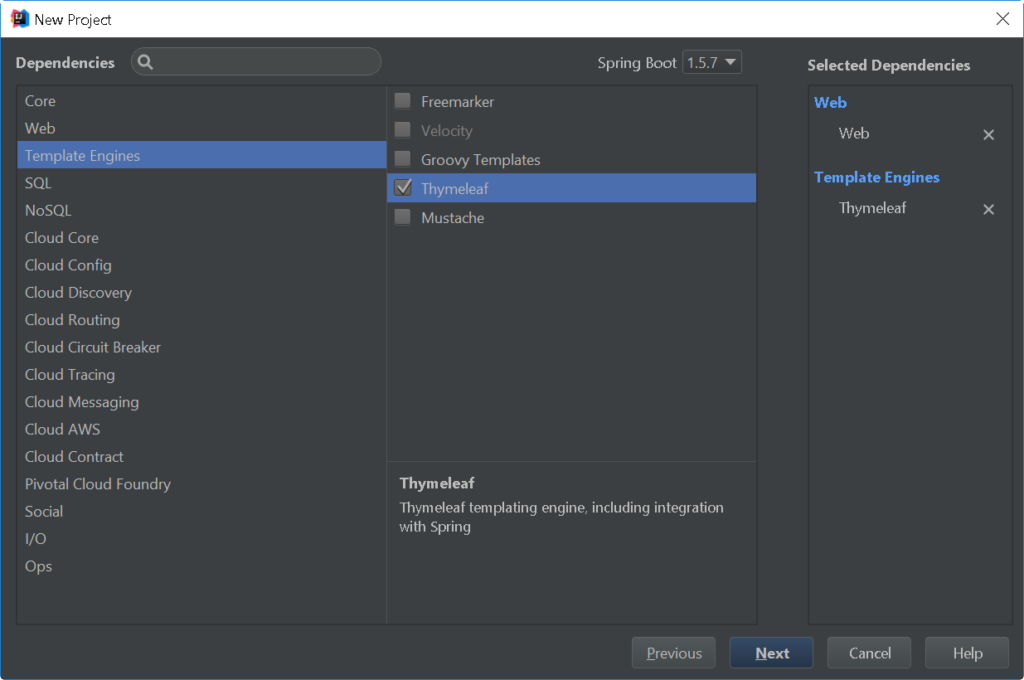
Choose Web and Thymeleaf. Click Next.
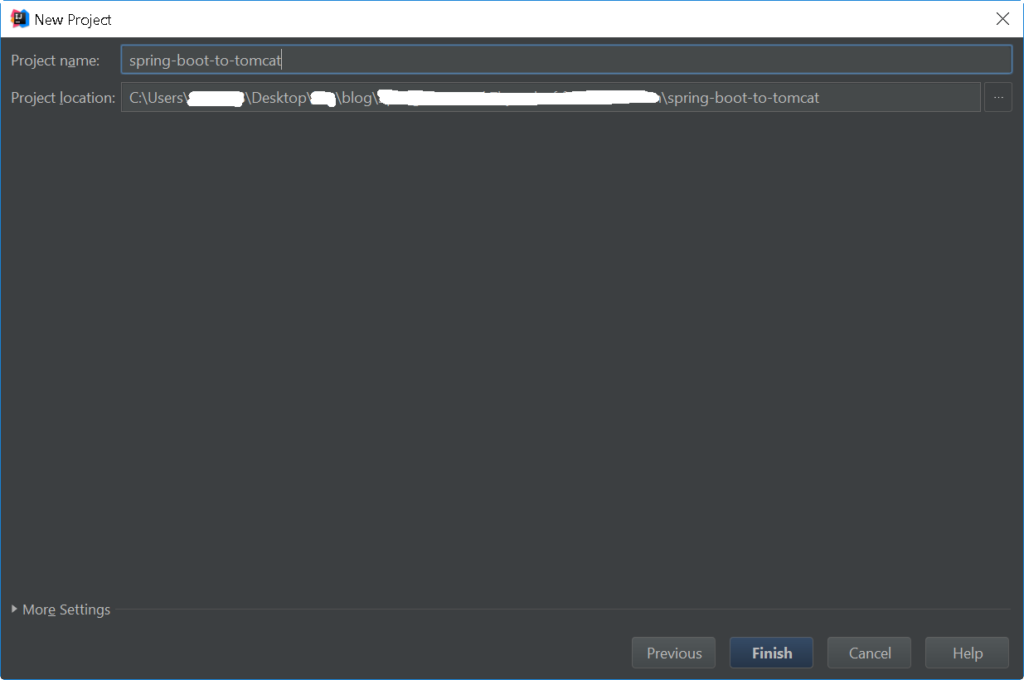
Step 3: Complete New Project
Click Finish.
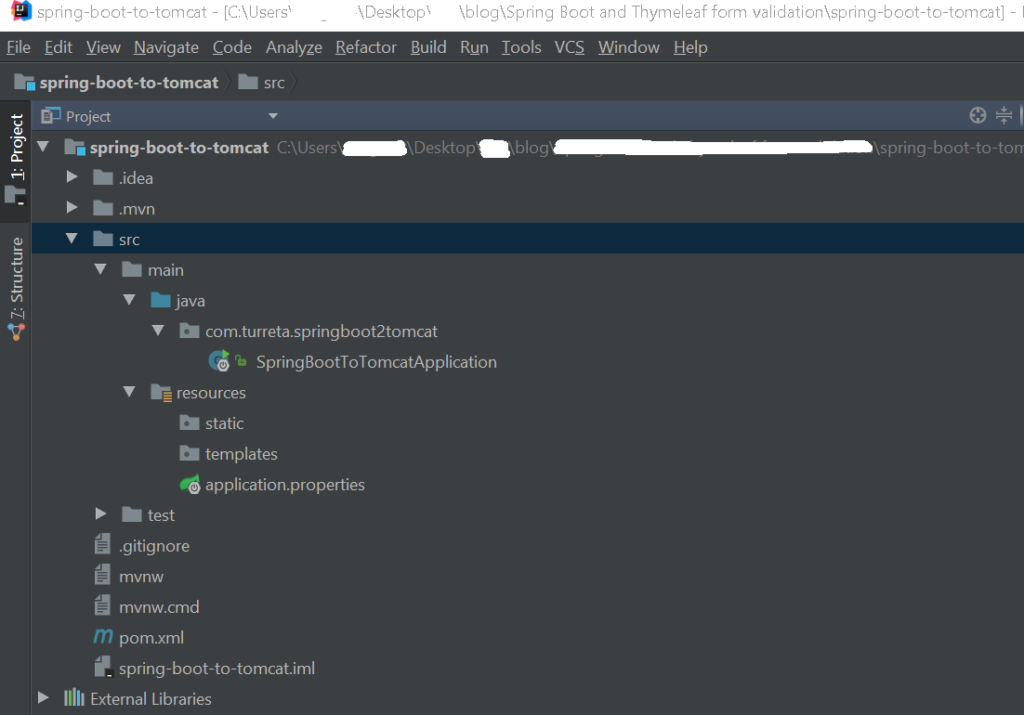
Once the project creation is complete, you’ll have a project with this structure:
Create a Simple Controller
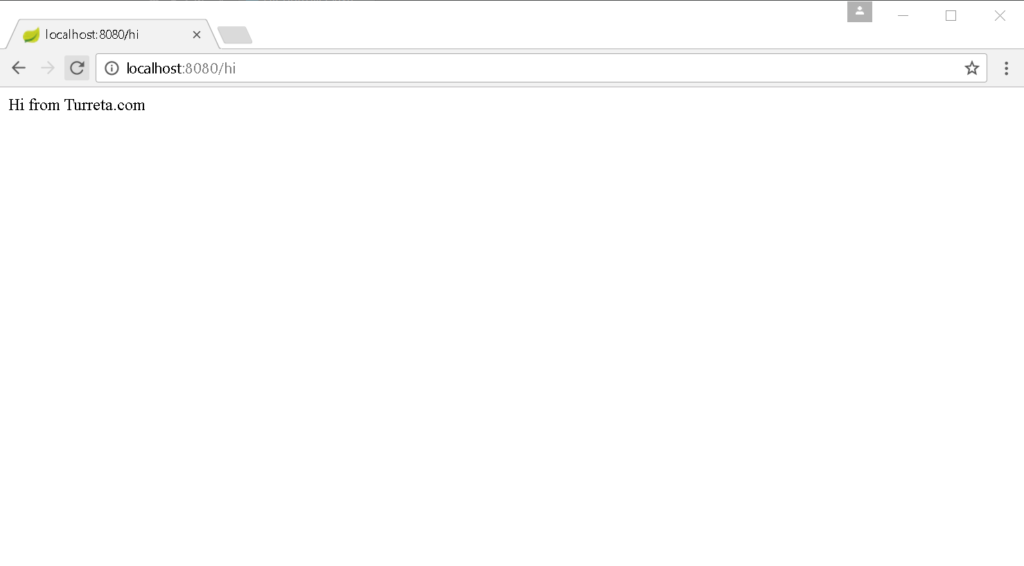
Create a simple controller the displays a text on a web page.
1 2 3 4 5 6 7 8 9 10 11 12 13 14 15 | package com.turreta.springboot2tomcat.controller; import org.springframework.stereotype.Controller; import org.springframework.web.bind.annotation.RequestMapping; import org.springframework.web.bind.annotation.ResponseBody; @Controller public class HiController { @RequestMapping("/hi") @ResponseBody public String hello(){ return "Hi from Turreta.com"; } } |
Sample Output
Our simple controller displays the following.
Convert to Deployable WAR for Tomcat
Step 1: Modify SpringBootToTomcatApplication
Modify SpringBootToTomcatApplication to:
- Extend SpringBootServletInitializer
- Override the configure method
1 2 3 4 5 6 7 8 9 10 11 12 13 14 15 16 17 18 19 20 21 22 23 24 25 26 27 28 29 | package com.turreta.springboot2tomcat; import org.springframework.boot.SpringApplication; import org.springframework.boot.autoconfigure.SpringBootApplication; import org.springframework.boot.builder.SpringApplicationBuilder; import org.springframework.boot.web.support.SpringBootServletInitializer; @SpringBootApplication public class SpringBootToTomcatApplication extends SpringBootServletInitializer { /** * Used when running as a jar * * @param args */ public static void main(String[] args) { SpringApplication.run(SpringBootToTomcatApplication.class, args); } /** * Used when running as a WAR within a web container * @param builder * @return */ @Override protected SpringApplicationBuilder configure(SpringApplicationBuilder builder) { return builder.sources(SpringBootToTomcatApplication.class); } } |
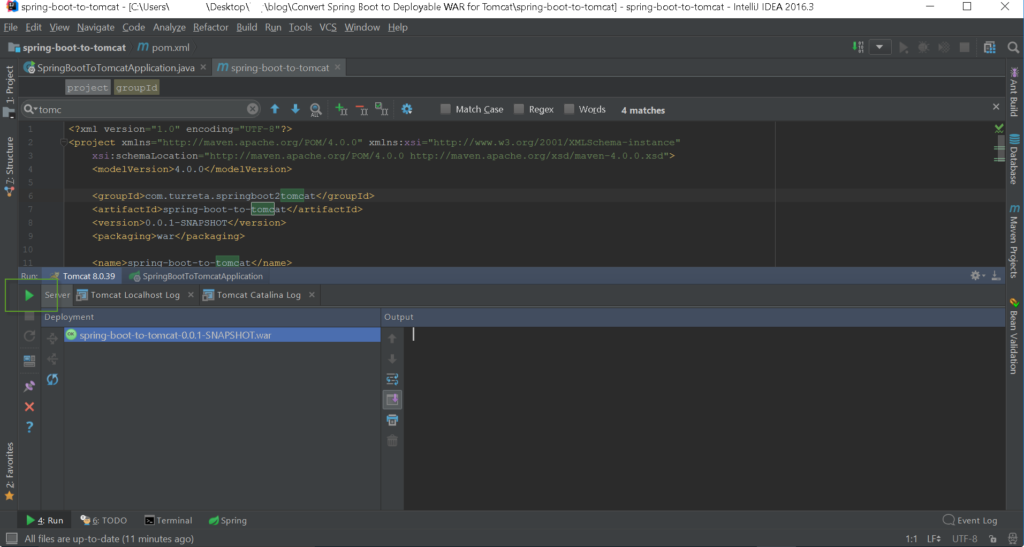
Step 2: Change POM packaging from JAR to WAR
Open your pom.xml up and change packaging from jar to war.
Packaging the WAR
When you run the mvn package this time, WAR files are now created.
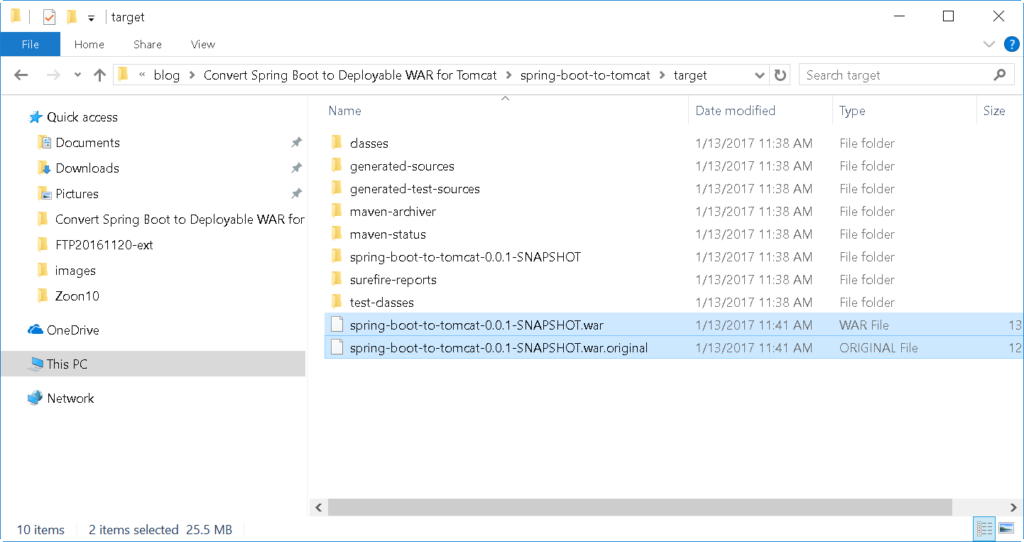
war.original
There are two (2) files generated – .war and .war.original
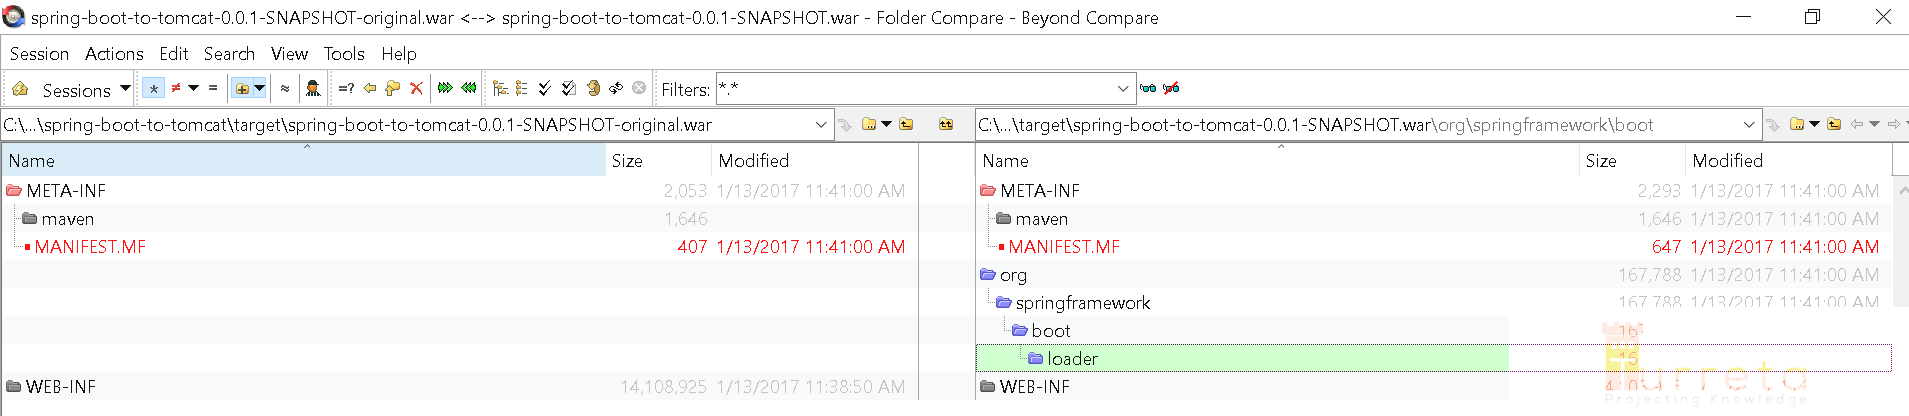
The .war.original file doesn’t contain Spring Framework classes to boot your application up; while, .war includes all the needed Spring Framework classes.
So, which one to use in Tomcat?
Use the .war file.
Download the codes
To aid you better in understanding the changes I did, I uploaded the “before” and “after” projects so that you can see the differences made.
- https://github.com/Turreta/springboot-to-tomcat-war-start
- https://github.com/Turreta/springboot-to-tomcat-war-end
Testing WAR in Tomcat
In IntelliJ
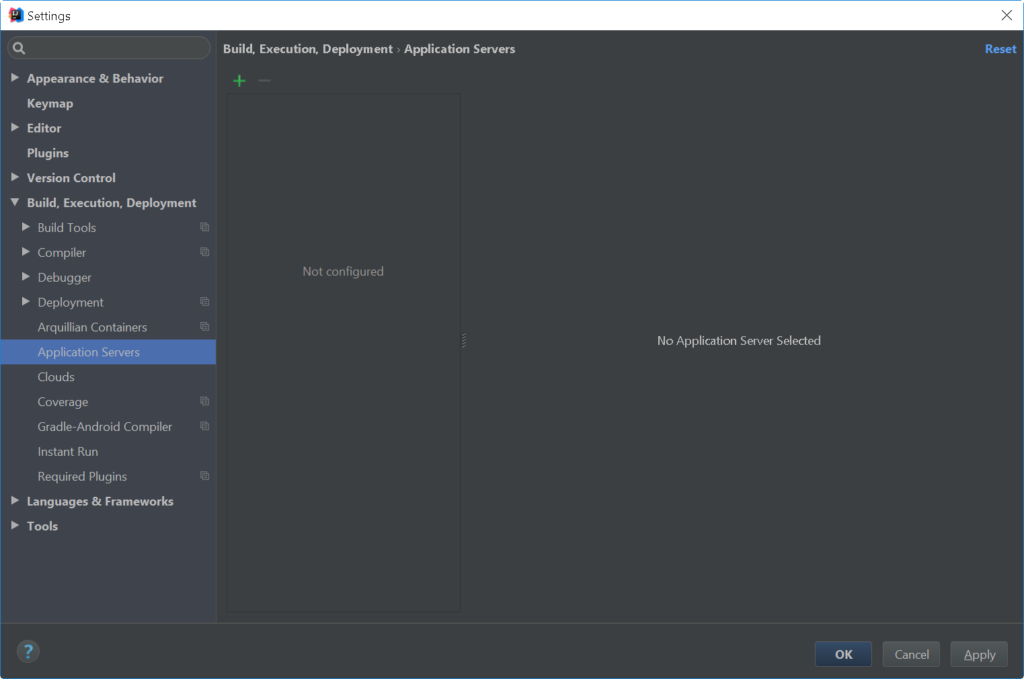
Step 1: Go to File > Settings
Proceed to File > Settings. Click the green cross (+).
Choose Tomcat Server.

Provide the home path to your Tomcat.
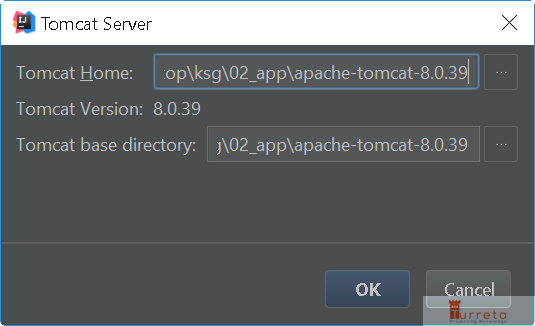
Then, click Ok.
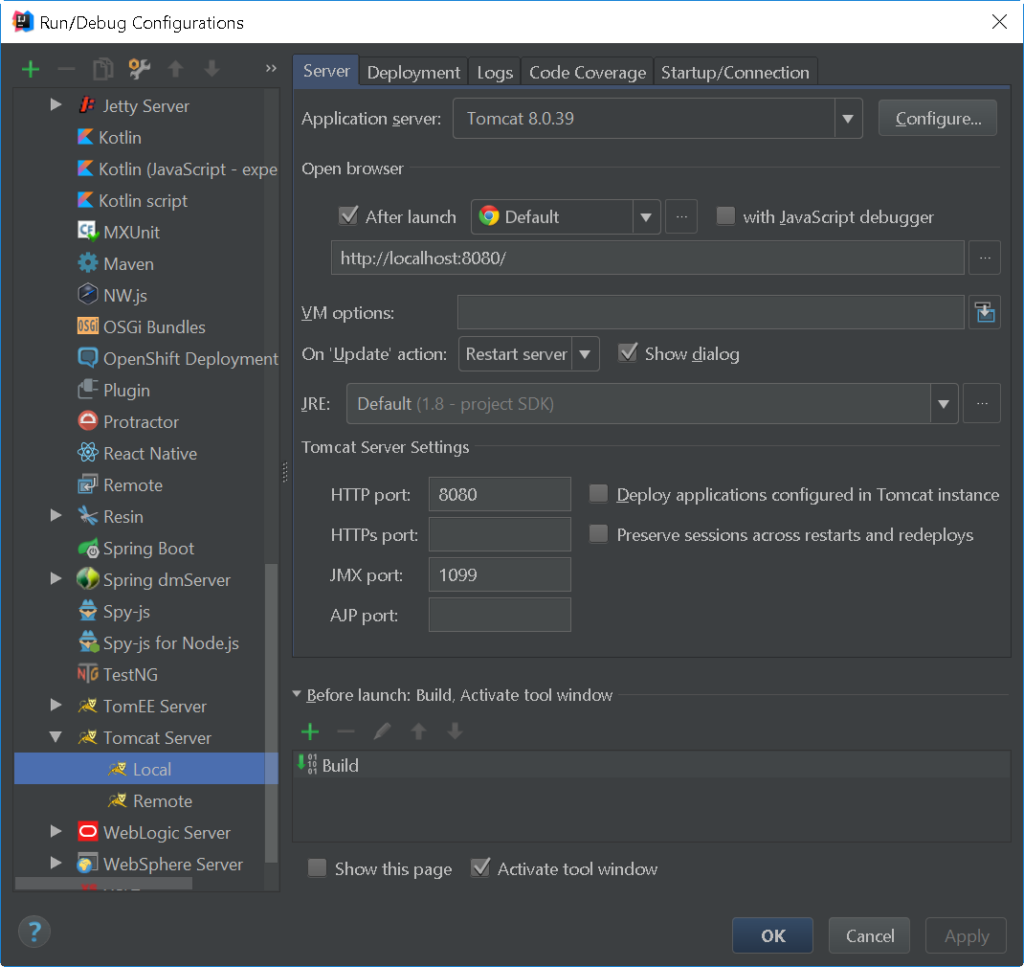
Step 2: Set Run/Debug Configurations
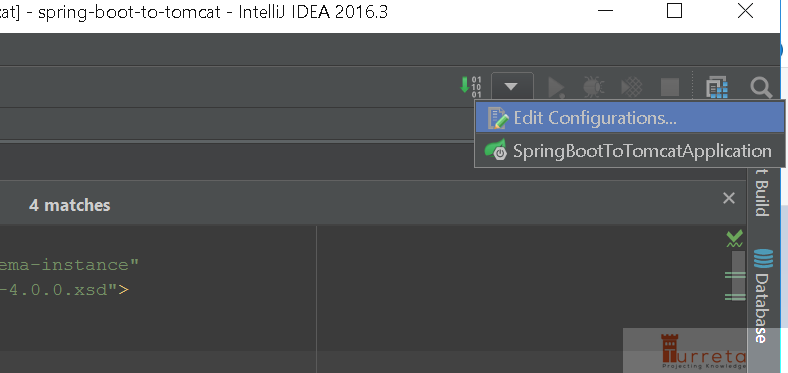
Choose Tomcat Server > Local
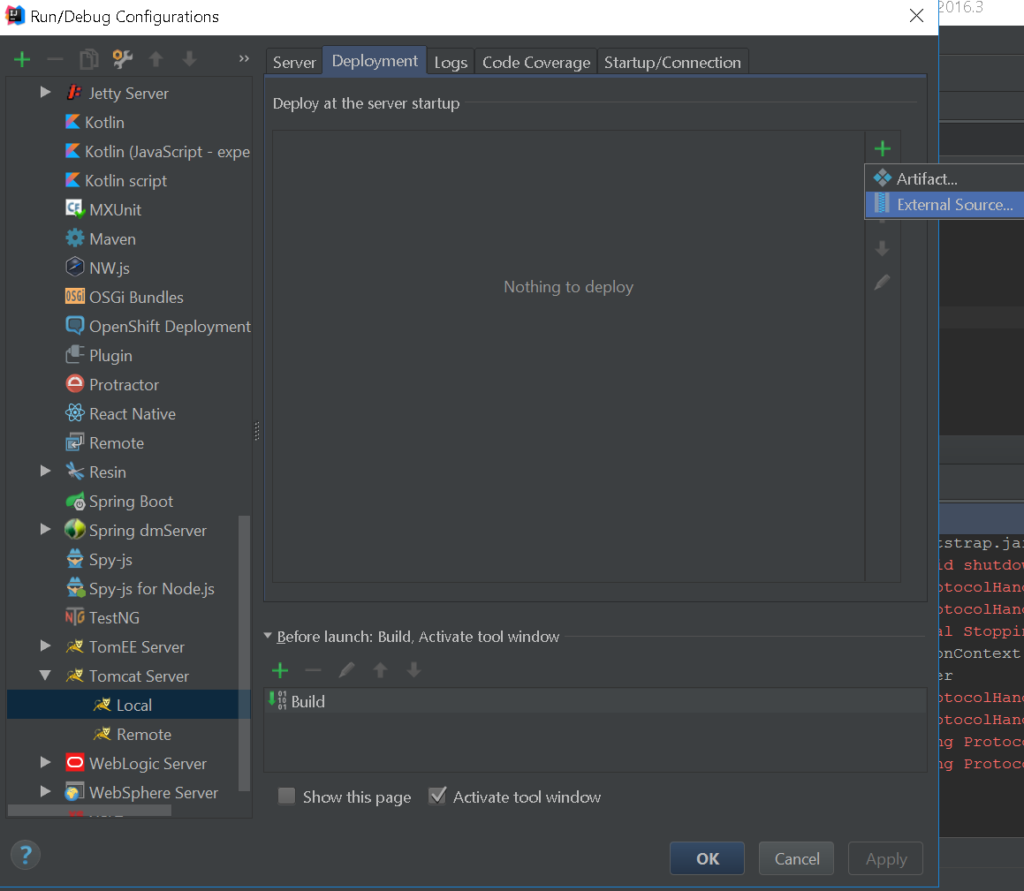
Go to the Deployment tab. Click the green cross (+) and choose External Source…
Proceed to the path where the .war file was generated.
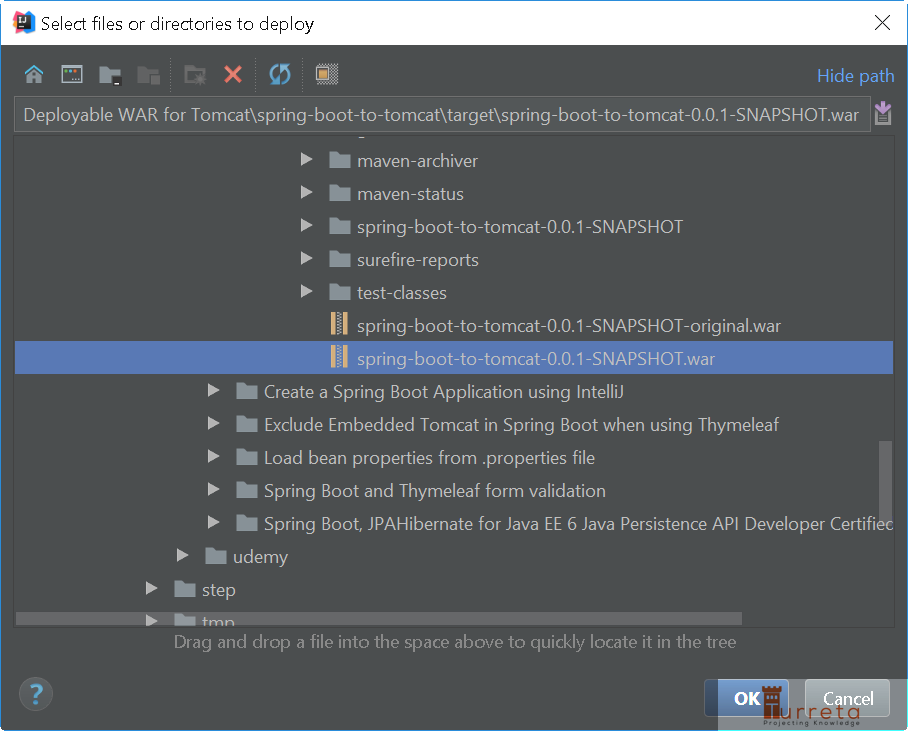
Then, choose the .war file.
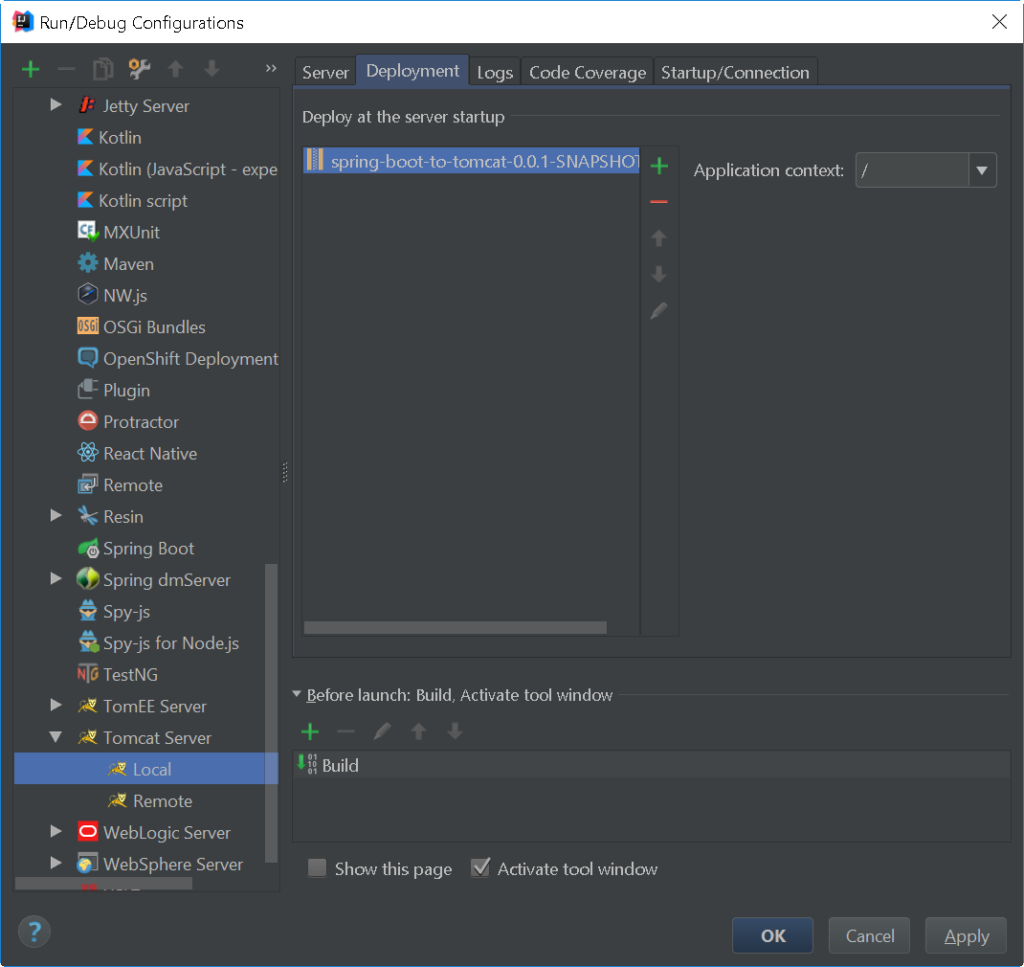
Then, click Ok.
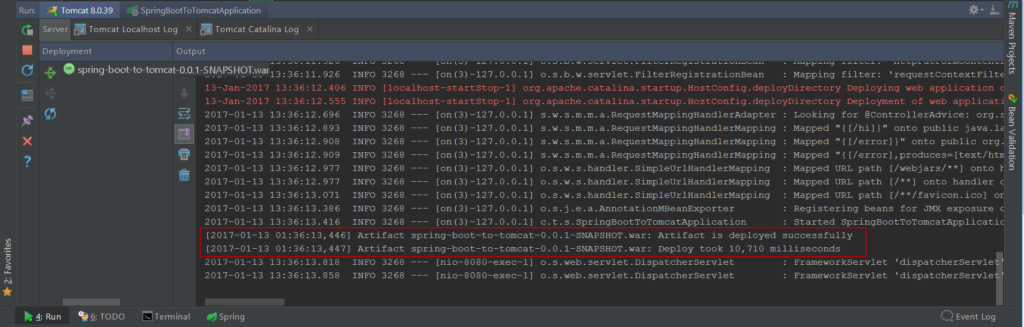
Step 3: Start web app from IntelliJ
Now, your web application is ready to be deployed in Tomcat via IntelliJ. Click the green arrow on the left side.
When the web application completes the booting process, the output console has this output.
Step 4: Access URL
1 | http://localhost:8080/hi |
![]()