Background
This article demonstrates how create a Maven project in Eclipse.
[wp_ad_camp_3]
Software Environment
- Windows 7 Professional SP1
- Java 1.7 (1.7.0_67 – Windows x86)
- Eclipse Kepler
- Dependecy Testing
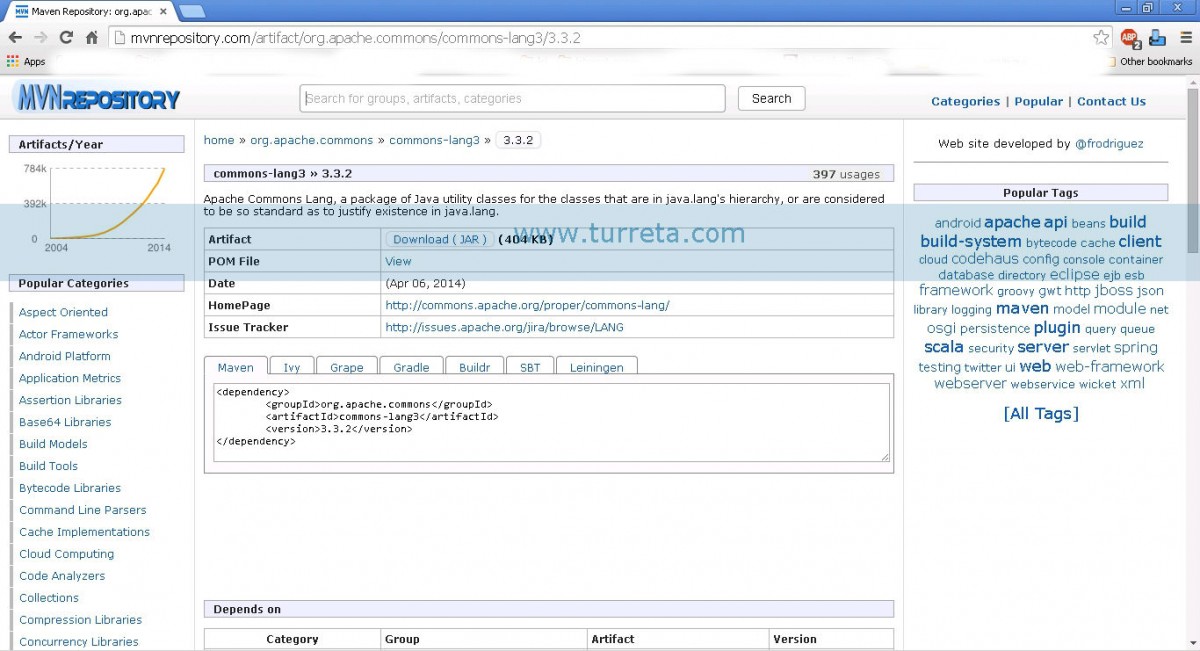
- Apache Commons Lang 3 (3.3.2)
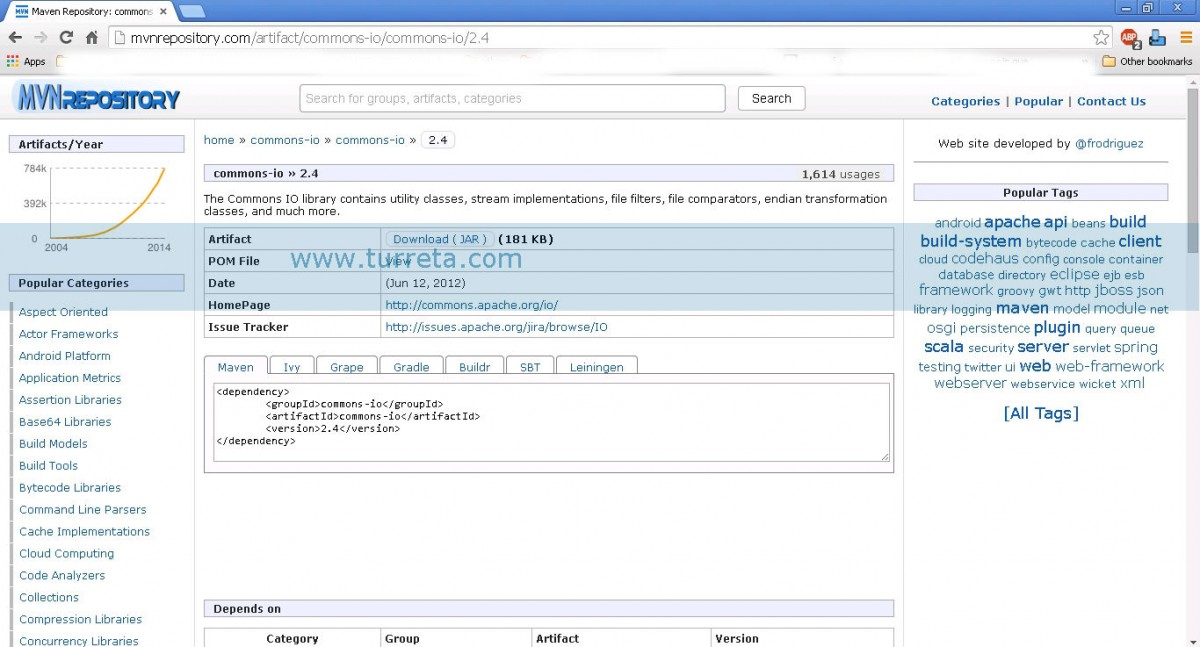
- Apache Commons IO (2.4)
Create Maven Project
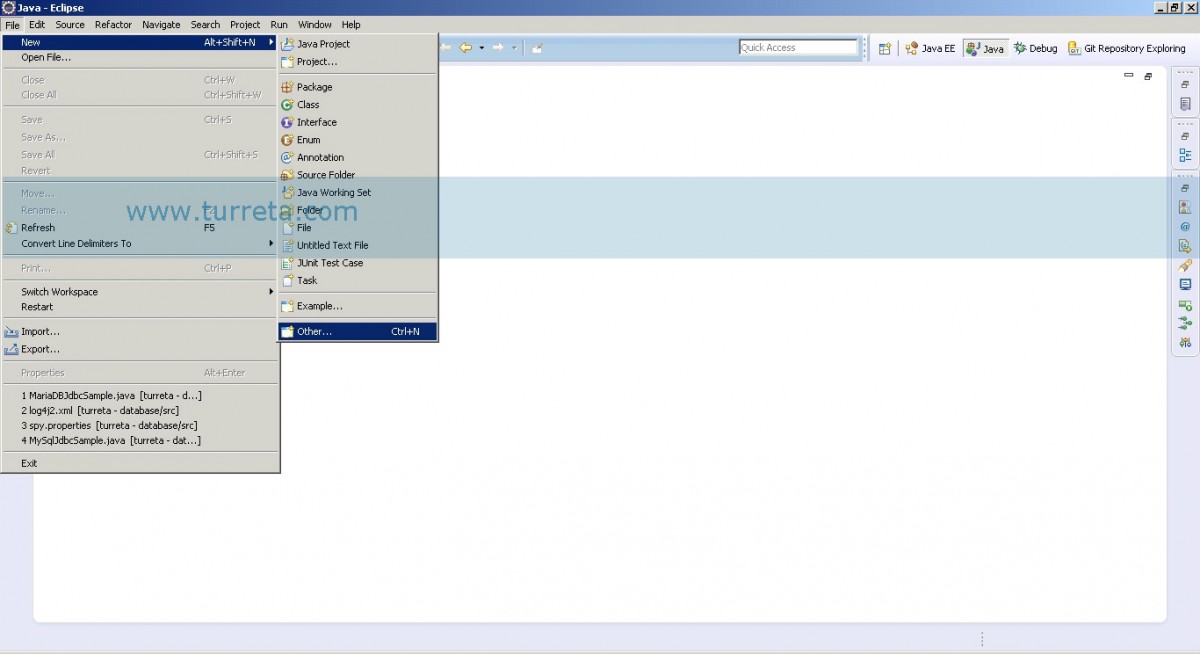
1. Go to New -> Others…
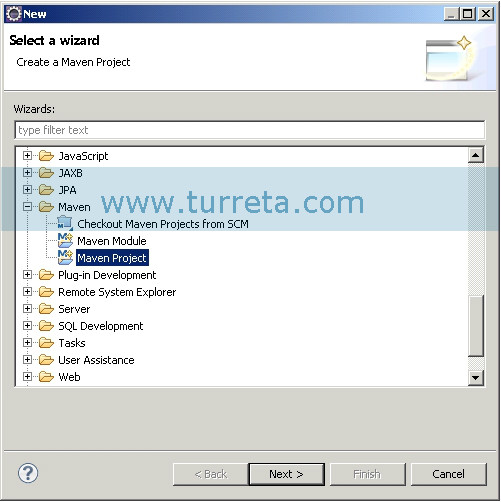
2. Choose Maven Project under Maven
[wp_ad_camp_2]
3. Click “Create a simple project (skip archetype selection)”

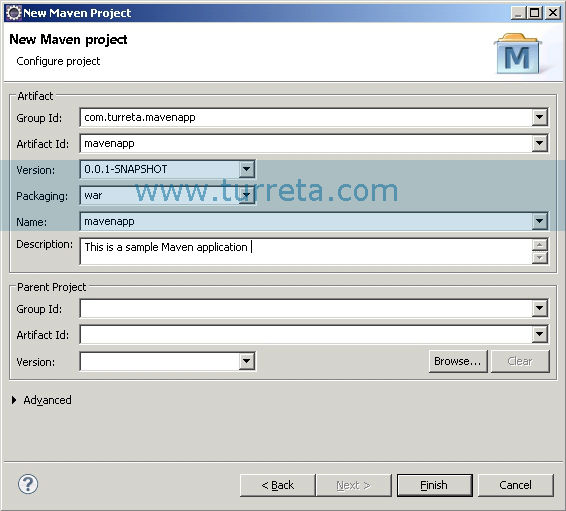
4. Enter text for Group Id, Artifact Id, and Name. Select the type of packaging too.
NOTE: For this demo, please use jar instead of war packaging.
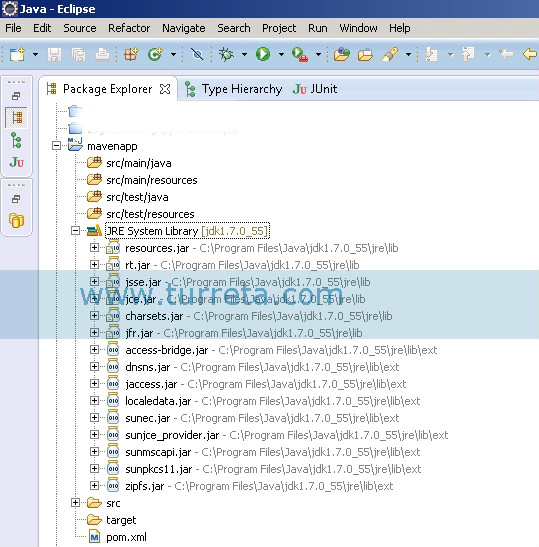
5. The Maven project thus far
6. Let’s try including two libraries into our project – Apache commons lang and IO. Copy and paste the dependency configurations into your pom.xml file
7. Your original pom.xml file

[wp_ad_camp_1]
8. Your updated pom.xml 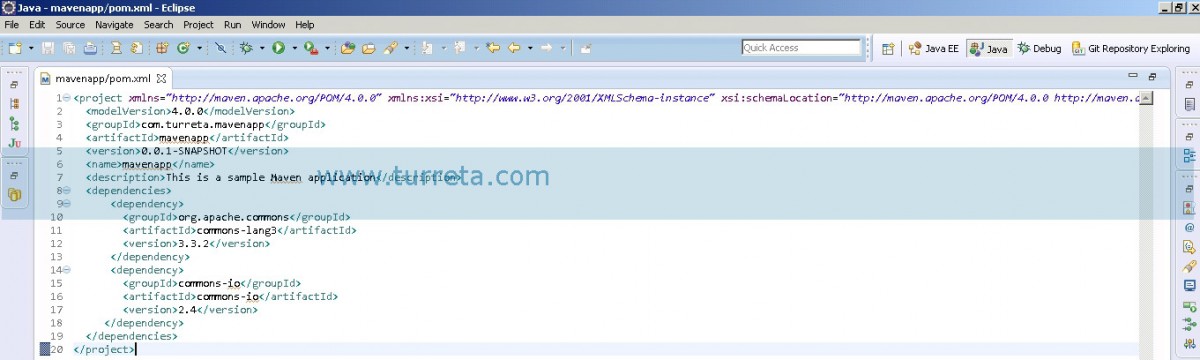
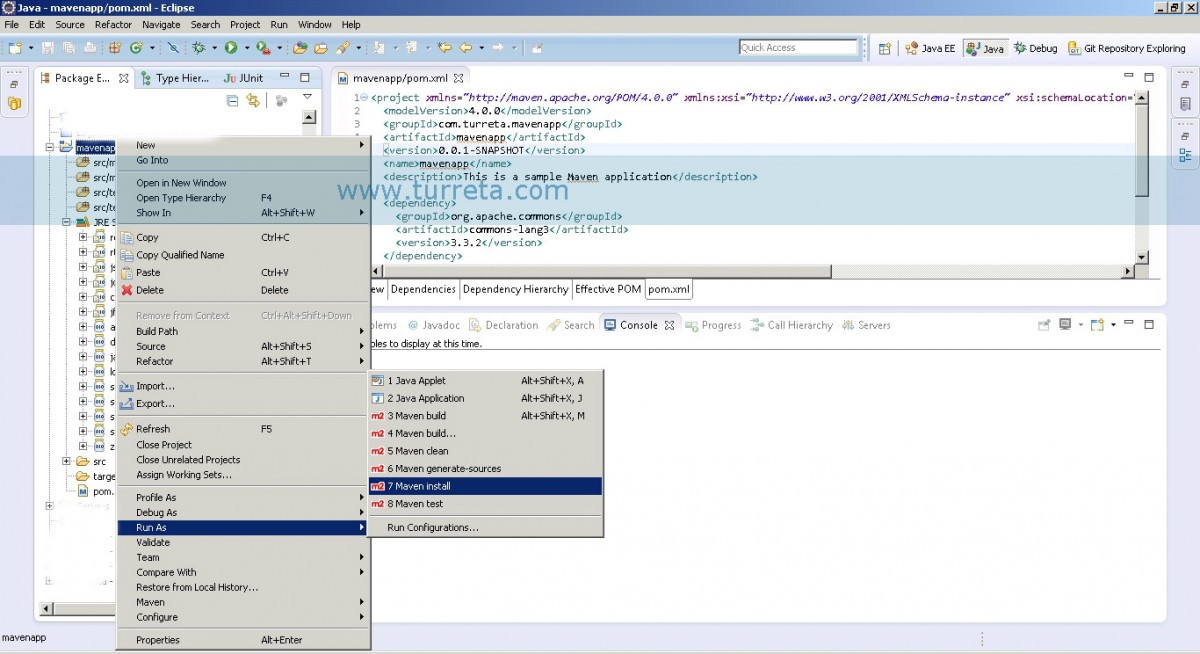
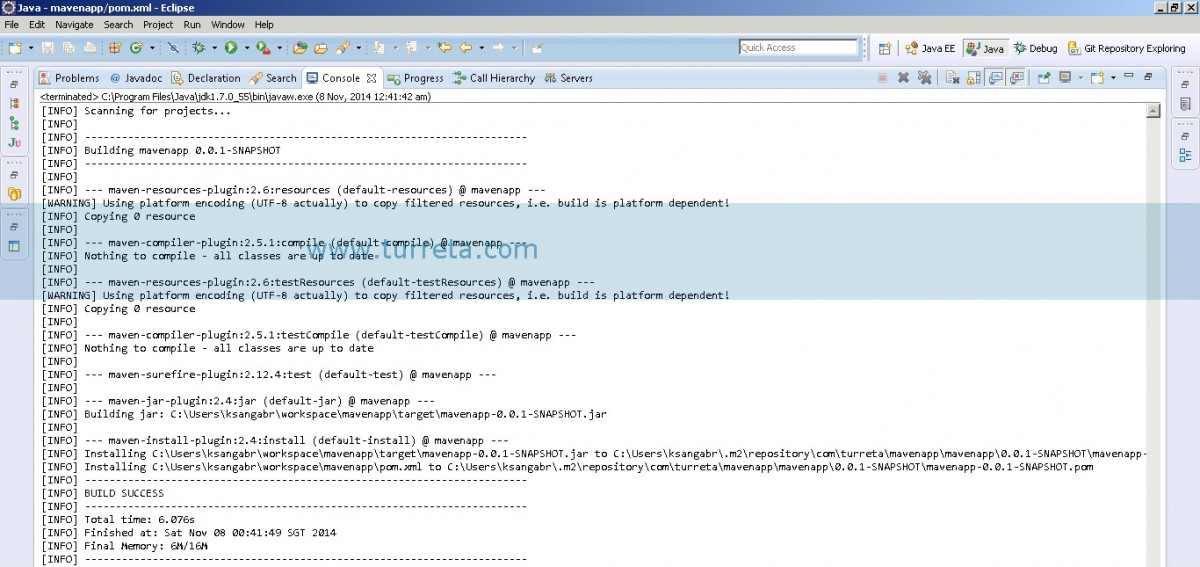
9. Let Maven download the jar files into your local Maven repository and include in your project in Eclipse
10. Output of Maven Intall command
[wp_ad_camp_4]
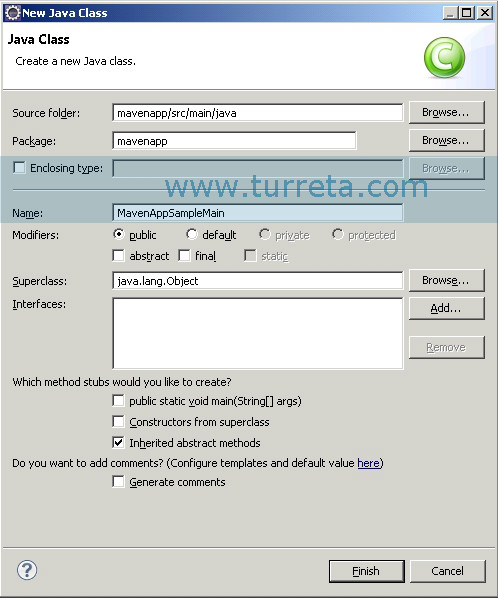
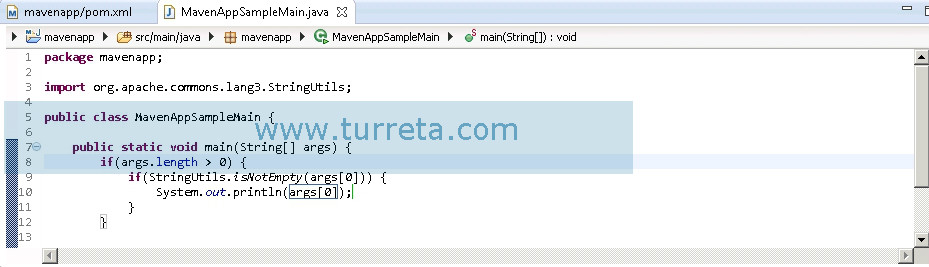
11. Create a sample class that uses any of the jar files
Sample Codes
[wp_ad_camp_5]
![]()